Handling Deep Links
- Previewing paywalls on your device before going live.
- Deep linking to specific campaigns.
- Web Checkout Post-Checkout Redirecting
Setup
The way to deep link into your app is URL Schemes.
Adding a Custom URL Scheme
Add the following to your AndroidManifest.xml file:
<activity android:name=".MainActivity">
    <intent-filter>
        <action android:name="android.intent.action.VIEW" />
        <category android:name="android.intent.category.DEFAULT" />
        <category android:name="android.intent.category.BROWSABLE" />
        <data android:scheme="exampleapp" />
    </intent-filter>
</activity>
This configuration allows your app to open in response to a deep link with the format exampleapp:// from your MainActivity class.
Handling Deep Links
In your MainActivity (or the activity specified in your intent-filter), add the following Kotlin code to handle deep links:
class MainActivity : AppCompatActivity() {
    override fun onCreate(savedInstanceState: Bundle?) {
        super.onCreate(savedInstanceState)

        // Respond to deep links
        respondToDeepLinks()
    }

    private fun respondToDeepLinks() {
        intent?.data?.let { uri ->
            Superwall.instance.handleDeepLink(uri)
        }
    }
}
Handling App Links
Adding app links
Android App links enable seamless integration between the Web checkout and your app, enabling users to redeem the purchase automatically.
To allow Android app links to open your app, you will need to follow these steps:
1. Add your app's fingerprint and schema to Stripe settings
To verify that the request to open the app is legitimate, Android requires your app's keystore SHA256 fingerprint, with at least one for your development keystore and one for your release keystore. You can obtain these fingerprints in the following way:
Development fingerprints
If you're using Android studio or have Android components installed, you can obtain your debug key by running the following command in your terminal:
keytool -list -v -keystore ~/.android/debug.keystore -alias androiddebugkey -storepass android -keypass android
And then copying the outputted SHA256 fingerprint.
Release fingerprints
To obtain the release fingerprints, you'll need your own keystore file (the one you use to sign the final application package before publishing).
You can do this by running the following command in your terminal:
keytool -list -v -keystore <PATH_TO_YOUR_KEYSTORE> -alias <YOUR_KEY_ALIAS>
And then copying the outputted SHA256 fingerprint.
Adding the fingerprints to the project
To add the fingerprints to Superwall, open the Settings tab of your Superwall Stripe application.
Under the Android Configuration title, you should see three fields:
- Package schema - this allows us to know which schema your app uses to open and parse deep links
- Package name - your app's package name, i.e.
com.mydomain.myapp - App fingerprints - One or more of your app's fingerprints, comma separated

Once added, click the Update Configuration button which will ensure the application asset links are properly generated for Google to verify.
2. Add the schema to your app's Android Manifest
For this, you'll need to copy the domain from your Superwall Stripe settings.
Then, open your AndroidManifest.xml and inside the <activity ...> tag declaring your deep link handling activity, add the following, replacing the domain with the one from the settings:
<intent-filter android:autoVerify="true">
    <action android:name="android.intent.action.VIEW" />

    <category android:name="android.intent.category.DEFAULT" />
    <category android:name="android.intent.category.BROWSABLE" />

    <data android:scheme="https" />
	<data android:host="yourappdomain.superwall.app"
		  android:pathPrefix="/redeem" />
</intent-filter>
3. Handle incoming deep links using Superwall SDK
In the same activity as in step #2, you'll need to pass deeplinks along to Superwall SDK.
You can do this by overriding your Activity's onCreate and onNewIntent methods and passing along the intent data to Superwall using Superwall.handleDeepLinks() method. The method returns a kotlin.Result indicating if the deep link will be handled by Superwall SDK.
override fun onCreate(savedInstanceState: Bundle?) {
    super.onCreate(savedInstanceState)
	// your onCreate code
	intent?.data?.let { uri ->
	    Superwall.handleDeepLink(uri)
	}
}

override fun onNewIntent(intent: Intent, caller: ComponentCaller) {
    super.onNewIntent(intent, caller)
    // ... Your onNewIntent code
    intent?.data?.let { uri ->
	    Superwall.handleDeepLink(uri)
	}
}
4. Handling links while testing
If you are running your app using Android Studio, you need to be aware that it won't automatically allow verified links to be opened using the app, but you will need to enable it in settings yourself. This is not the case when installing from Play Store, and all the links will be handled automatically.
To do that, once you install the app on your device, open:
Settings > Apps > Your Application Name > Open By Default
Under there, the Open supported links should be enabled.
Tap Add Links button and selected the available links.

Testing & more details
For details regarding testing and setup, you can refer to Android's guide for verifying app links. Note - Superwall generates the assetlinks.json for you. To check the file, you can use the subdomain from your Superwall stripe configuation:
https://my-app.superwall.app/.well-known/assetlinks.json
Previewing Paywalls
Next, build and run your app on your phone.
Then, head to the Superwall Dashboard. Click on Settings from the Dashboard panel on the left, then select General:

With the General tab selected, type your custom URL scheme, without slashes, into the Apple Custom URL Scheme field:

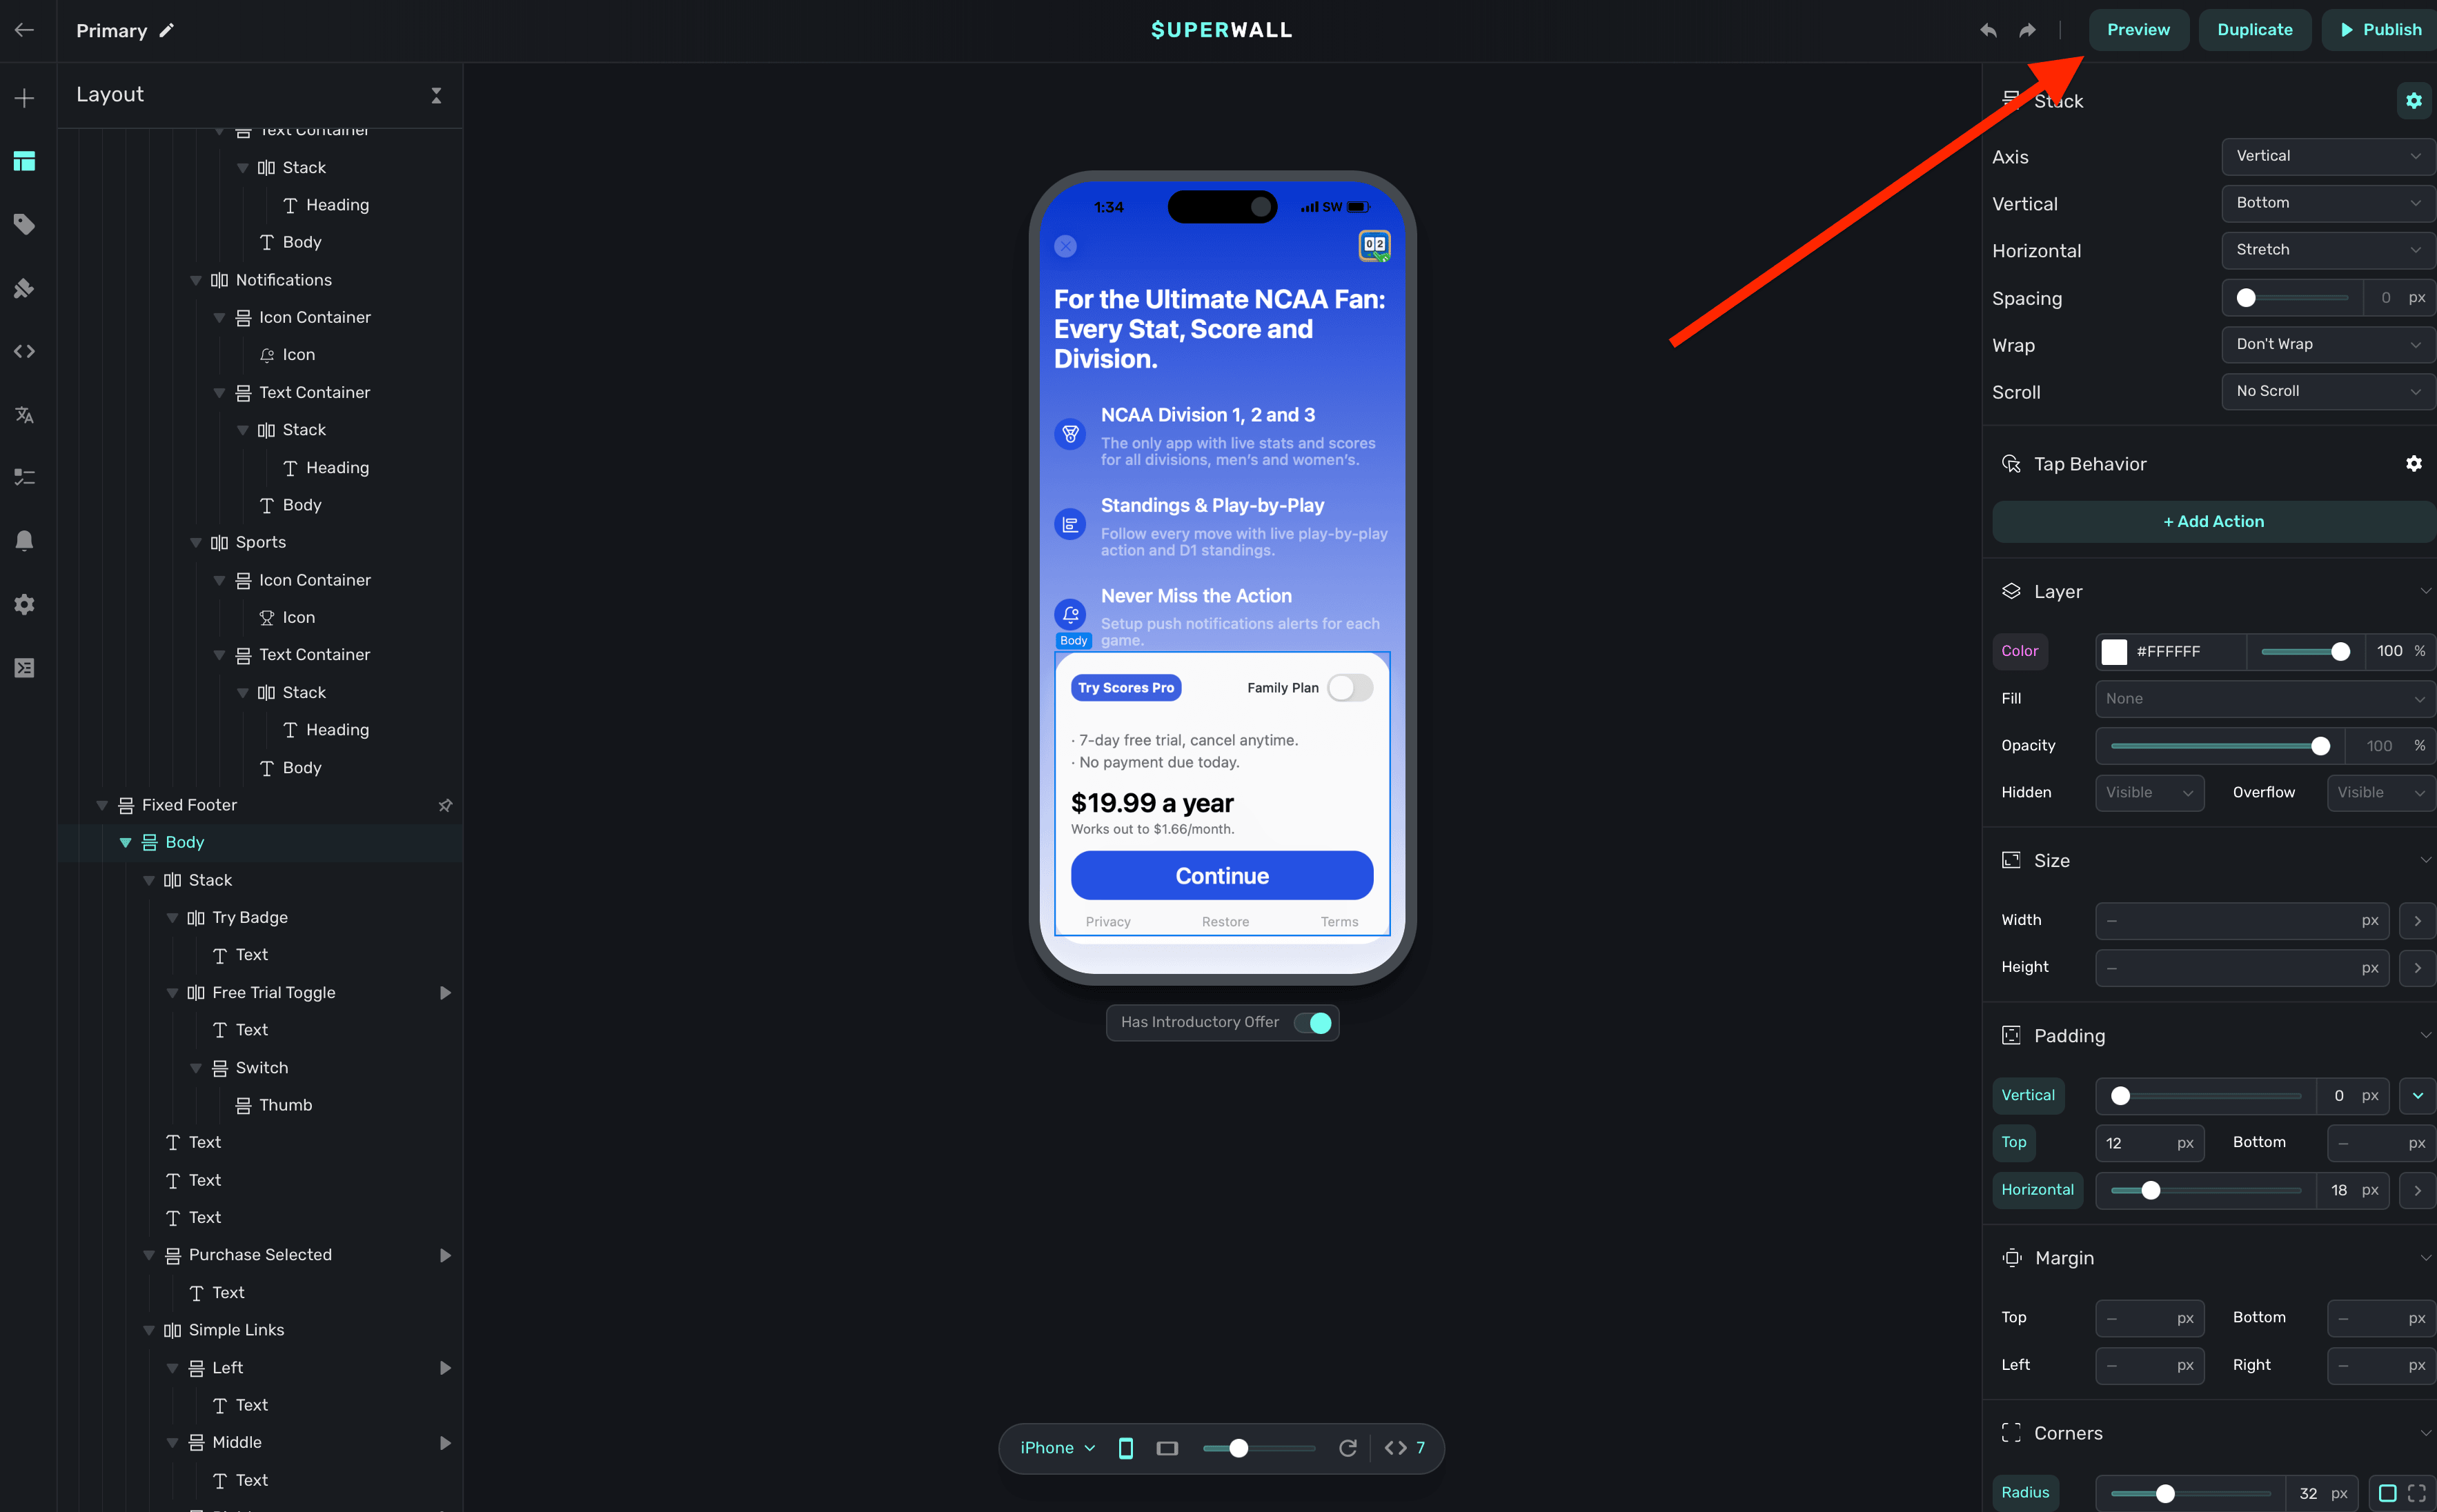
Next, open your paywall from the dashboard and click Preview. You'll see a QR code appear in a pop-up:
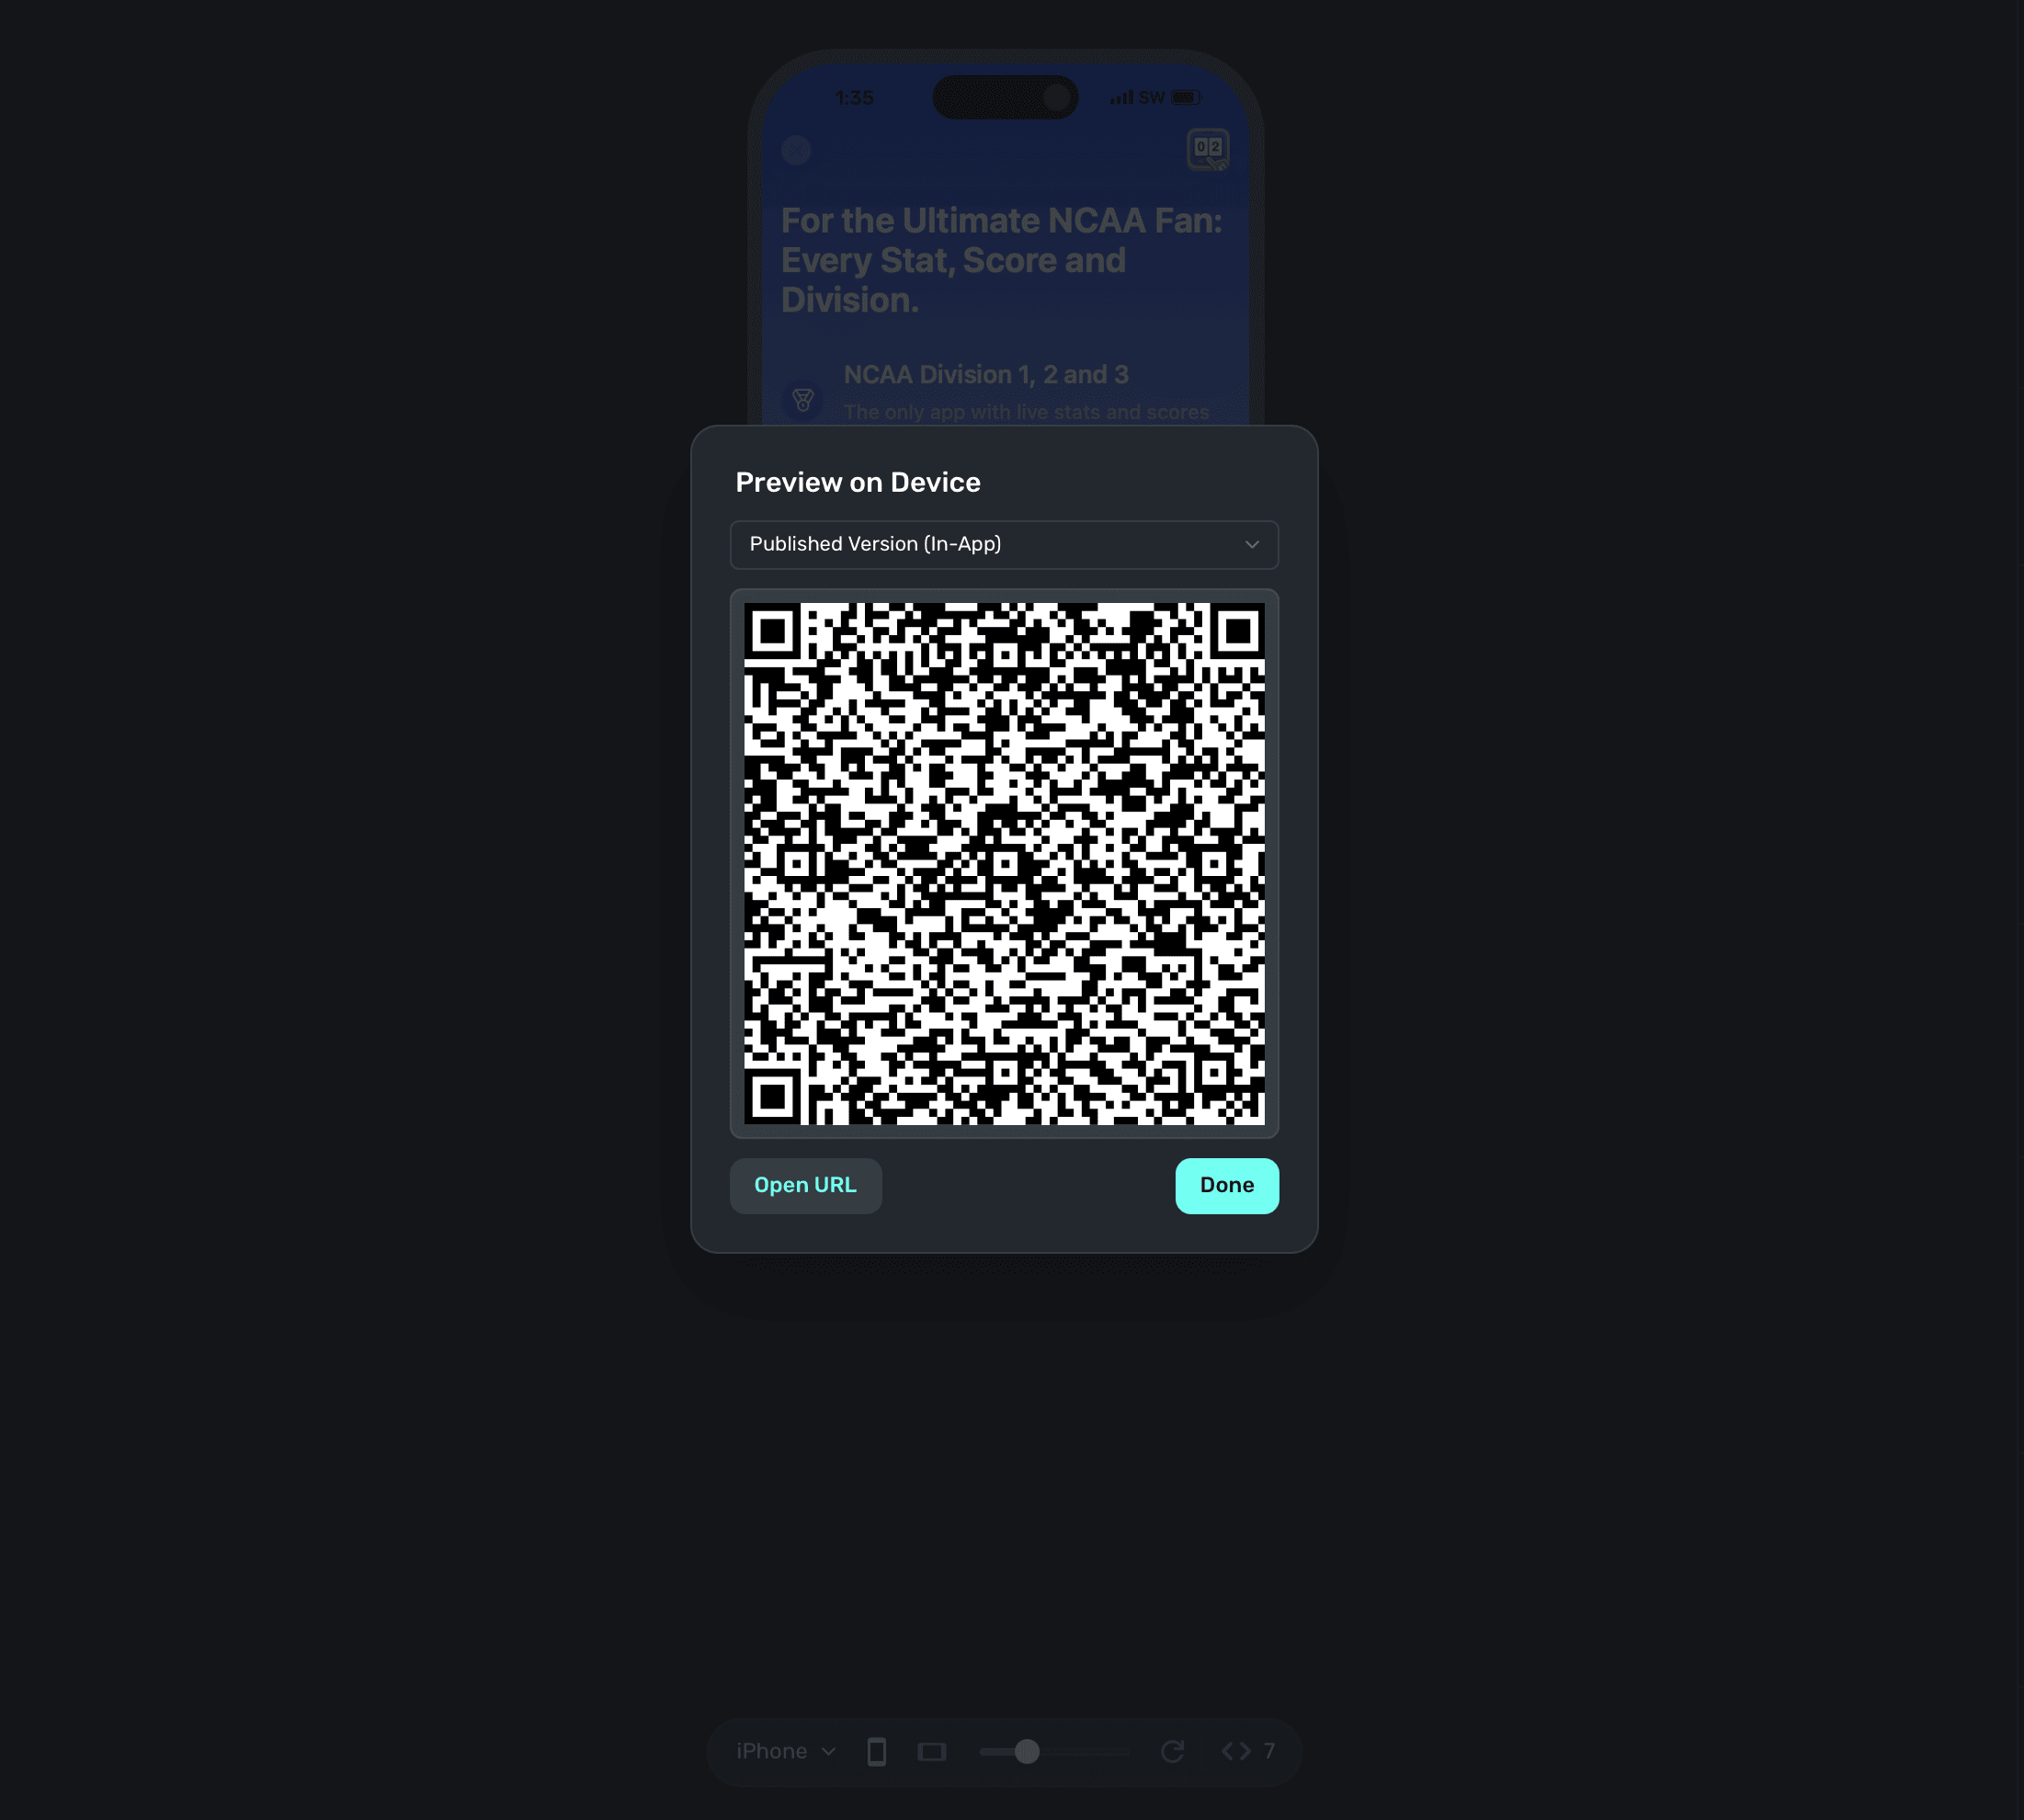
On your device, scan this QR code. You can do this via Apple's Camera app. This will take you to a paywall viewer within your app, where you can preview all your paywalls in different configurations.
Using Deep Links to Present Paywalls
Deep links can also be used as a placement in a campaign to present paywalls. Simply add deepLink_open as an placement, and the URL parameters of the deep link can be used as parameters! You can also use custom placements for this purpose. Read this doc for examples of both.
Related deep link guides
- Handling Deep Links — Use
handleDeepLinkwith thedeepLink_openstandard placement and dashboard campaign rules to present paywalls from deep links, without hardcoding routing logic in your app.
How is this guide?