Web Checkout Links
Learn how to use campaigns and placements to present web paywalls using Superwall's web checkout links.
Once you've created a Stripe app, configured Stripe with Superwall via the Superwall Stripe app and have created Stripe products — you're ready to configure a campaign to show a web paywall.
Before you proceed, recall that web checkout has all of the advantages of the Superwall platform. If you are unfamiliar with how to create campaigns or what a placement is — we recommend you read through the introduction documentation and campaigns doc first.
Understanding placements in web checkout
There are two primary differences between web checkout and the typical Superwall campaign flow:
- Placements become unique URLs which, in turn, show your paywall. These are called web checkout links.
- User variables are not available in audience filtering.
Other than that, everything operates as a normal Superwall campaign would. For example:
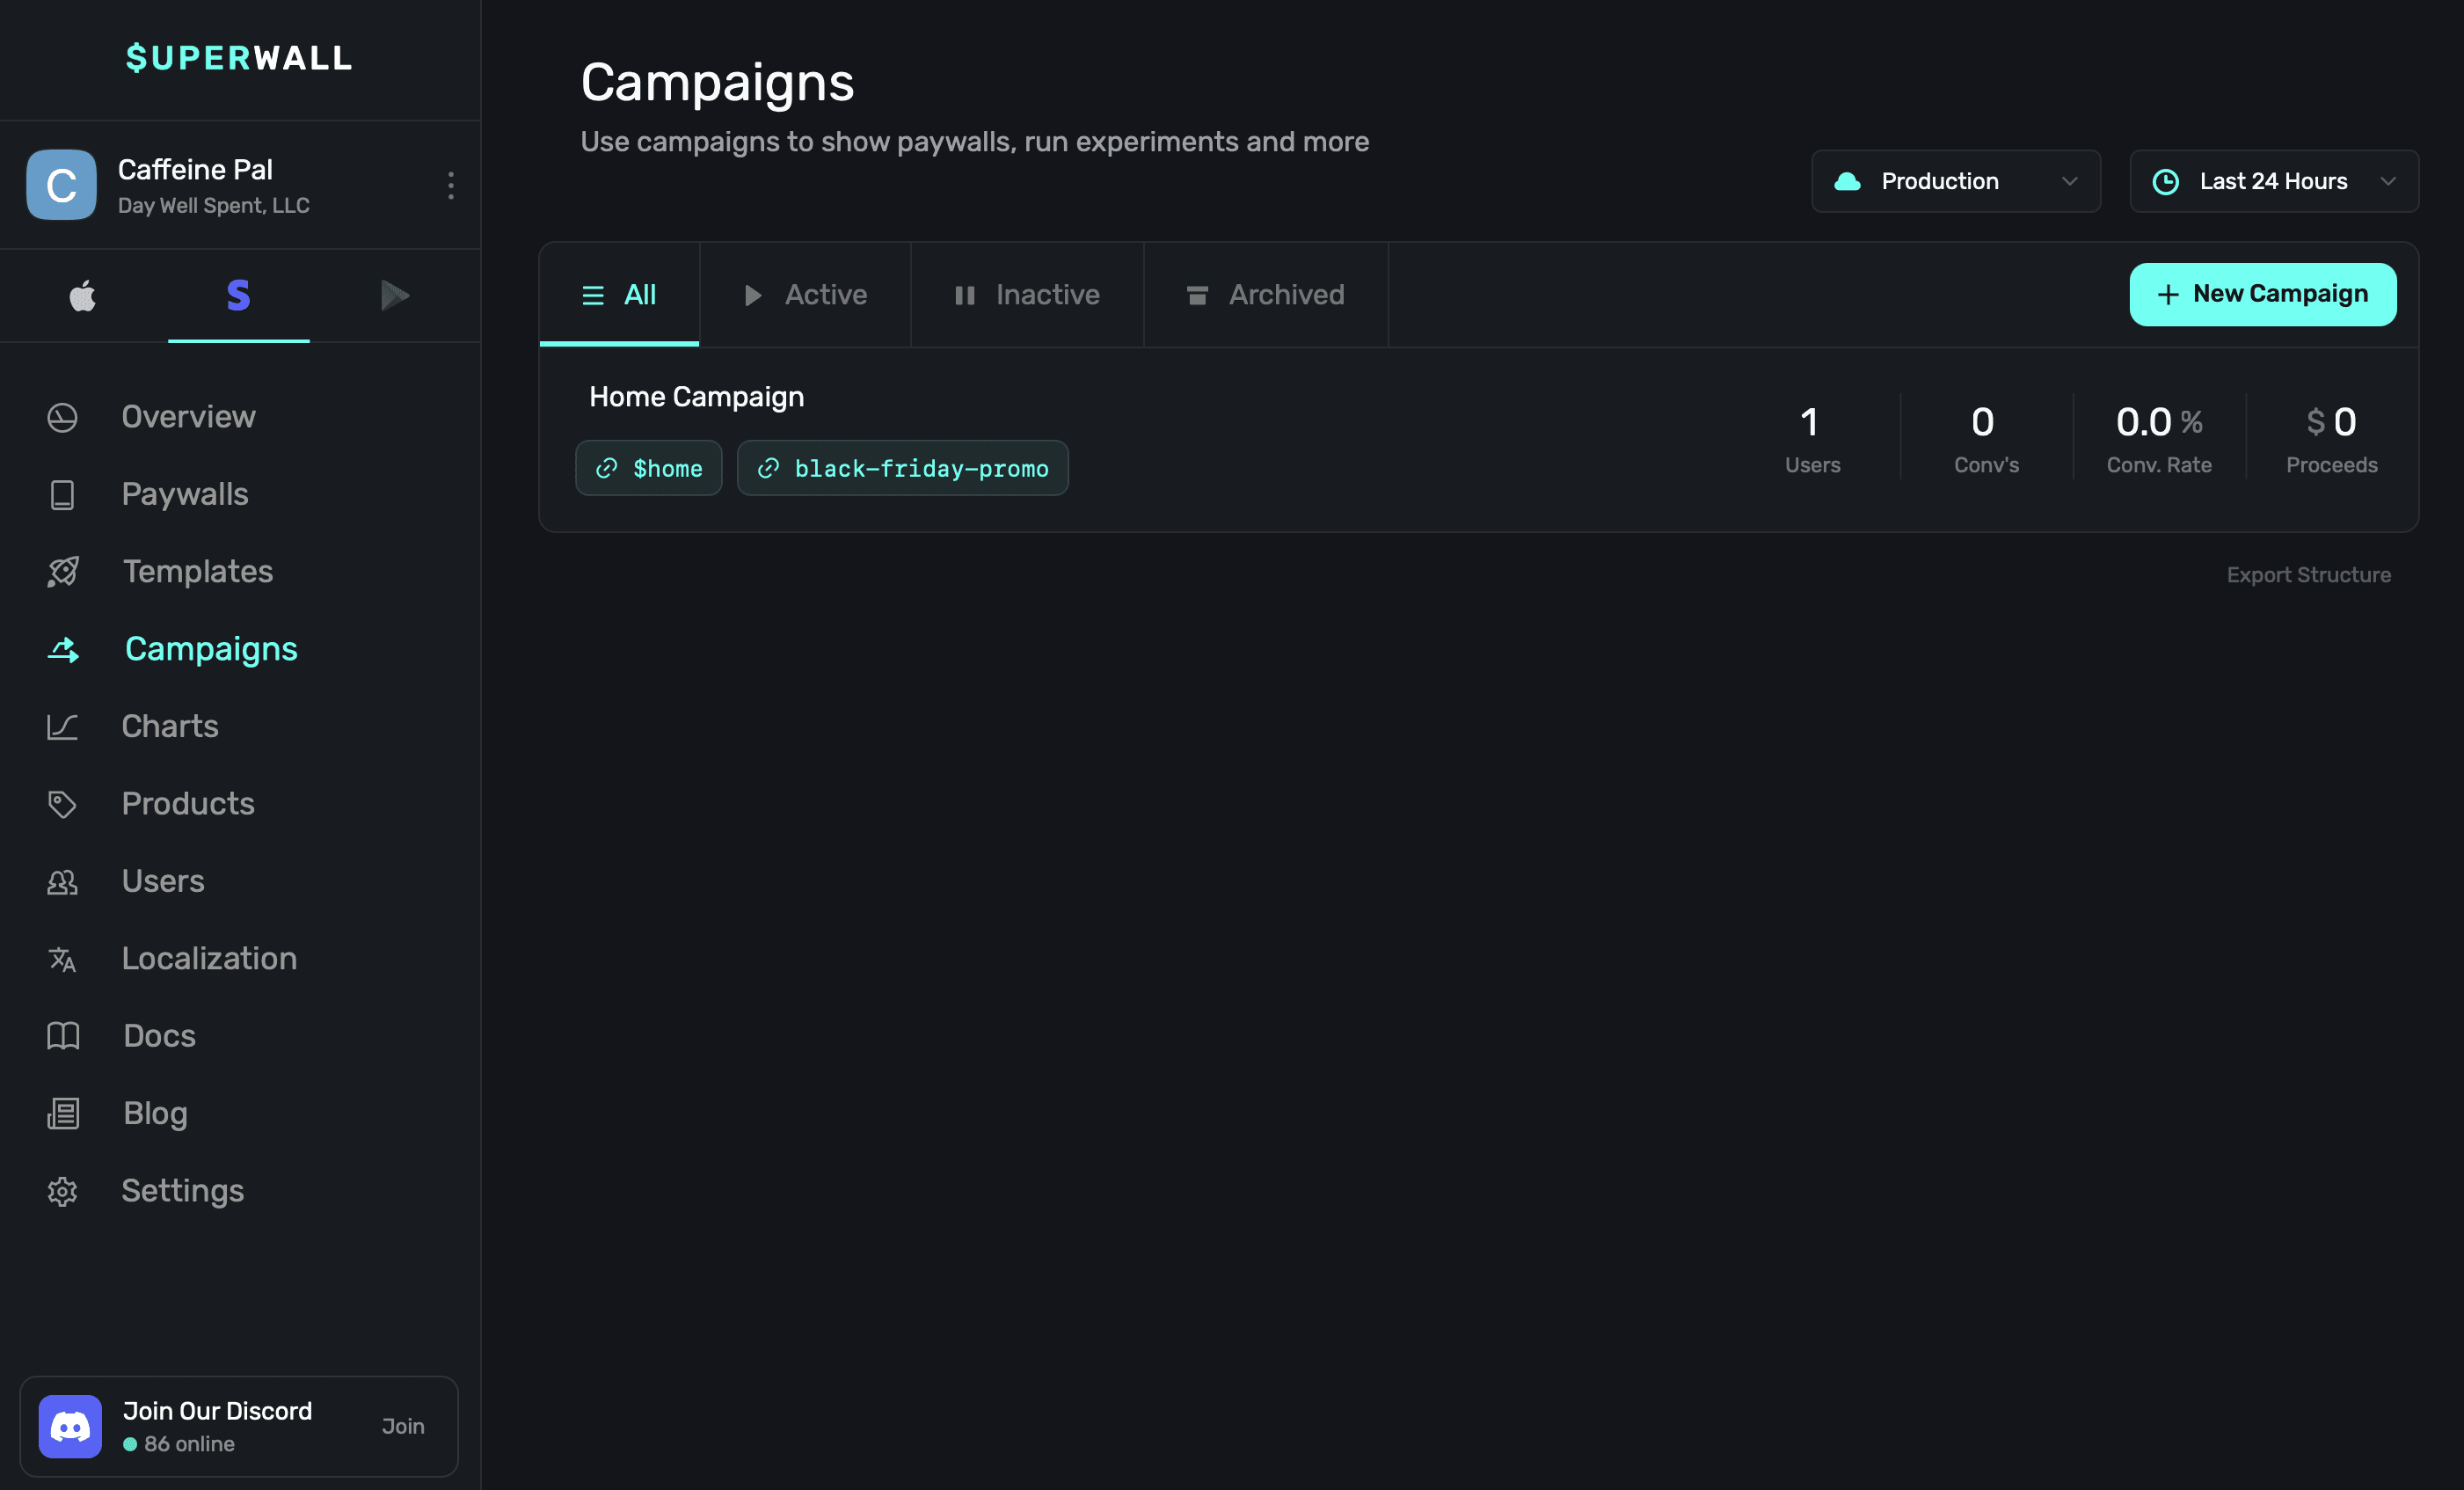
Here, the placement black-friday-promo presents a paywall. If the app's URL in settings is caffeinepal, then the URL for this placement would be https://caffeinepal.superwall.app/black-friday-promo. Visiting that web checkout link presents a paywall:
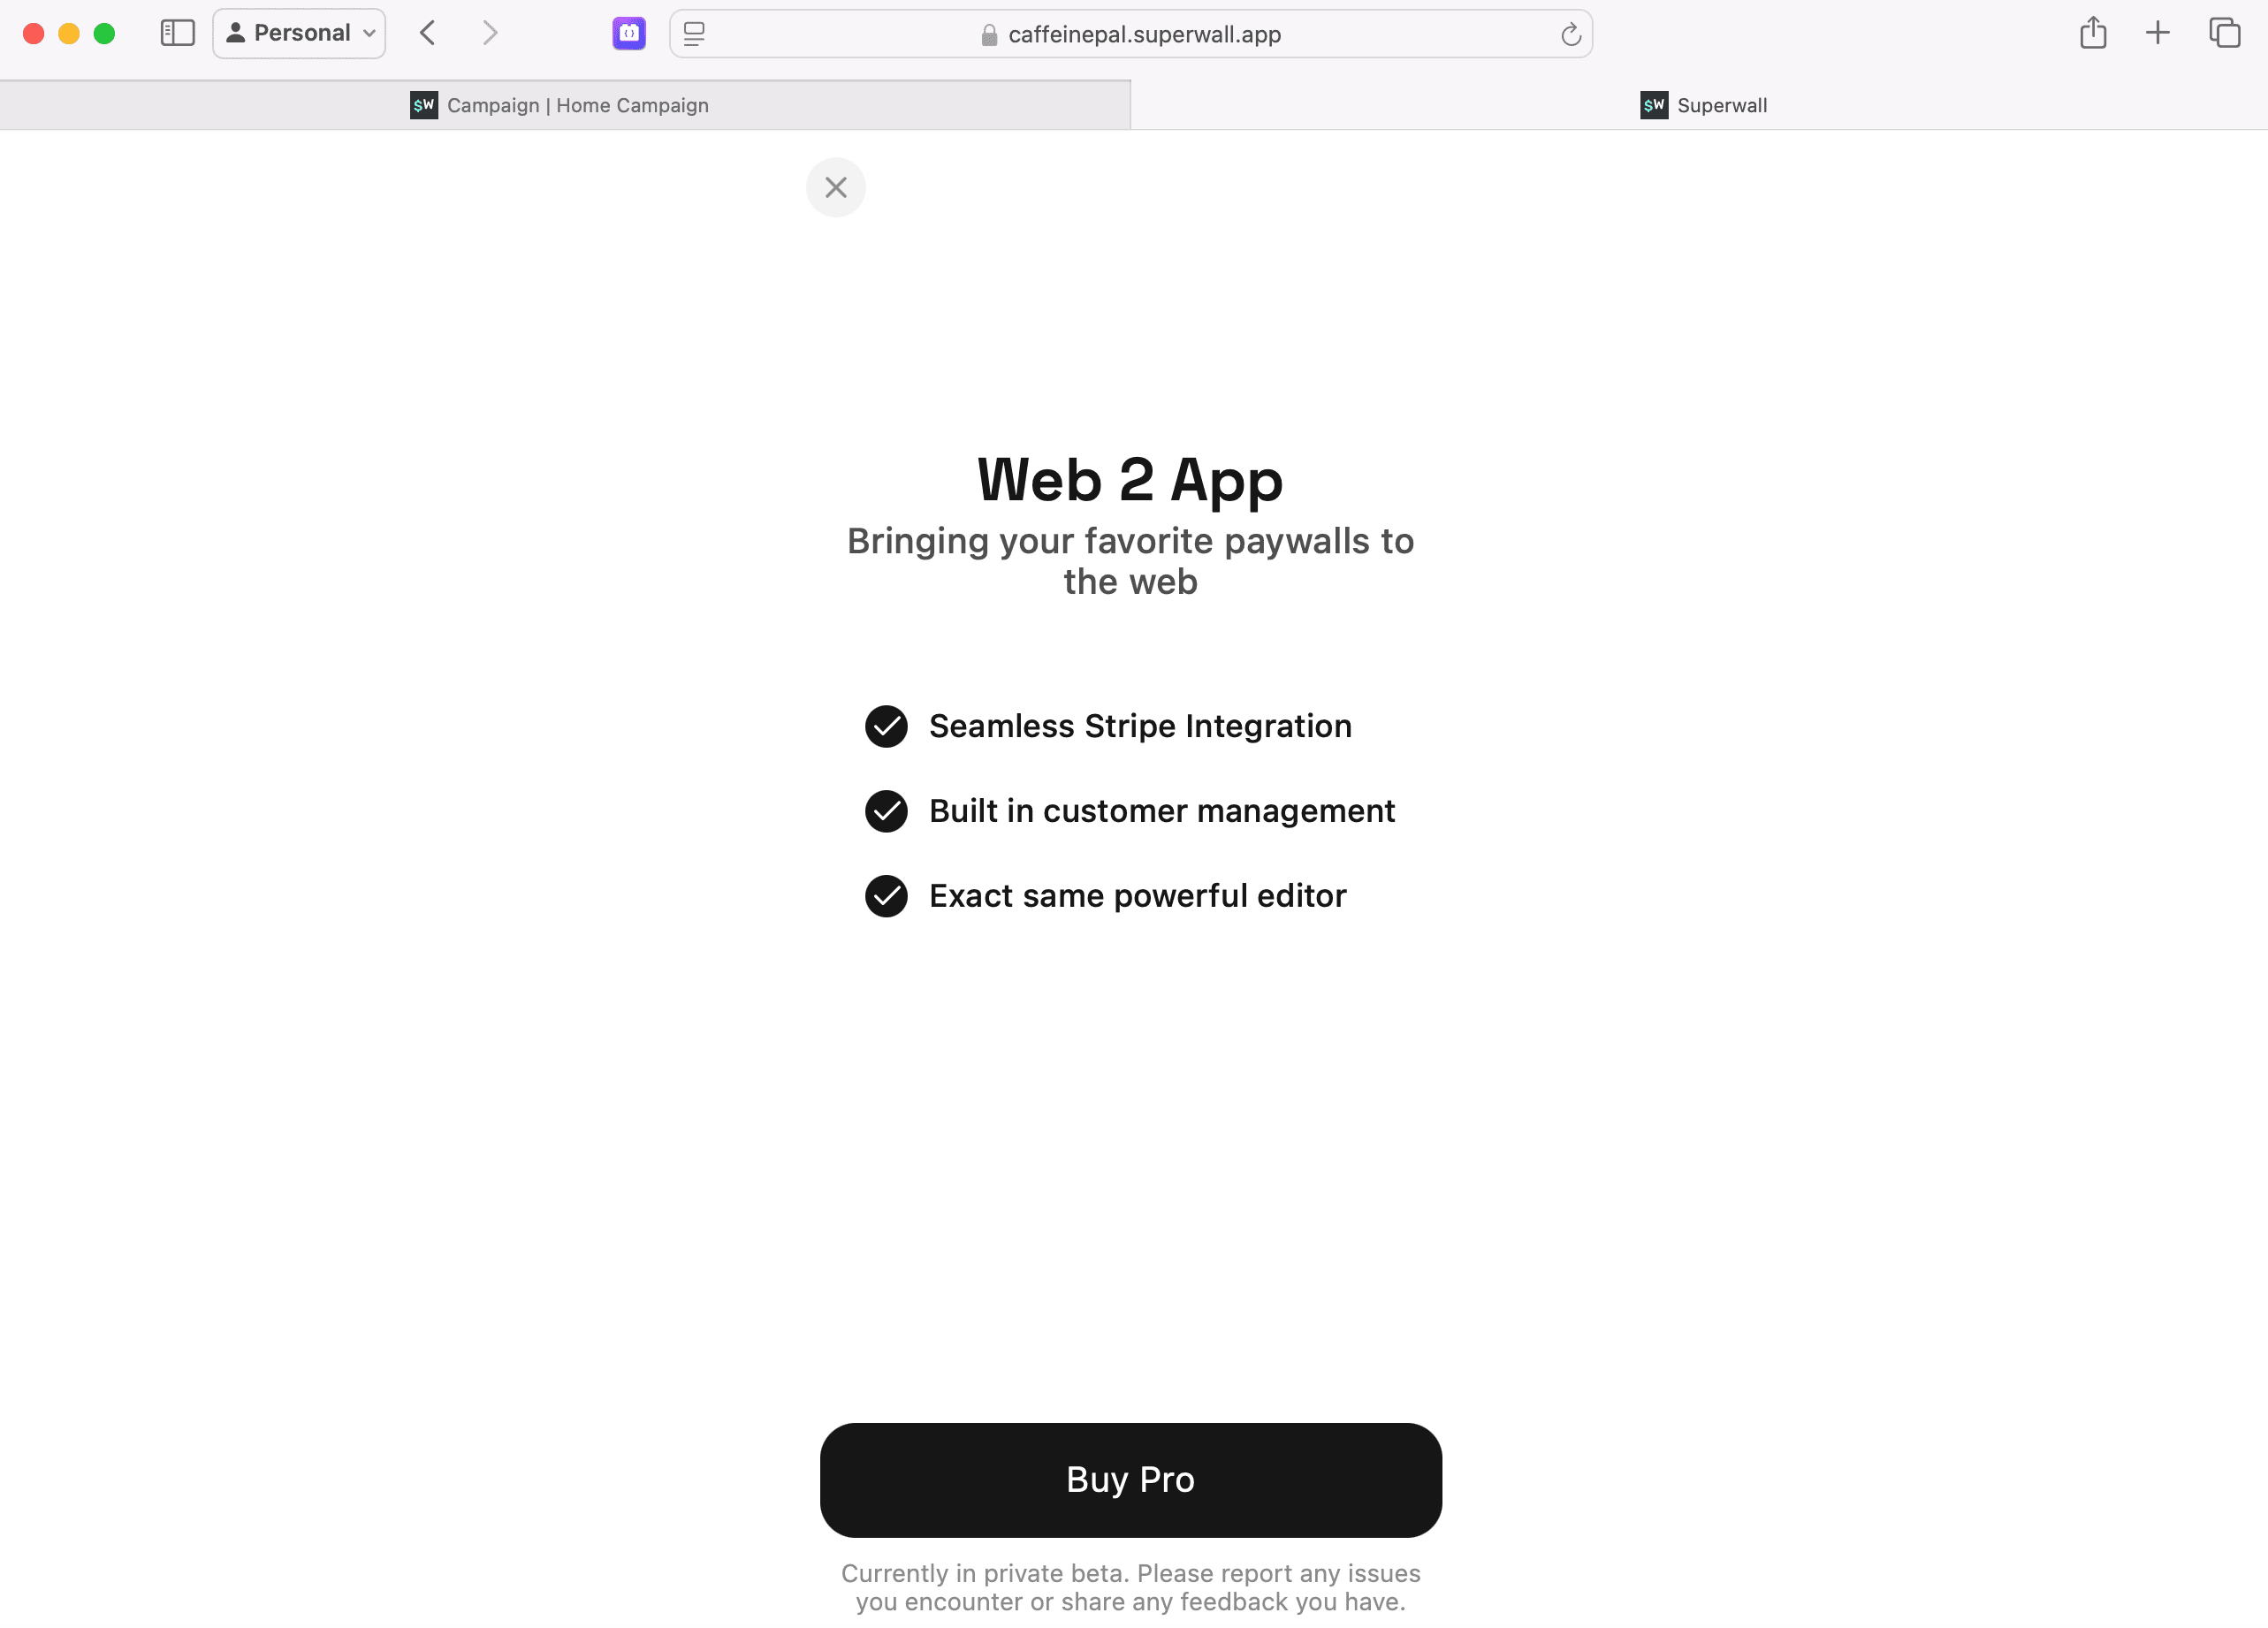
Conceptually, you can think of these web checkout links performing a similar function as registering a placement does in our mobile SDK:
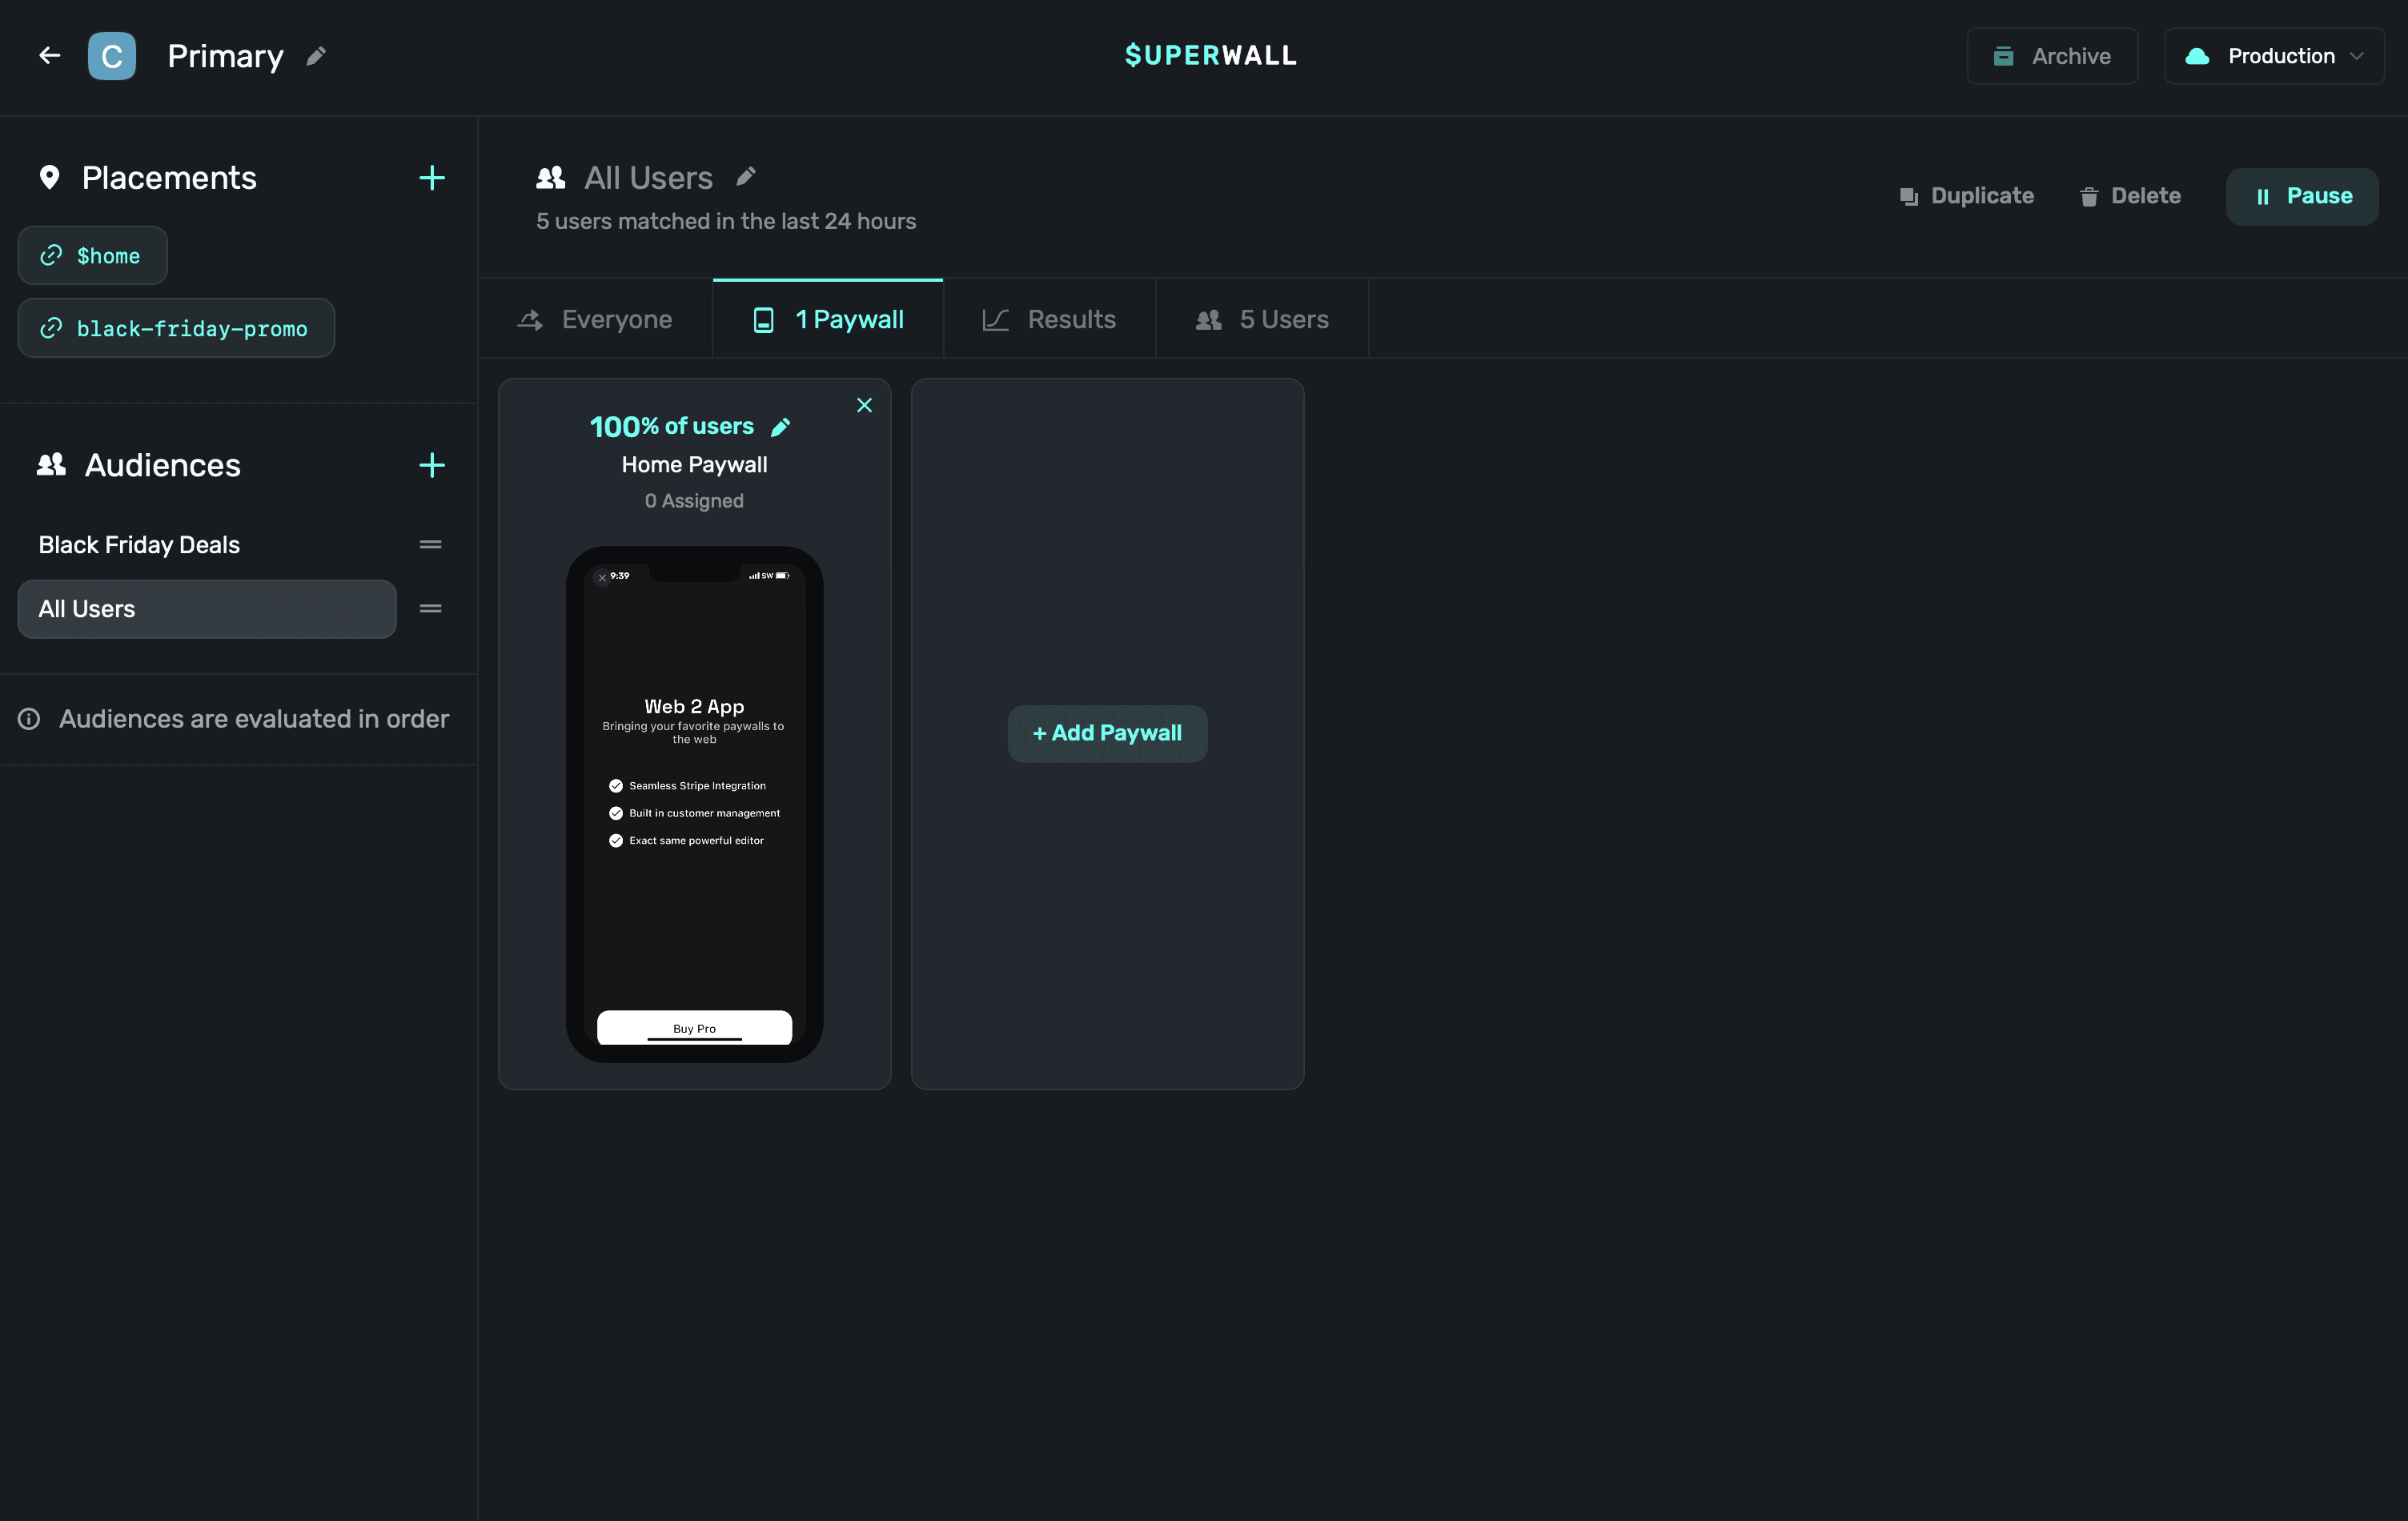
Superwall.shared.register(placement:"black-friday-promo") { _ in }This means that you now can use web checkout with all of the same powerful features that Superwall offers, such as A/B testing, paywall targeting and more. Again, these work just like any other campaign would in Superwall. The interface is the same, so now you create placements, start creating audience filters and more:
Also, remember to create responsive paywalls. Users can view your checkout page on a laptop, phone and other varying sized viewports. For some quick tips, check out this blog post over adapting paywalls to look great on iPad.
A note on the $home placement
Every campaign has a $home placement out of the box. This placement acts a "default" link, and isn't required to be part of the URL as other placements are. For example:
// This works
https://caffeinepal.superwall.app/$home

// And this also works, even though `$home` isn't in the URL
https://caffeinepal.superwall.app/
This is useful so that even if a user visits your web checkout link, and there isn't a placement in the URL — they'll still see a paywall.
How query string parameters work
You can attach query string parameters to any web checkout link by appending them to the URL:
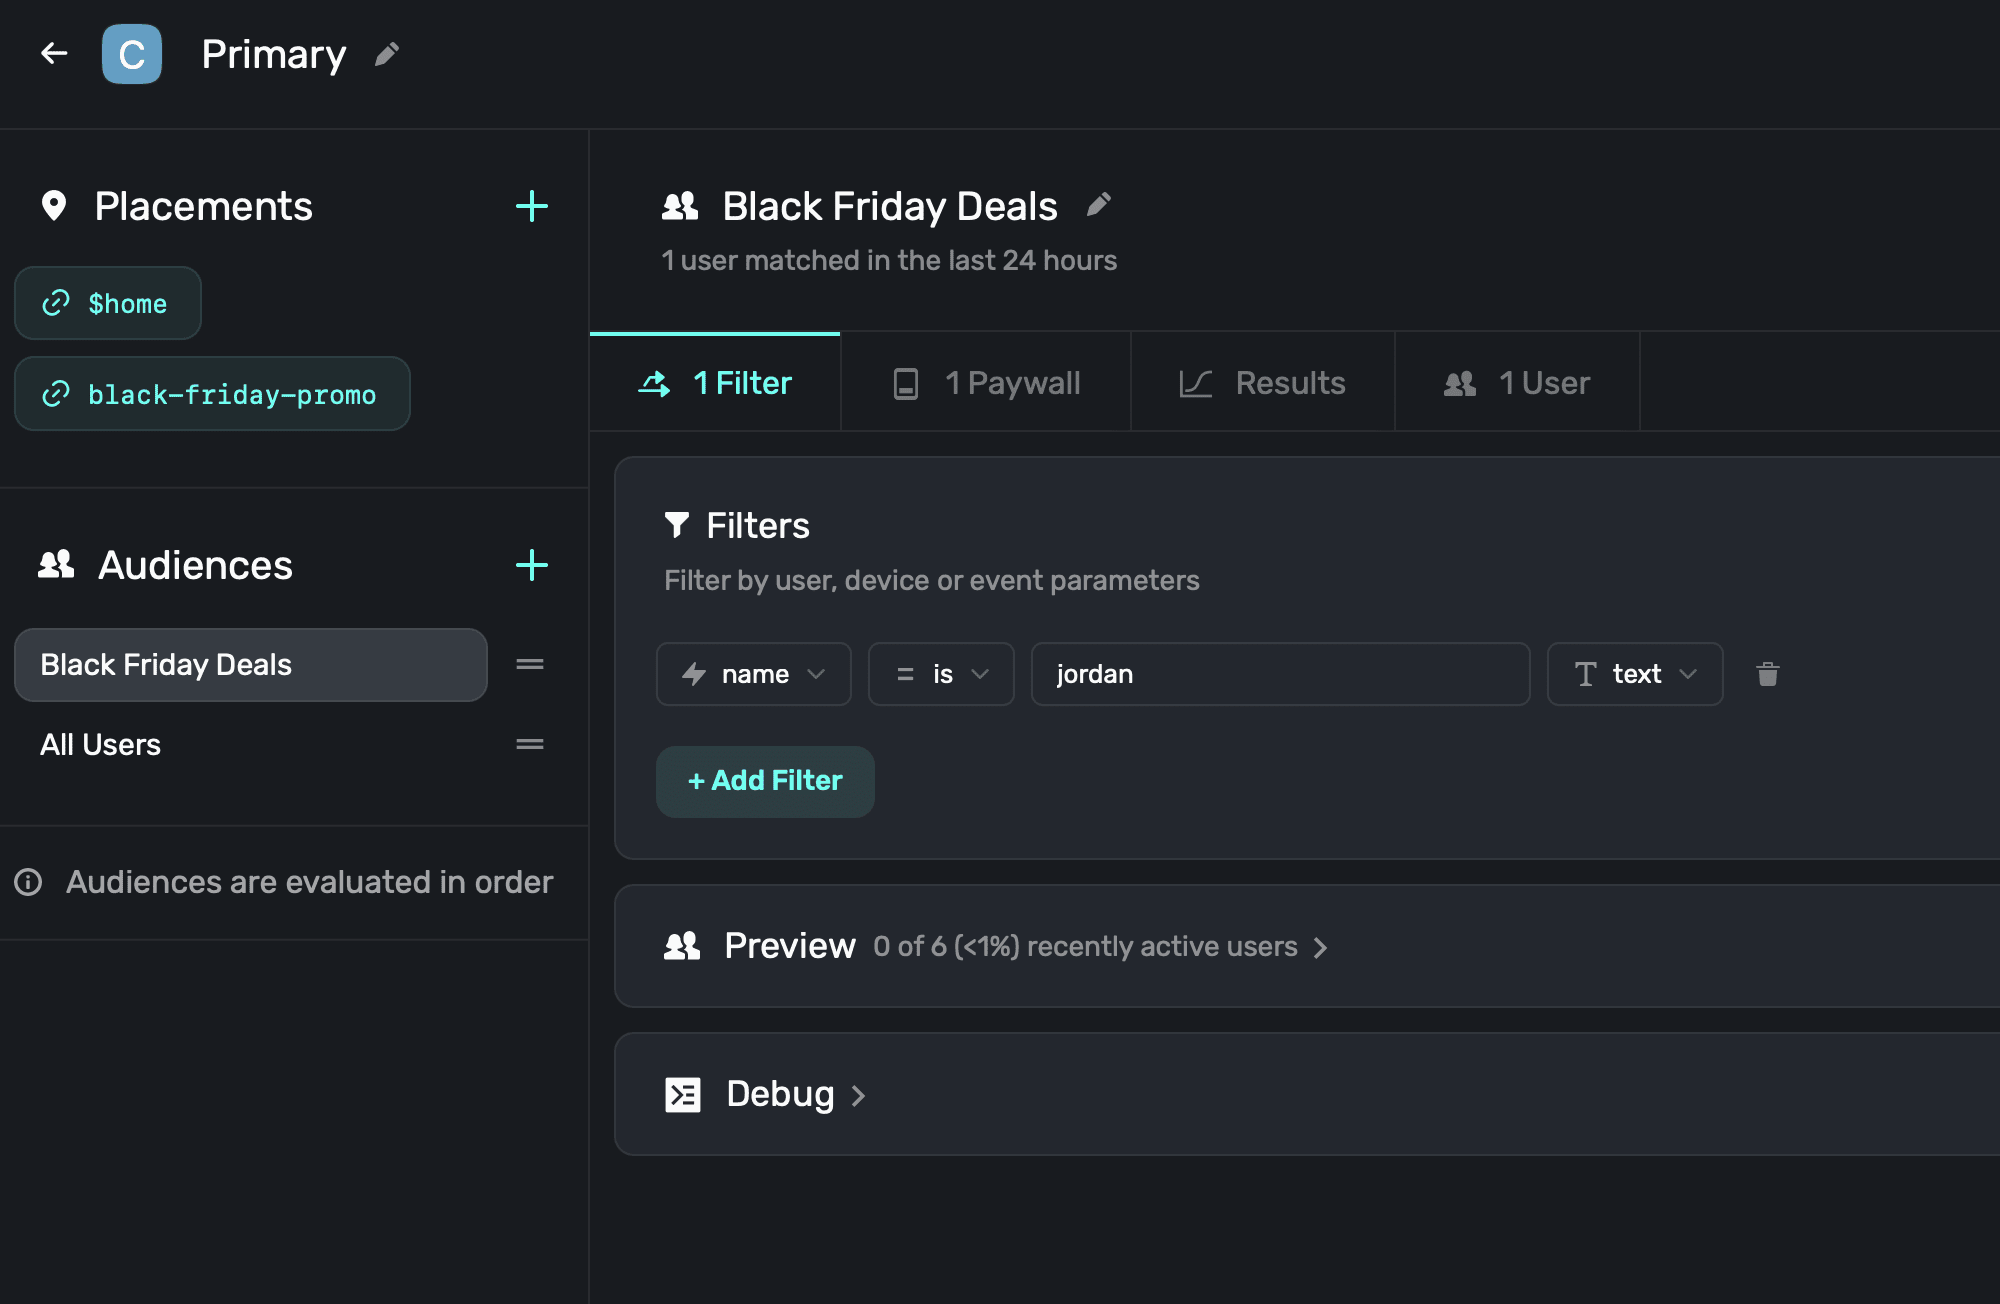
https://caffeinepal.superwall.app/black-friday-promo?name=jordanThis will pass the name parameter to the placement, and you can use it in your audience filters. For example, you could create a filter that only shows the paywall if the name parameter is equal to jordan:
Or, you could access them in your paywall using the same flow as you would for placement parameters:
- In the paywall editor, add a variable.
- Make it a
parametertype. Match thenameto the query string parameter key (here, that would bename). - Set the value type, then click Create.
- Now, you can use that variable in your paywall:
This makes it easy to show in your paywall:
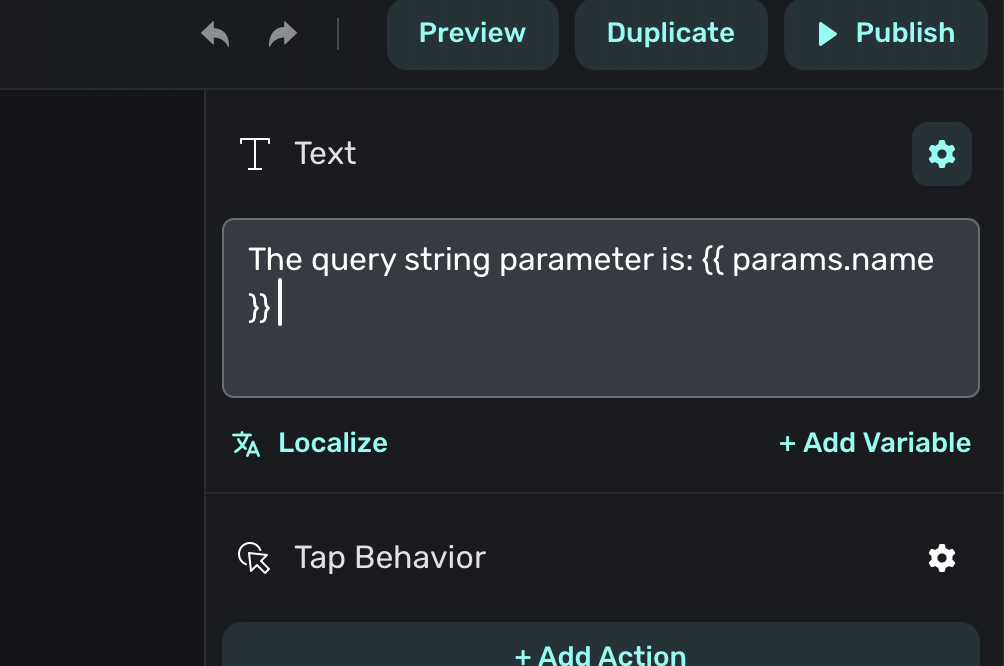
Then, if the URL is visited, the audience filter matches from above — and we can see the value on the paywall, too:
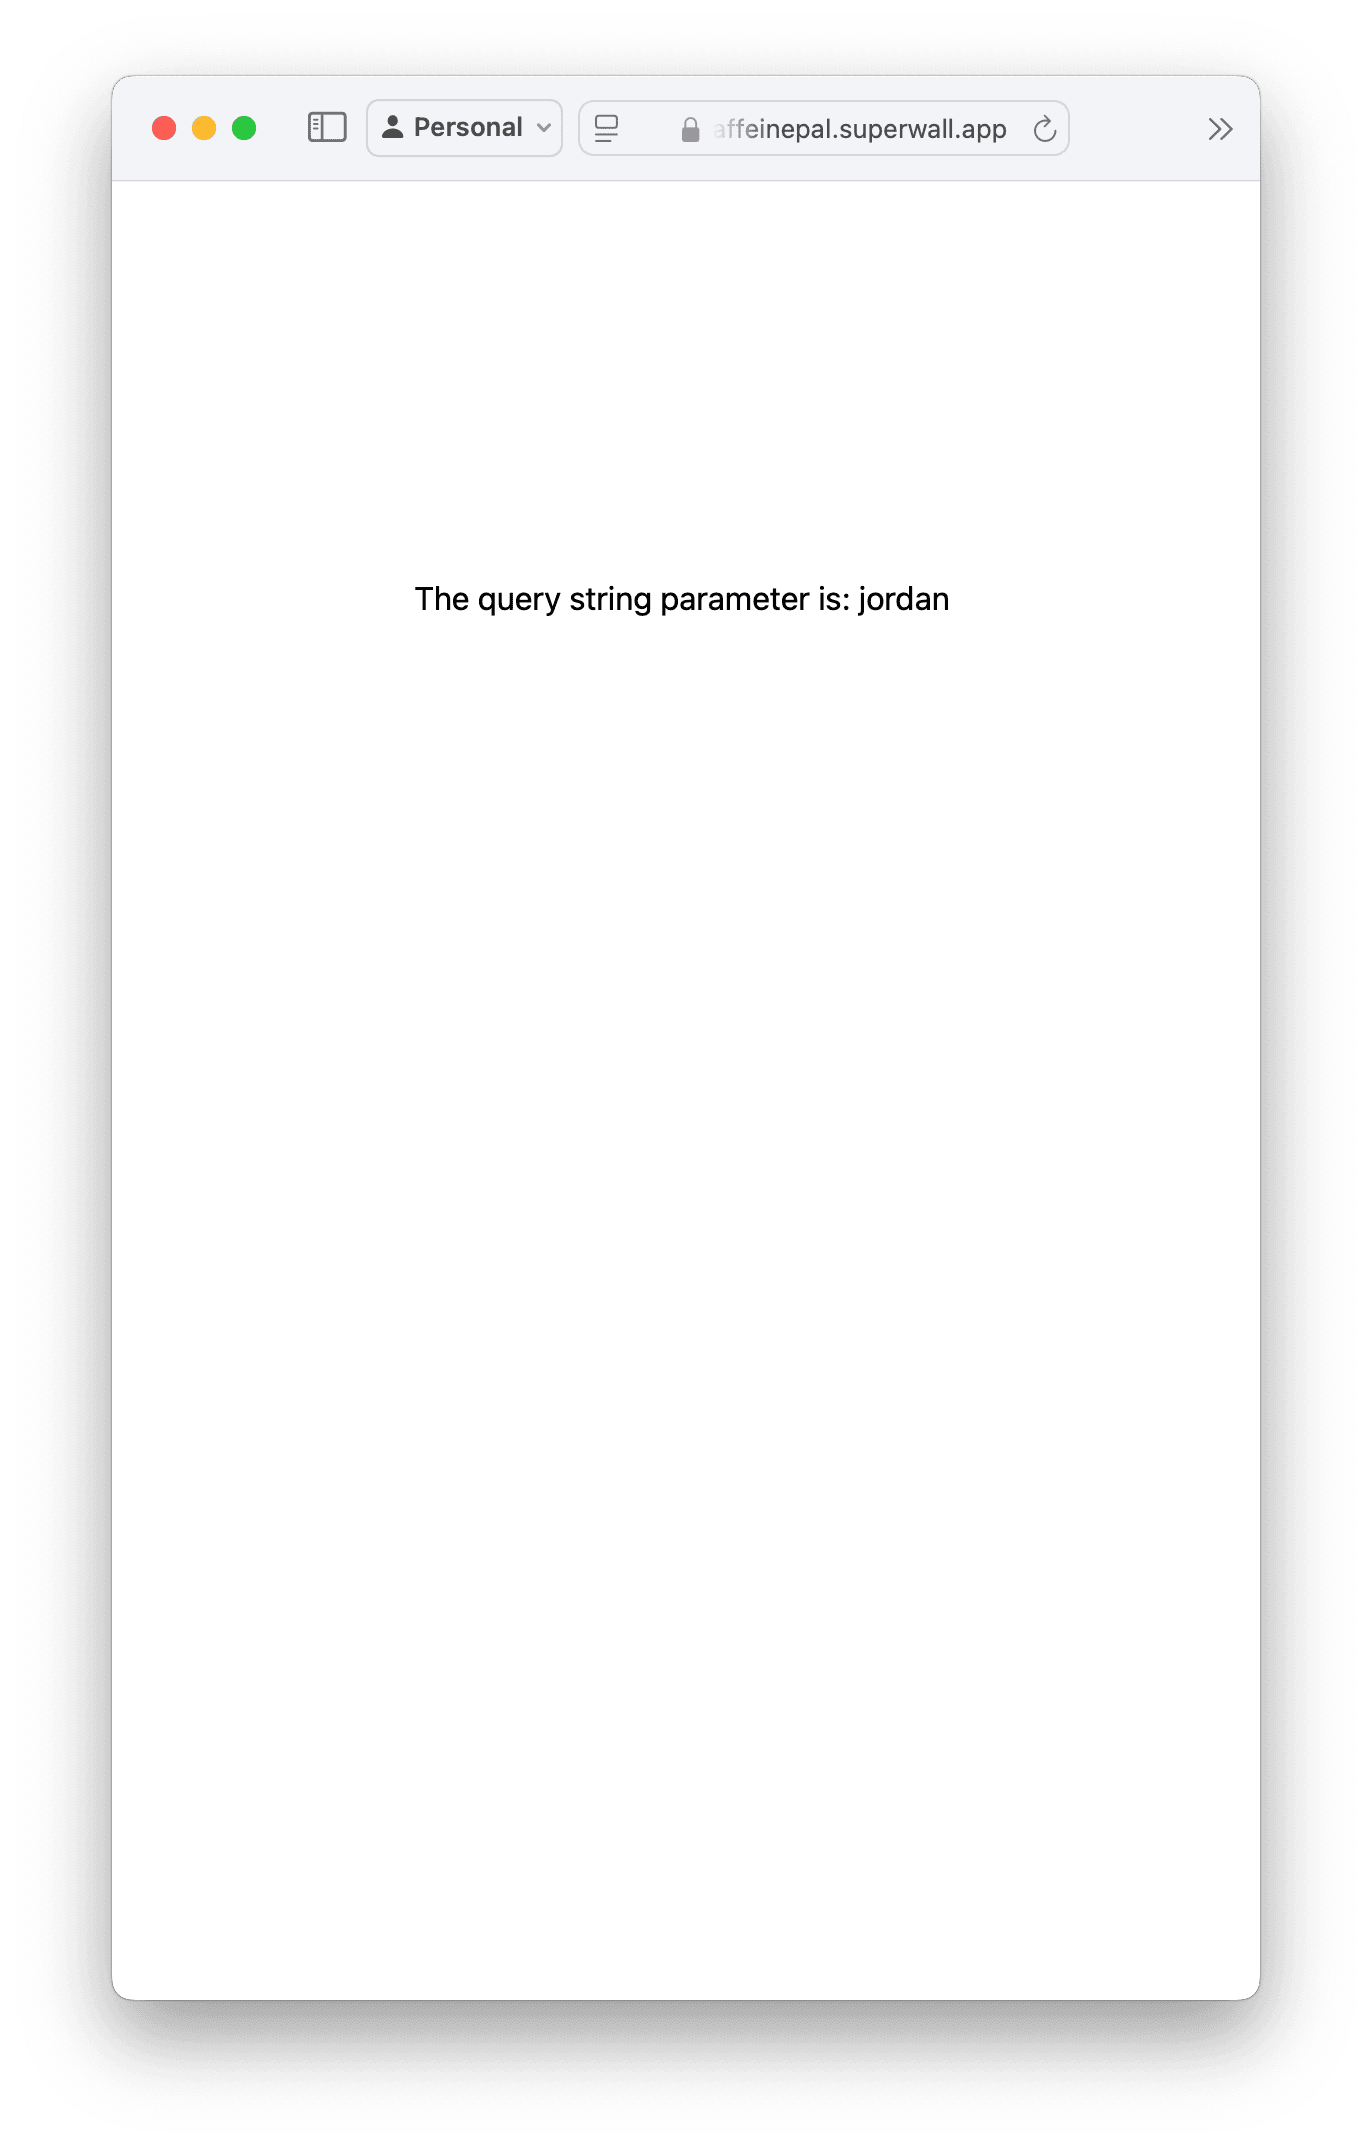
Of course, this is a simplistic example — but this is useful for personalization, seasonal events, influencer campaigns and more. Any query string parameter you pass can be used in the paywall, and in audience filters.
Automatically populating user emails in checkout flows
This section is Web2App only (starting from a web link). For App2Web (starting from an iOS paywall), see App2Web.
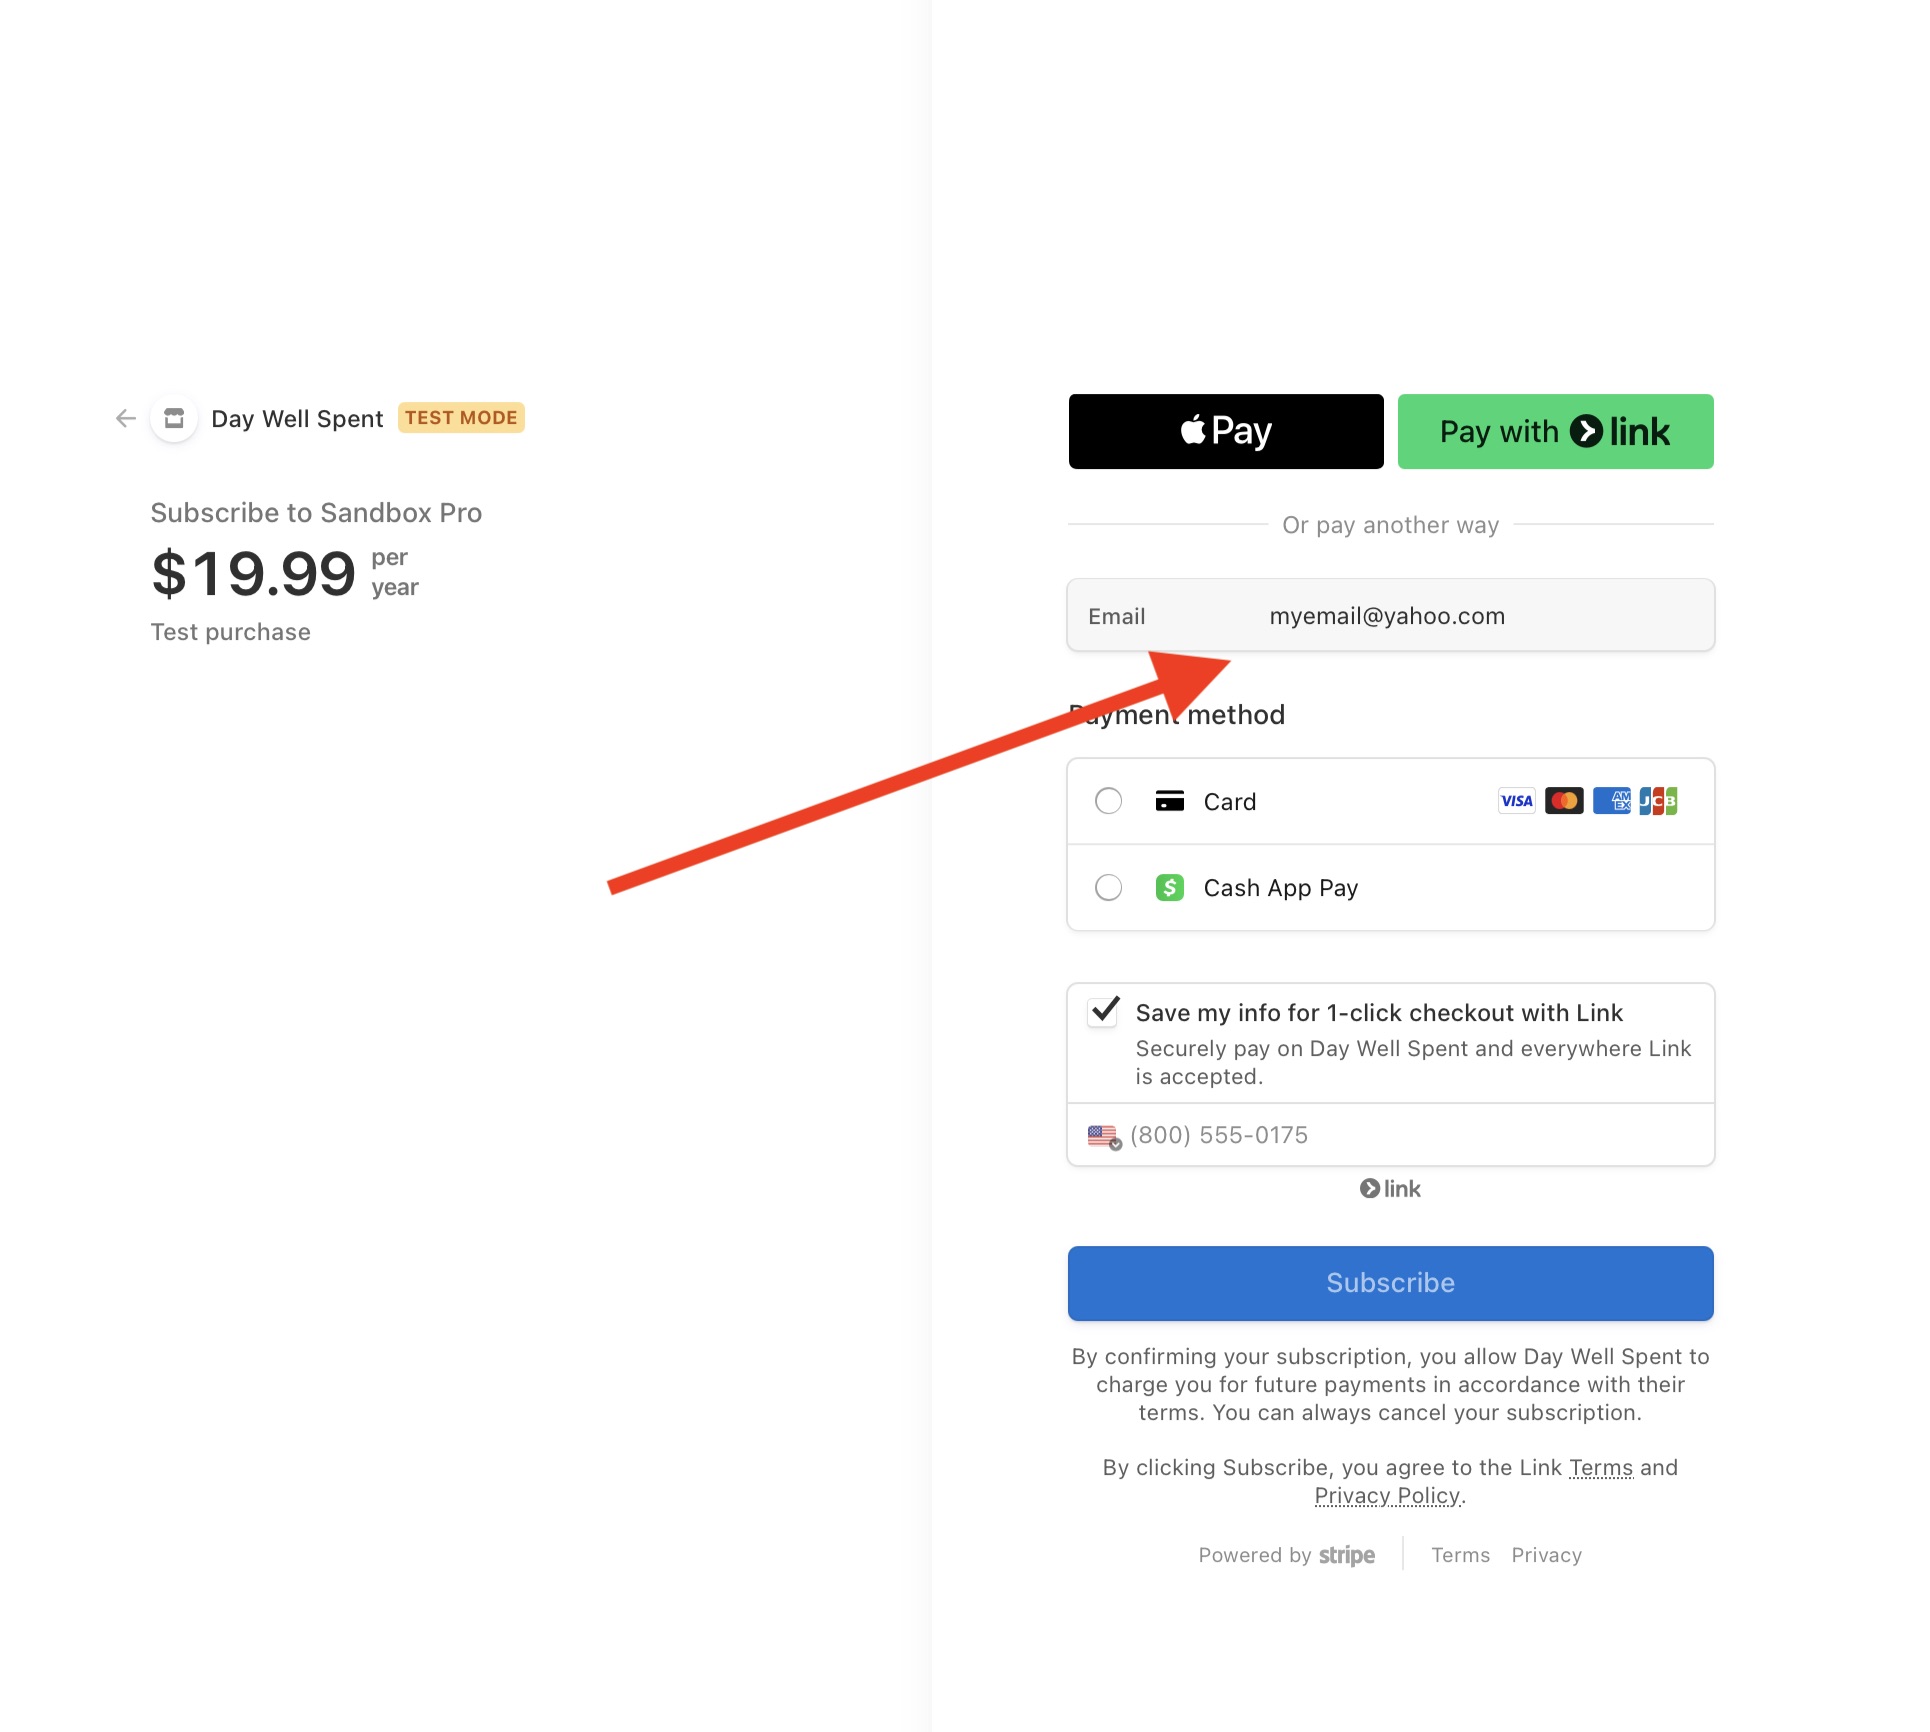
There is a special query string parameter you can use to automatically populate the user's email in the checkout flow. This is useful for pre-filling the email field in the checkout form, so that users don't have to enter it manually. Simply add email and set the value to the user's email address:
https://caffeinepal.superwall.app/black-friday-promo?email=myemail@yahoo.comWhen the Stripe checkout flow launches, the email is now filled out automatically:
Automatically populating appUserId in checkout flows
There is a set of special query string parameters which will set the appUserId for the subscription. This overrides the default behavior where Superwall will automatically assign an anonymous identifier. You may pass uid, user, or app_user_id to override the default.
https://caffeinepal.superwall.app/black-friday-promo?app_user_id=my-custom-idThis identifier will show up in Stripe metadata & webhooks. The app_user_id will be put into the client_reference_id field on a Stripe Checkout Session and will be included on the subscription metadata under _sw_app_user_id
How is this guide?
Edit on GitHub