Placements
Placements are the building blocks of a campaign. There are two types of placements:
- Standard placements: These are placements you can use which Superwall already tracks and manages for you. Things like app installs, session start, failed transactions and more. We go into more detail about them here.
- Placements you create: These are app-specific placements you create. They usually correlate to some "pro" action in your app, like "chartsOpened" or "workoutStarted" in a weight lifting app.
At their core, you register placements that, in turn, present paywalls. They can be as simple as that, or you can combine them with audiences to create specific filtering rules to control paywall presentations, create holdouts and more.
To see how they work with our SDK, check out the docs. For a quick example, here's what it looks like on iOS:
Superwall.shared.register(placement: "caffeineLogged") {
  // Action to take if they are on a paid plan
}
Don't be shy about adding placements. If you think you might want to use a certain feature in your app with a placement — do it now. You can add the placement, and keep it paused. Then, if you ever want to feature-gate that particular flow, you can enable it. No app update required.
In short, add placements for everything you want to feature gate, and things you may want to in the future.
If a campaign's paywall needs to be ready immediately, such as during onboarding or on first app launch, use Priority Placements to preload that campaign before the rest of your app's campaigns.
Placement parameters
Placement parameters let you attach contextual data when registering a placement (SDK docs). That data travels with the placement into the dashboard so you can branch logic or personalize the experience without shipping new app code.
Once parameters arrive in the dashboard, you can:
- Reference them in audience filters to decide which users should see a paywall, holdout, or rule group.
- Surface them in the paywall editor as custom variables to drive copy, images, or logic. See Using Placement Parameters for templating examples.
- Pass them along to analytics exports or downstream workflows so your broader stack understands the same context the campaign used.
The placements interface
Under the placements section, you can:
- Add new placements.
- Pause running placements.
- Delete existing placements.
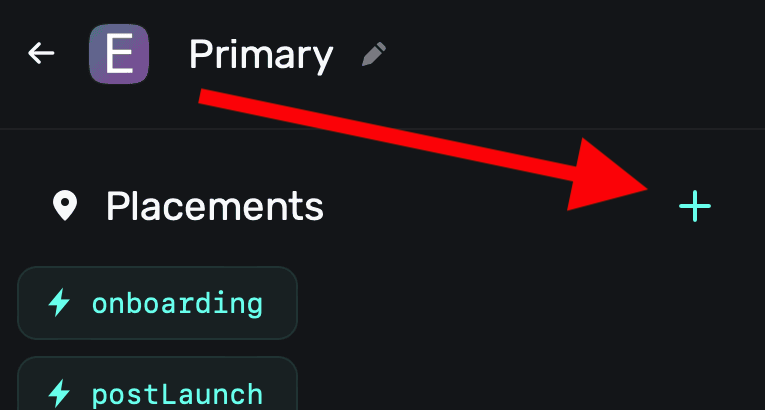
Adding a placement
To add a placement, click the "+" button in the top-right side of the placements section:
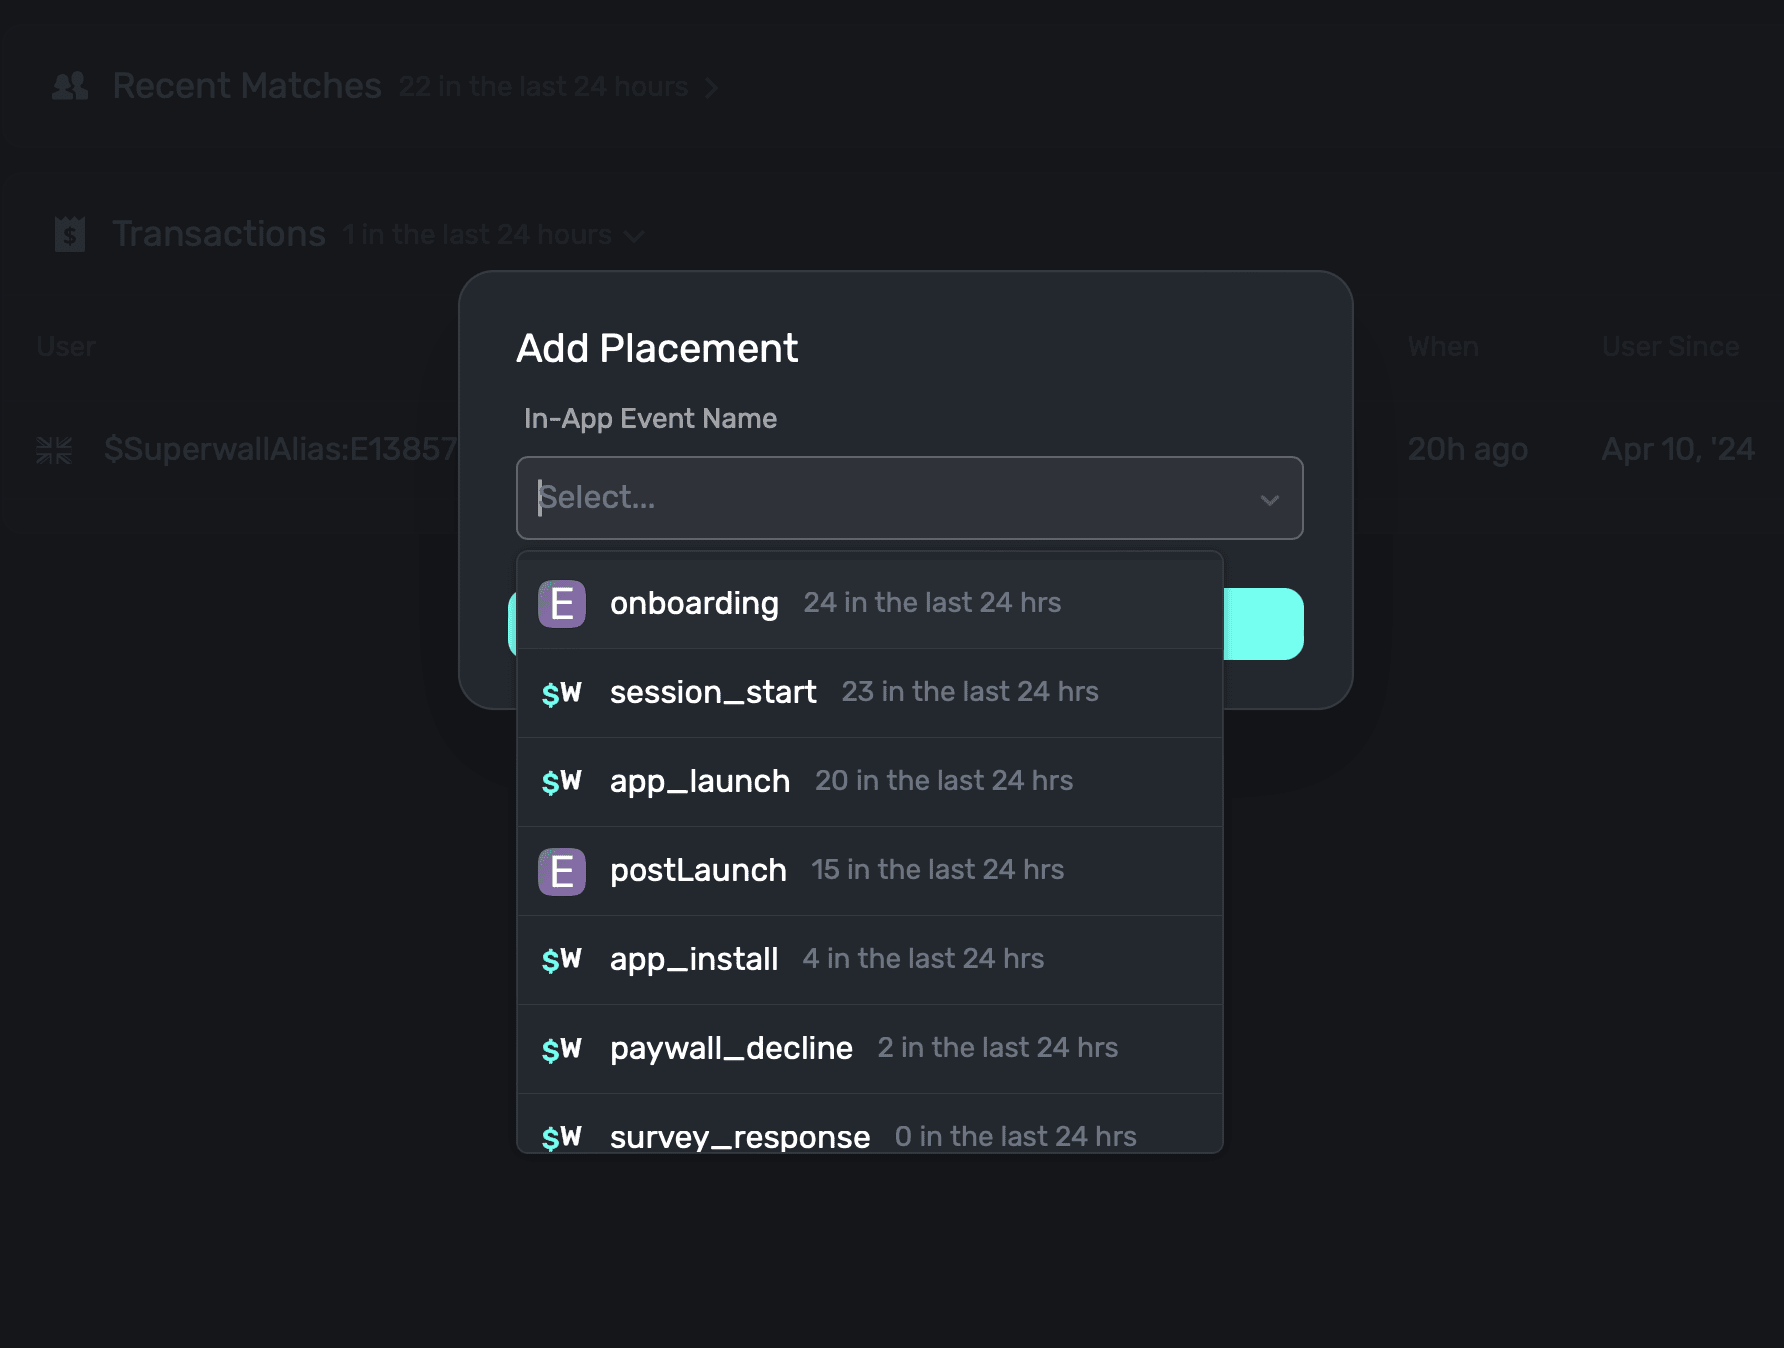
A modal will appear, and from there you can add a placement via two different means:
- Use an existing Superwall event: Superwall automatically manages several events that can be used as placements. For example, the
survey_responseevent could be used to show an entirely different paywall with a discounted offering if a user responded with a particular answer. See the list of the Superwall-managed events to learn more.
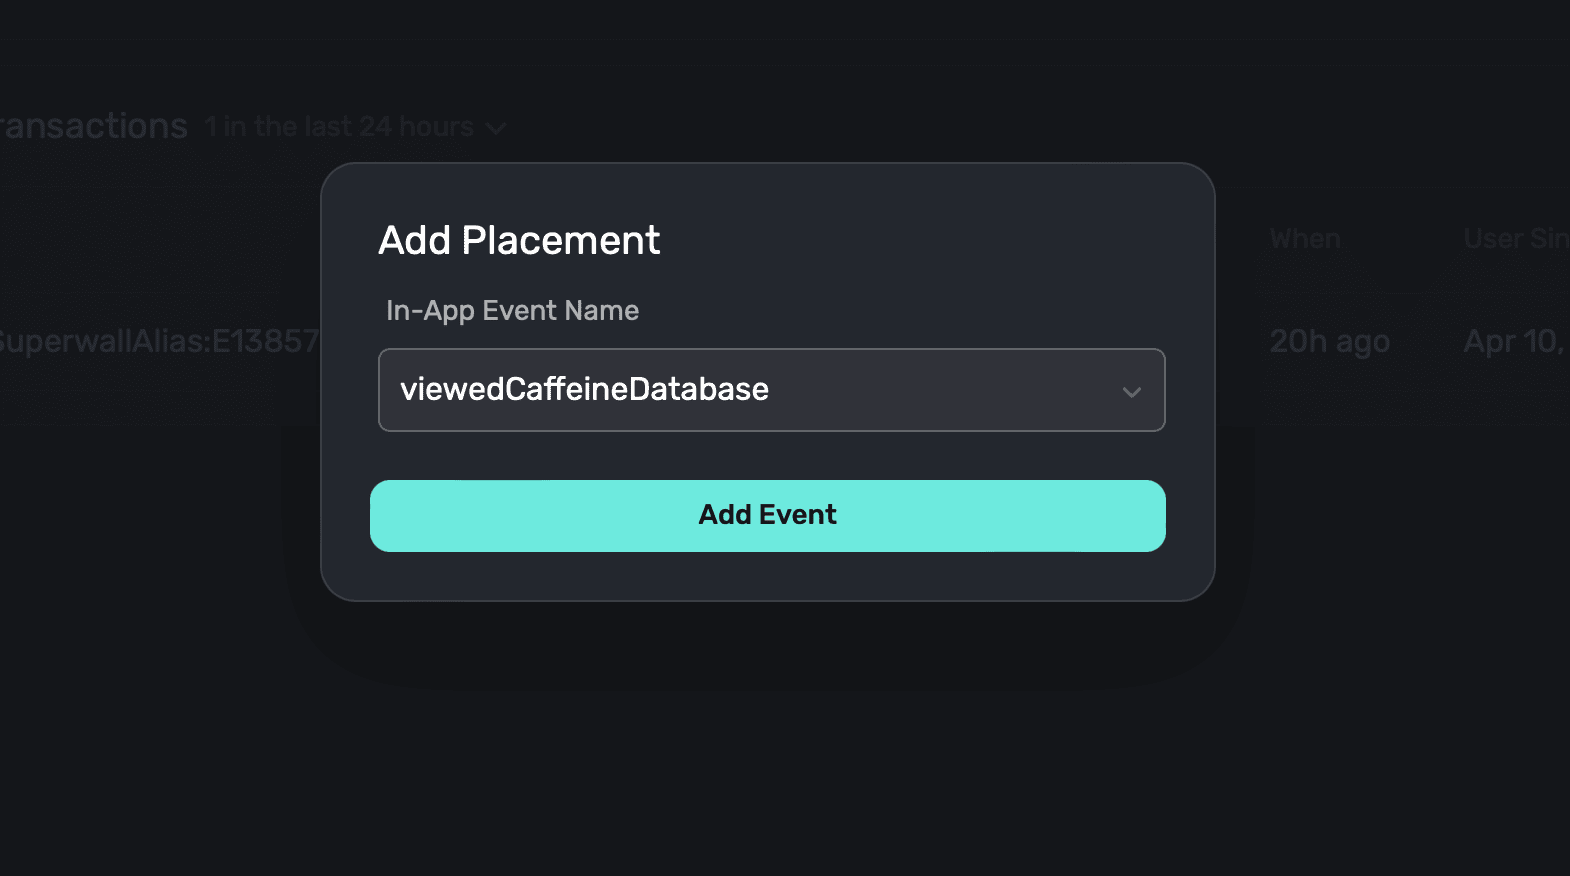
- Create your own, app-specific placement: Here, you type in whatever event you want to use as a placement in your own app. In a caffeine tracking app, one of them might be when a user logs caffeine — something like
caffeineLogged.
Either way, once you've selected one from our existing events or typed in your own, click on Add Event to associate the placement to your campaign:
You can also add placements "on the fly" by invoking register(placement:"myNewPlacement"). If
the placement you pass doesn't exist for a campaign, Superwall will automatically add it.
Basic example of placement usage
Consider a caffeine tracking app. At a basic level, we want a paywall to show when a user tries to log caffeine, and they are not on a "pro" plan:
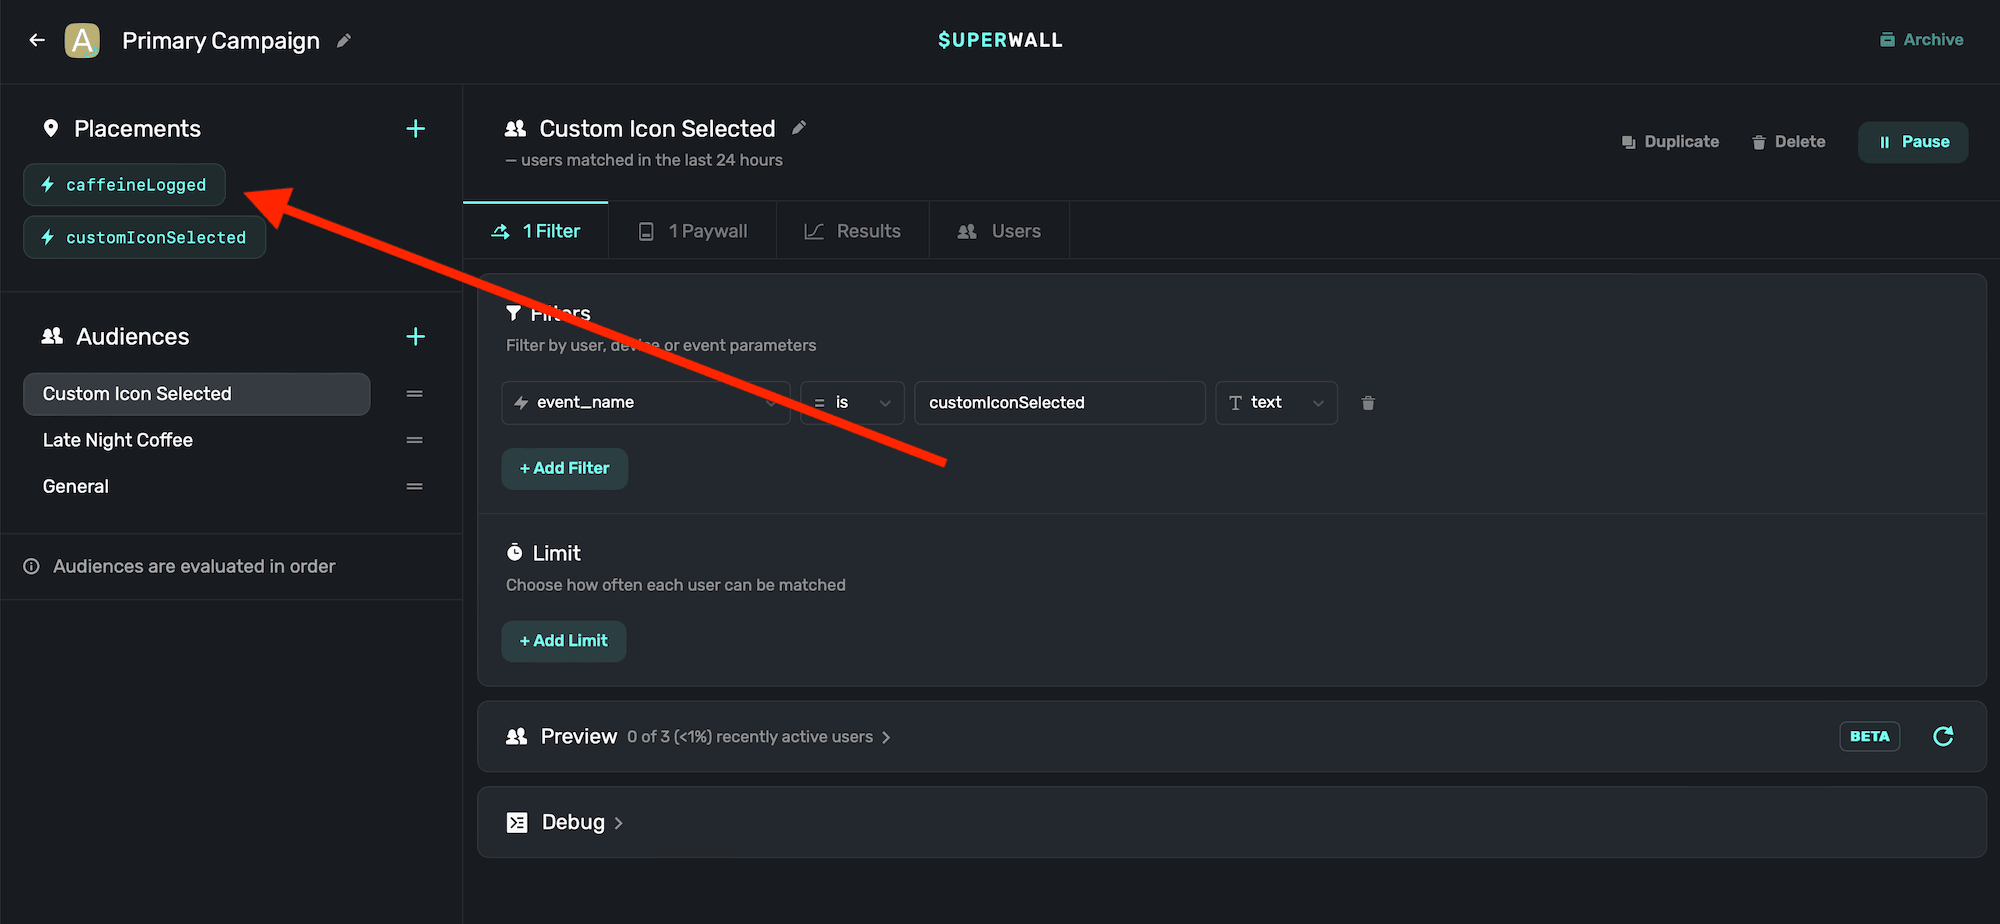
Step One: Make the placement
We'd make a placement called caffeineLogged inside a campaign:
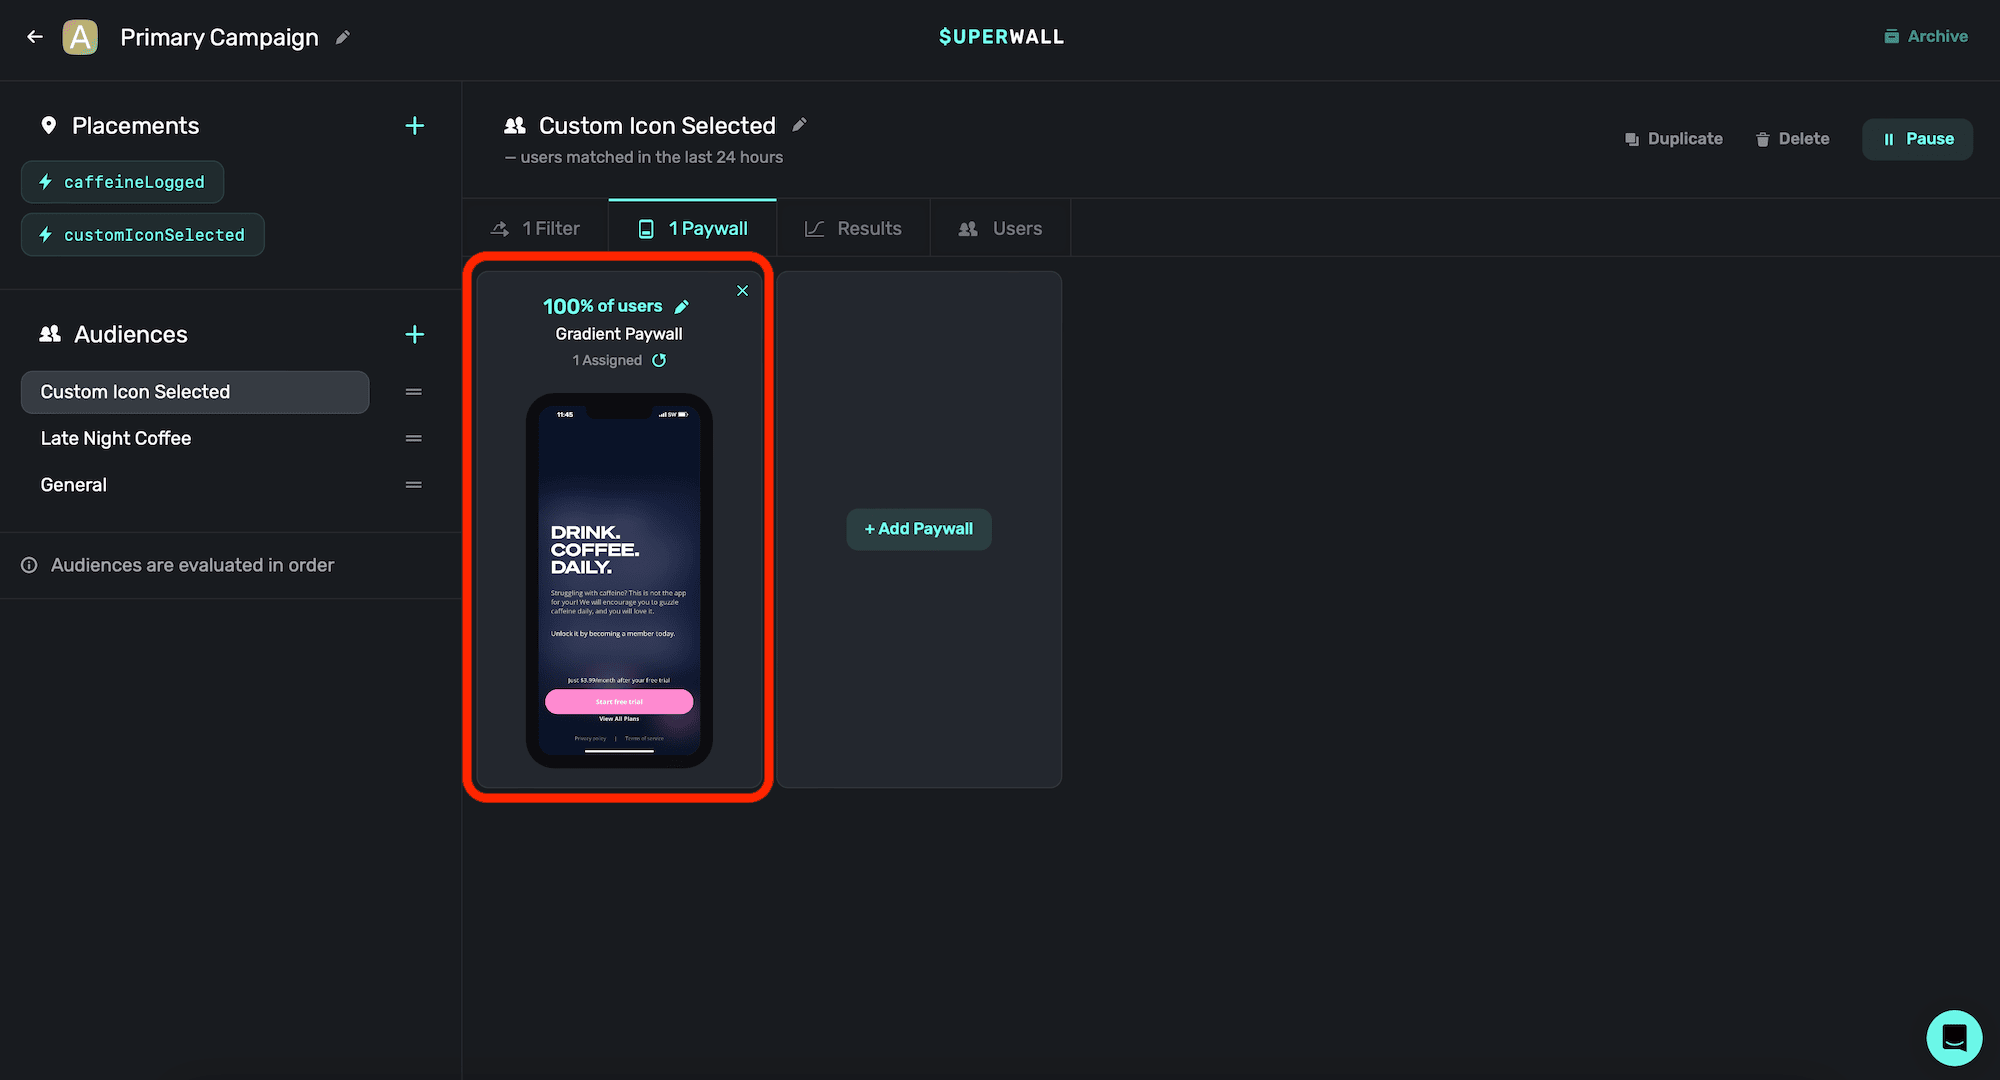
Step Two: Assign a paywall
You can use the same paywall across different campaigns, placements, filters and more. In our case, we have one that we to show. So, since this campaign has a paywall linked to it already — we are good to go:
Step Three: Register inside our app
Inside our caffeine tracking app, when the user taps a button to log caffeine, we would register the caffeineLogged event. This way, if the user is pro, the closure is called and the interface to log caffeine is shown. If they are not pro, then our paywall will show:
Button("Log") {
    Superwall.shared.register(placement: "caffeineLogged") {
        presentLogCaffeine.toggle()
    }
}
And that's it!
Remember, you can pause placements at any point. So here, if you wanted to run a campaign where logging caffeine was free for a weekend — no update would be required. Just tell your users, and pause the placement in your Superwall dashboard. No app update required.
There are also several out-of-the box placements you can use, learn more about standard placements here.
How is this guide?