Adding Products
Add your existing products from their respective storefront, such as the App Store or the Google Play Store, to an app so they can be used in one or more paywalls. For adding Stripe products, please view this doc. For iOS products purchased through your own billing system, see Custom Store Products.
Before you attempt to test a paywall on iOS via TestFlight, make sure they are in the "Ready to Submit" phase if it's their initial launch. For local testing, you can use a StoreKit configuration file at any point.
Right now, Superwall for iOS does not support Promotional Offers, only Introductory Offers. Superwall for Android only supports 1 billing phase per offer.
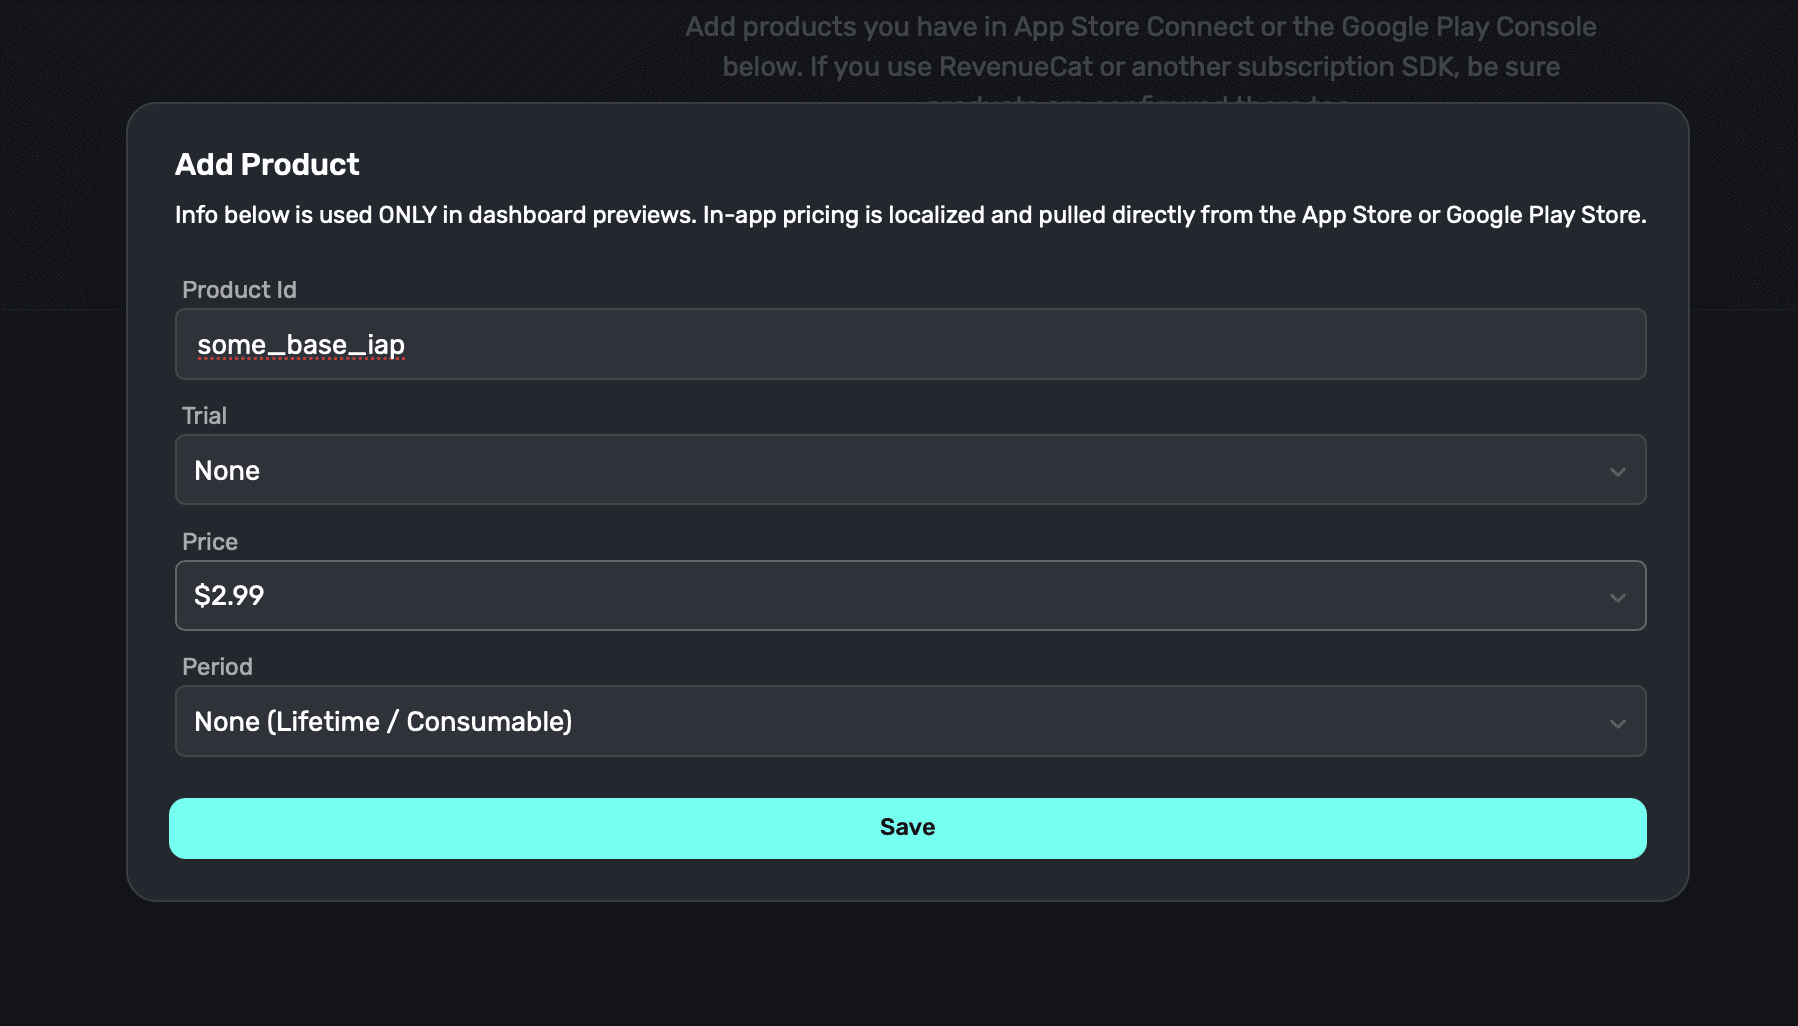
To get started, select an app. Then click the Products button from the sidebar. Choose + Add Product:
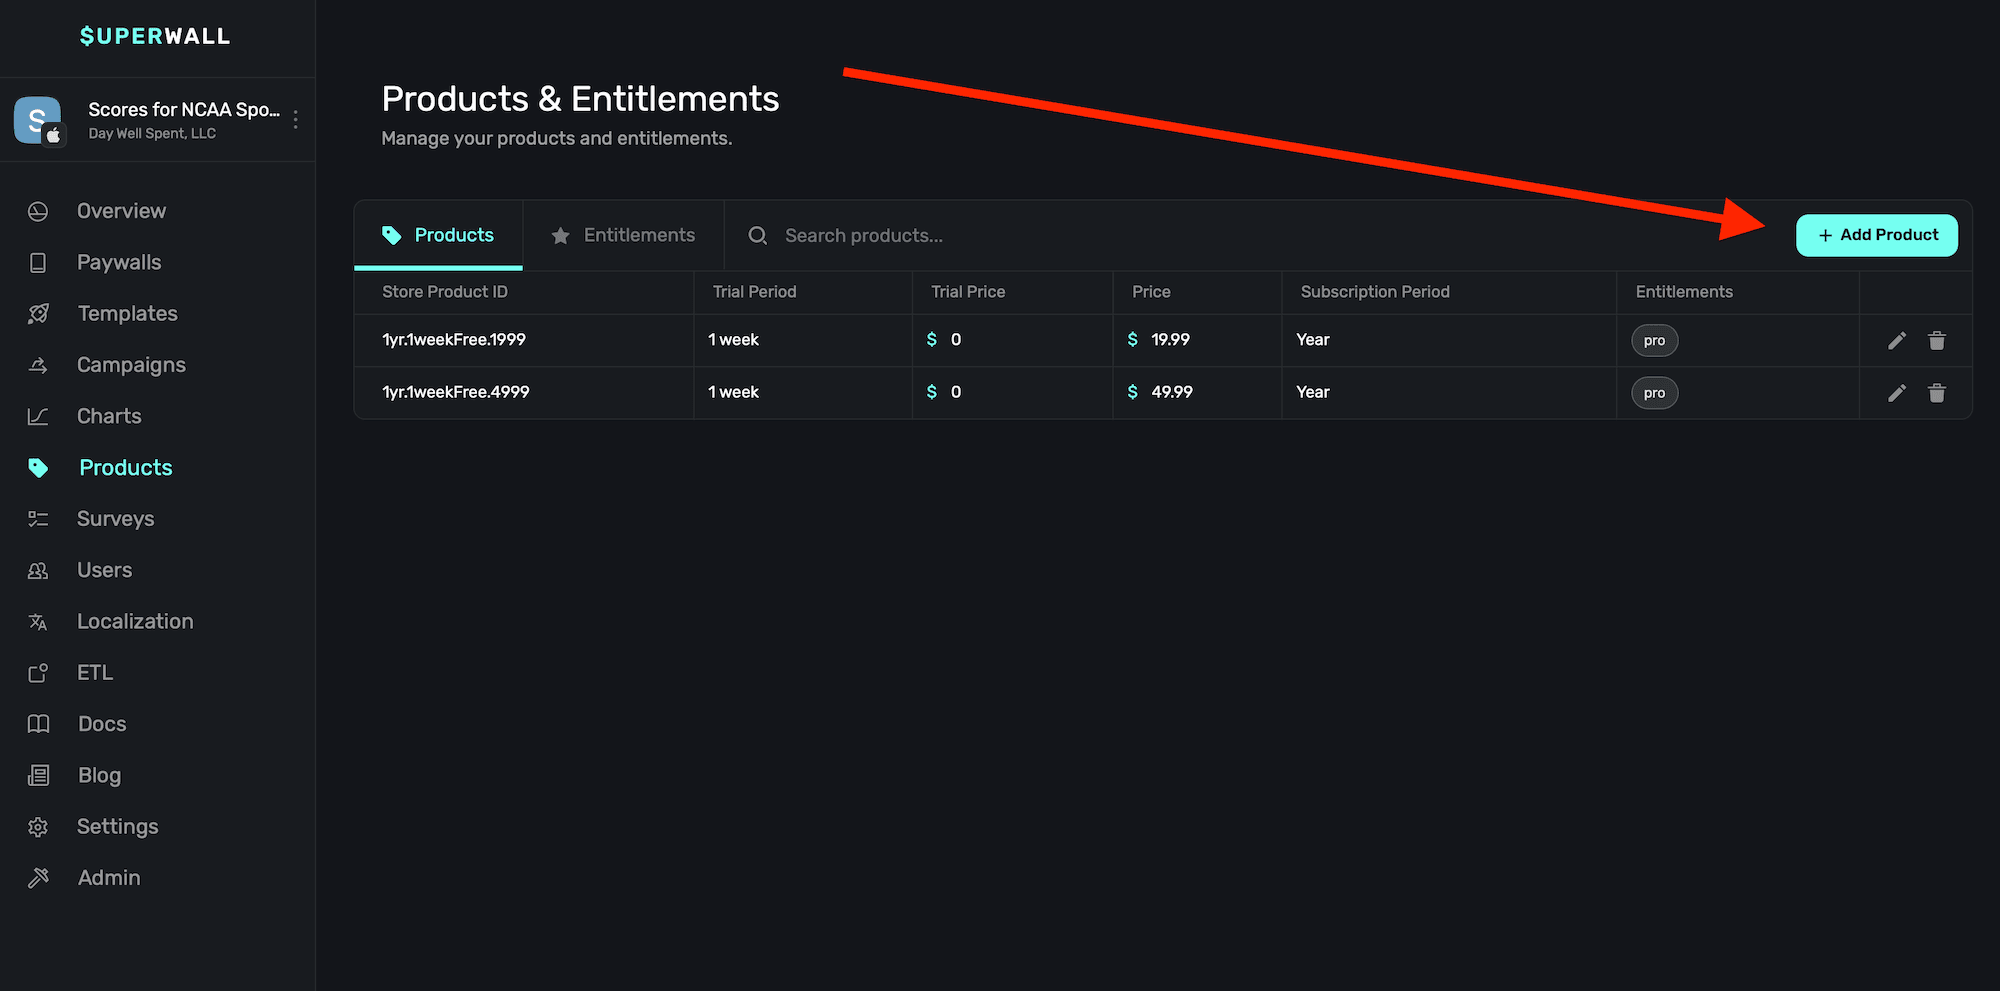
From there, you have five fields to fill out:
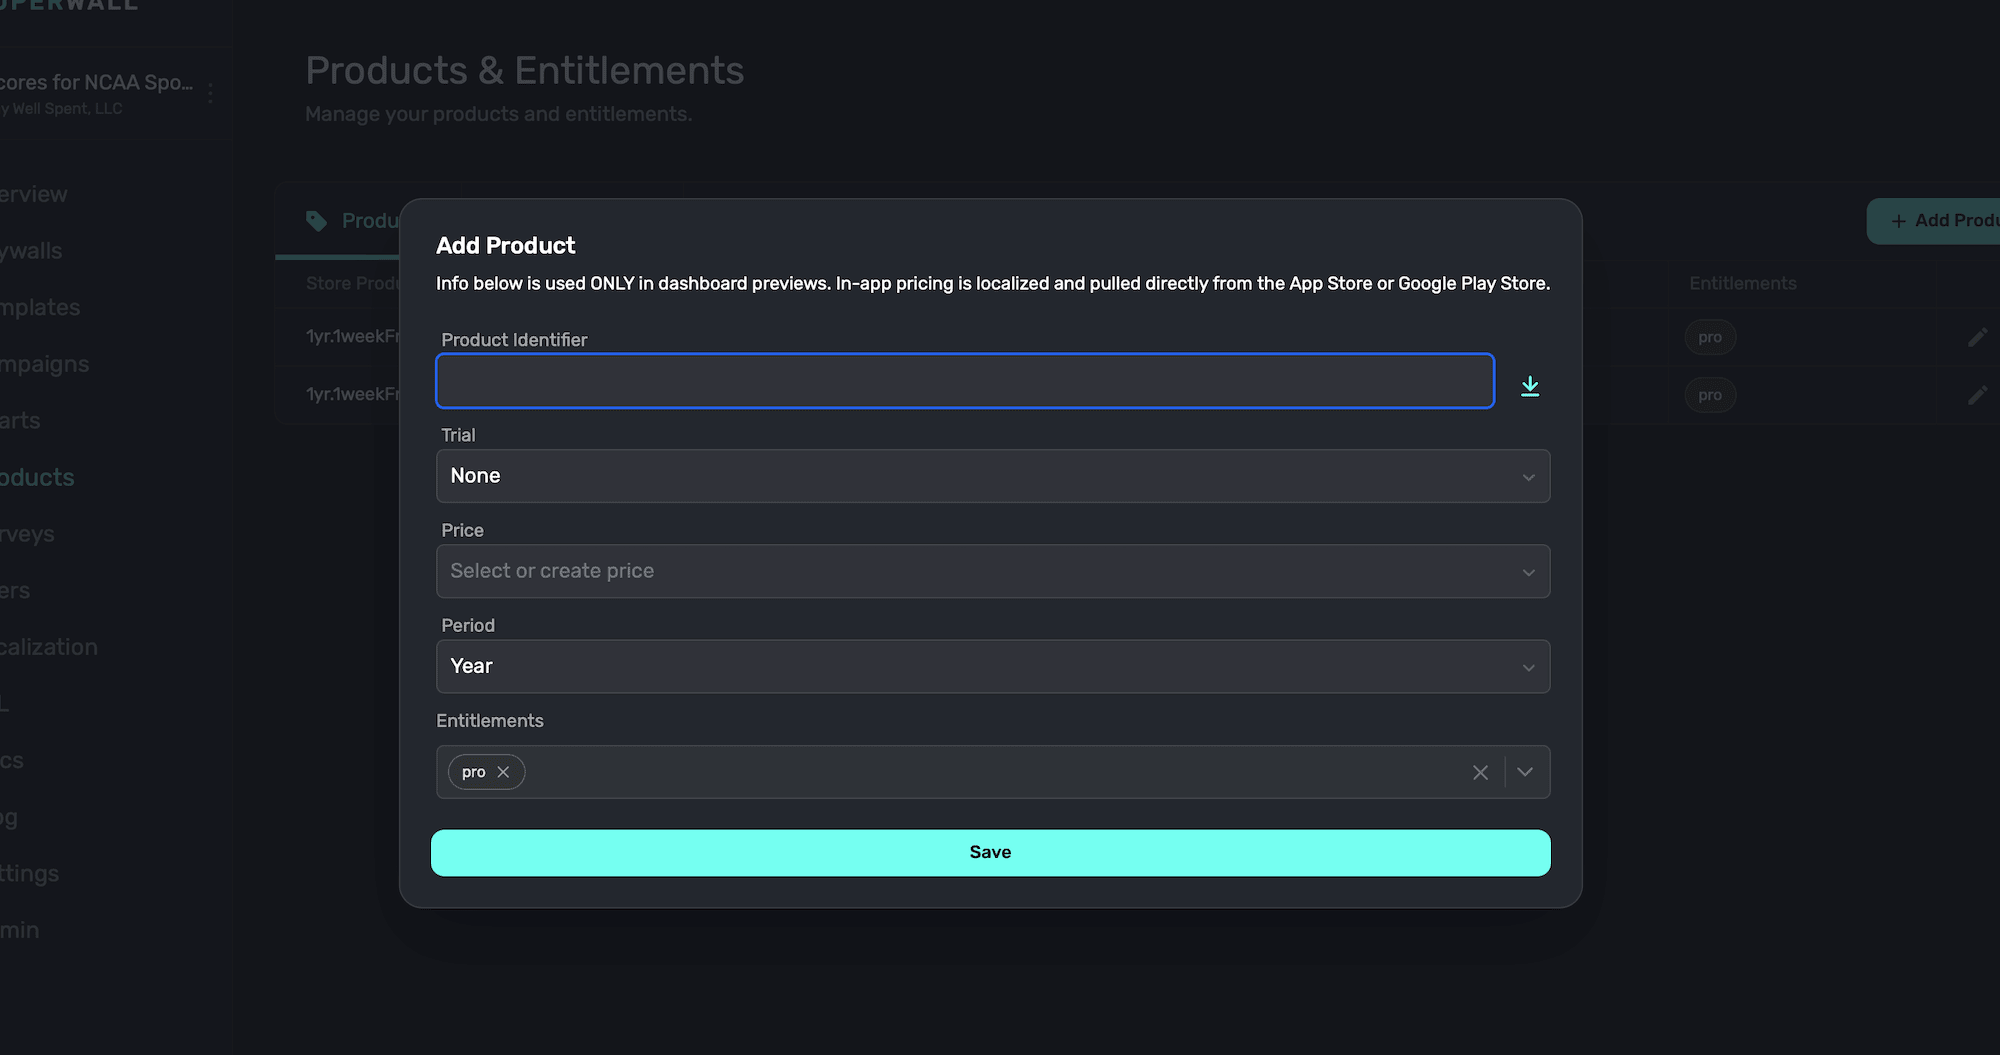
| Field | Description |
|---|---|
| Identifier | The StoreKit, Google Play, or custom billing product identifier for your product. |
| Trial | The trial duration attached to the product, if any. |
| Price | The price attached to the product. Either type one in, or just the dropdown to select common price points. |
| Period | The length of the subscription. |
| Entitlements | The entitlements this product belongs to. |
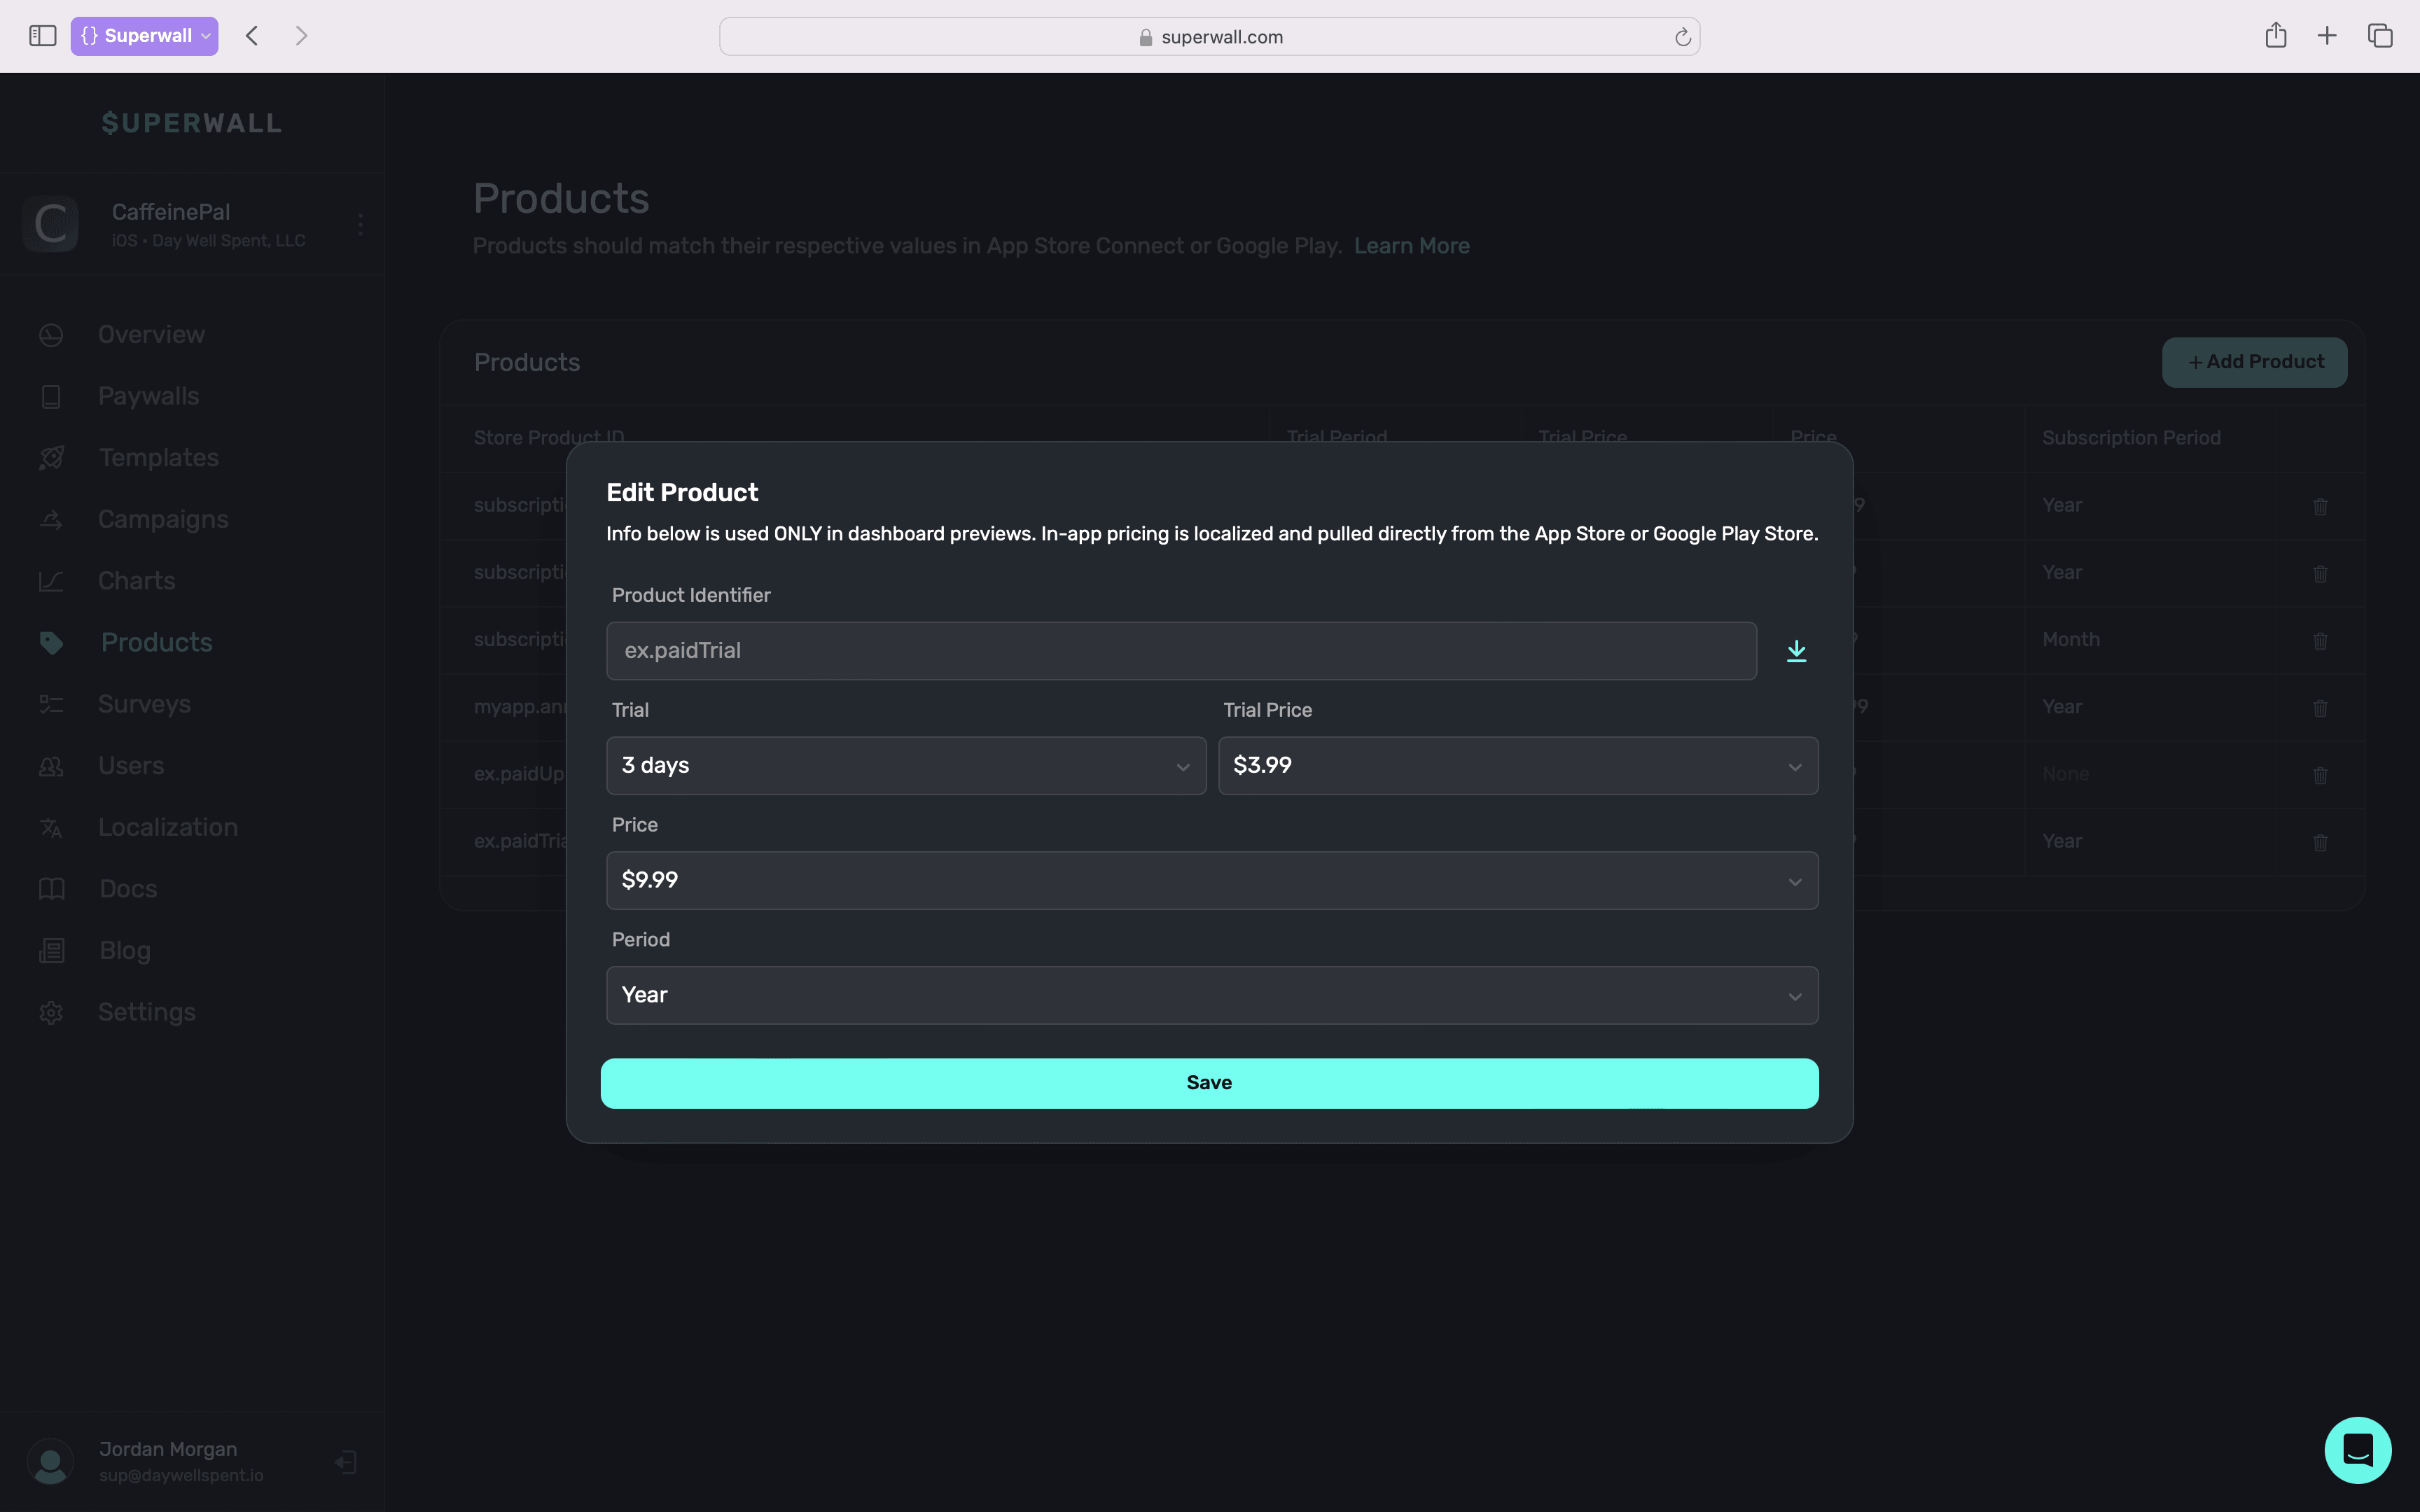
When you're done, click Save.
Note that the pricing information you enter here is only used in the Paywall Editor for App Store and Google Play products. On device, that information is pulled directly from the App Store or Google Play Store and will be localized. For iOS Custom Store Products, the SDK uses the product metadata from Superwall and routes purchase attempts to your PurchaseController.
Monthly billing plans for annual iOS subscriptions
Annual App Store subscriptions can offer Apple's monthly billing plan, where the customer is billed monthly with a 12-month commitment. Use this when the same annual subscription should be merchandised as either a monthly-installment plan or an up-front annual plan.
Before adding the plan in Superwall:
- Configure the monthly billing plan for the annual subscription in App Store Connect.
- Use an iOS App Store product with Period set to 1 year in Superwall.
- Use iOS SDK
4.16.0or later in your app.
To add the plan to a product:
- Open the iOS App Store product in Products.
- Make sure Period is set to 1 year.
- Click Add monthly billing plan.
- Enter the Monthly price.
- If the monthly plan has its own introductory offer, configure Monthly trial.
- Click Save.

The monthly price and monthly trial values are used for Paywall Editor previews. On device, the iOS SDK reads the matching StoreKit pricing term and uses App Store localized pricing. If the device or storefront cannot use the monthly billing plan, the purchase falls back to Apple's default billing plan for the product.
After the product has a monthly billing plan, each paywall product slot can choose whether to present Monthly installments or Up-front. See Products in the Paywall Editor.
Take care to make sure your product identifier is correct and matches its storefront. This is the most common cause for products not working correctly when testing.
Entitlements
Entitlements represent the amount of access or features users are entitled to. They can be used to offer different tiers of service, or just represent a single "active" subscription if your app only has one level of service (i.e. "Pro" unlocks everything). All products are granted a default entitlement.
Subscription status is determined by entitlements.
If a product has no entitlements then when a user purchases it their subscription status will be Inactive. Ensure each subscription product is linked to at least one entitlement.
If you don't have multiple tiers of service, you can use only the default pro entitlement — you don't need to create any additional entitlements.
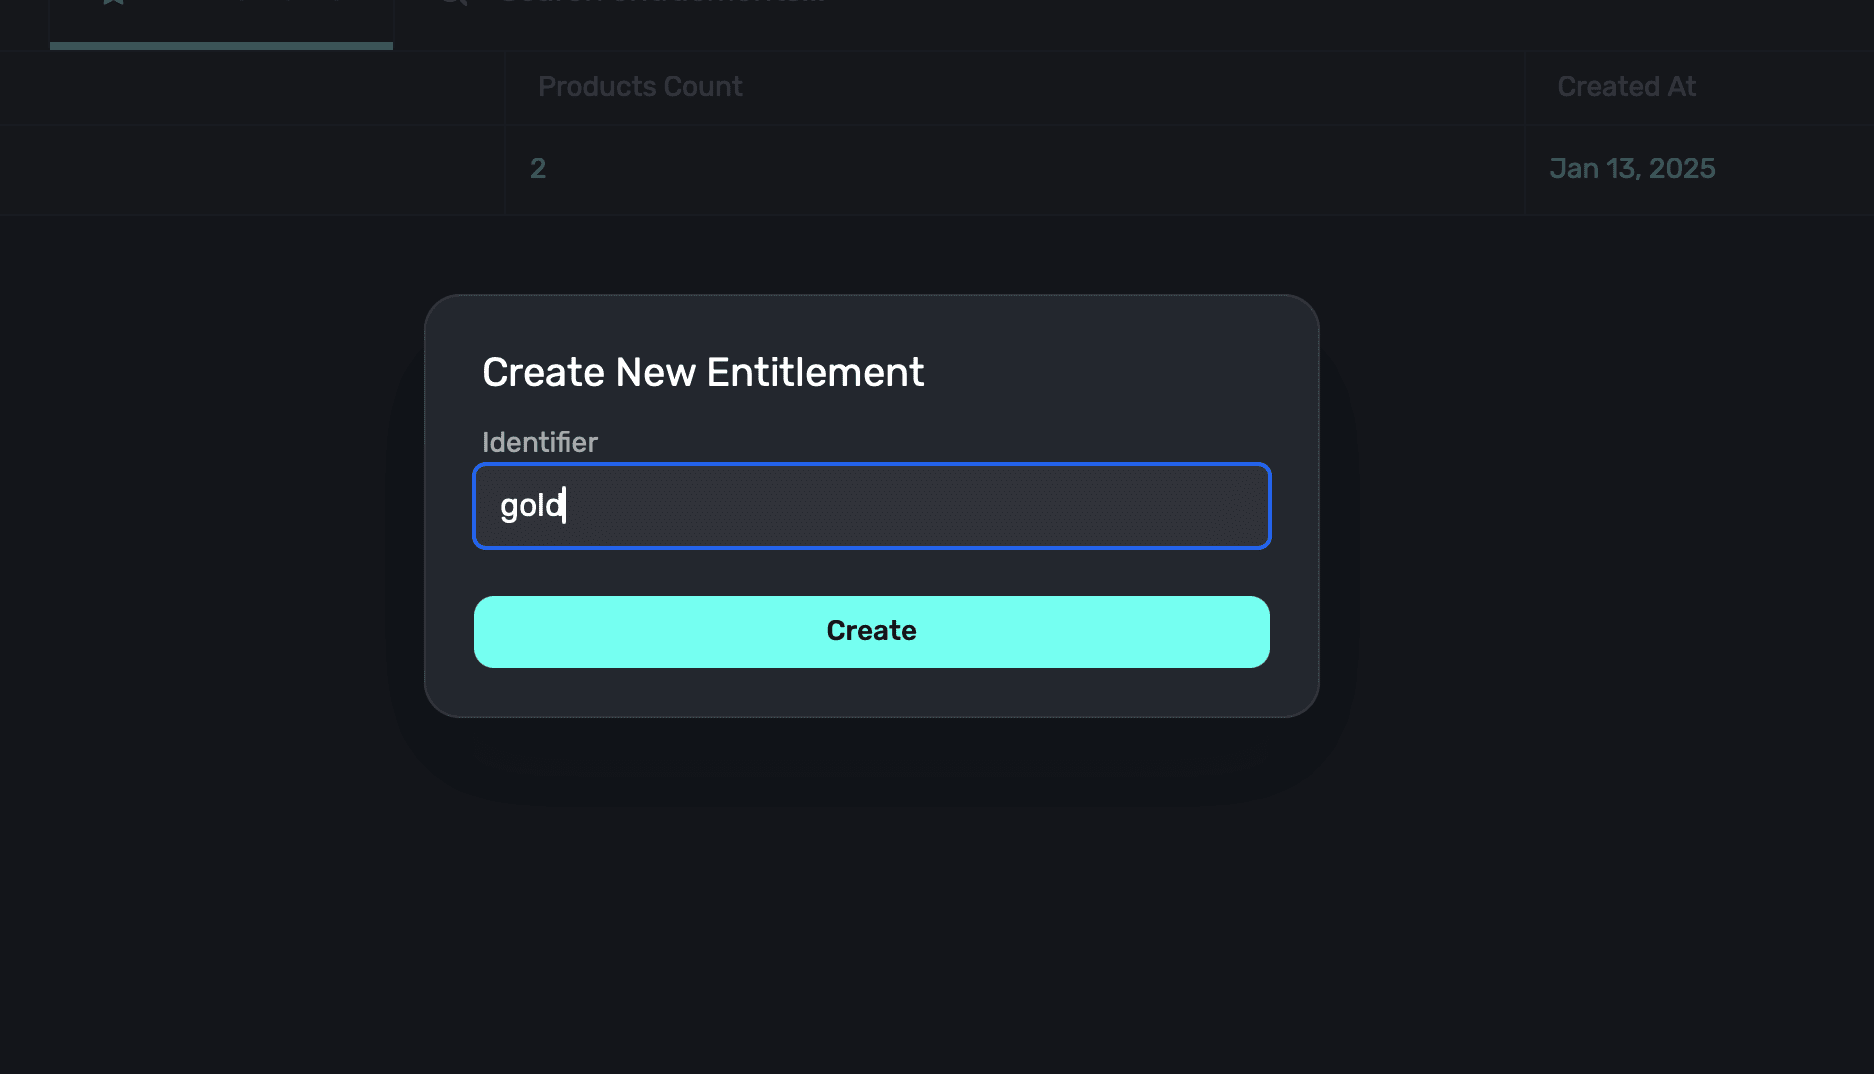
To add an entitlement, click on the Entitlements tab within the products page. Then click Add Entitlement:

From there, give it a name, and click Create:
At this point, you can go back to your products and attach one or more entitlements to each one.
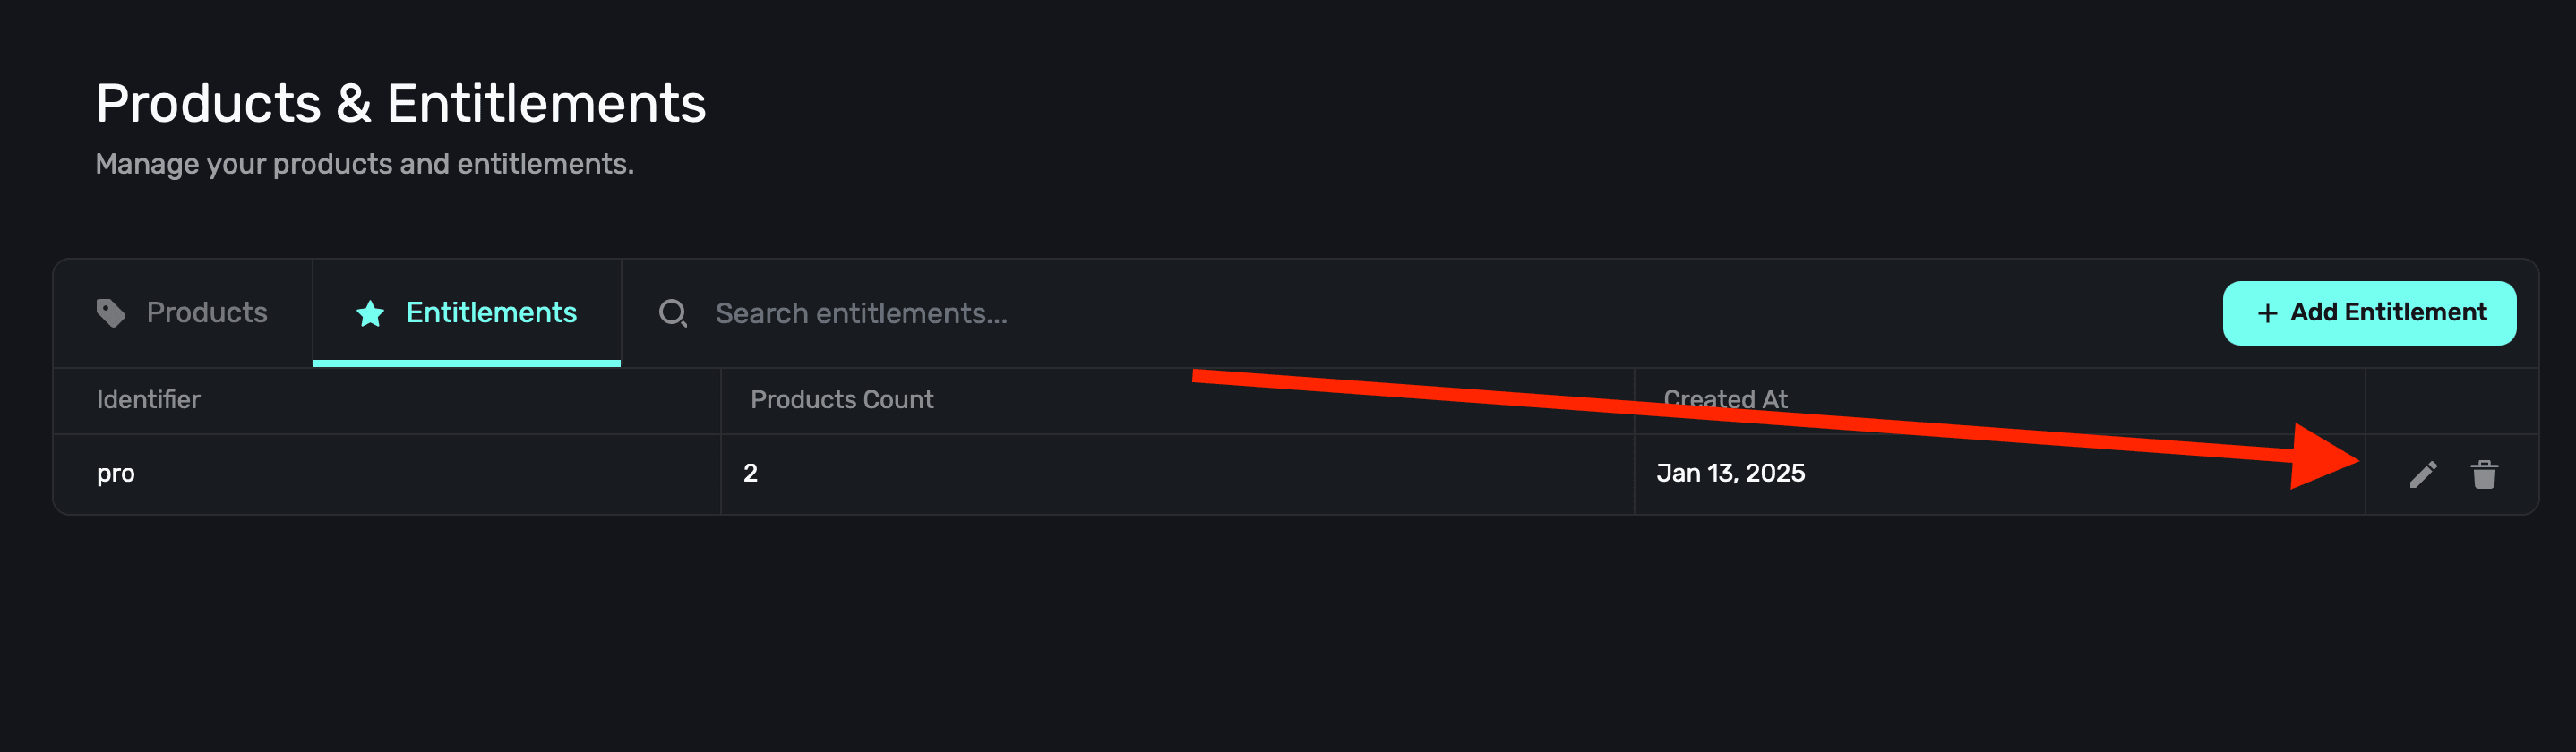
Editing entitlements
To edit or delete an entitlement, click on the trailing pencil icon or the trash can icon to remove one. Note that if your entitlement is associated with any product, you'll need to remove it first before you can delete it.
Getting product identifiers
If you use RevenueCat to handle in-app subscriptions, skip to Using RevenueCat
Using App Store Connect
On App Store Connect, head over to Your App ▸ App Store ▸ Subscriptions ▸ Your Subscription Group:

Then, copy your Product ID:

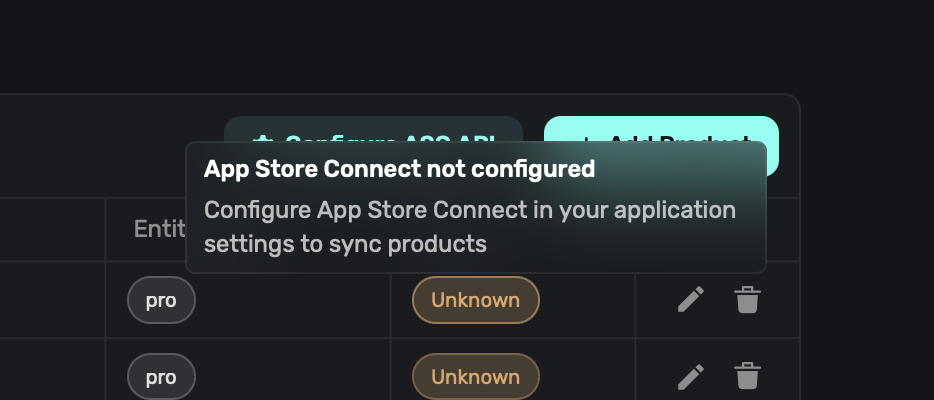
Your products, whether live or pre-release, shouldn't be in the "Missing Metadata" state. If they are, you won't be able to test them on device. To fix this, make sure your products are in the "Ready to Submit" or "Approved" state. Superwall will automatically warn you if they are in this state when you have the App Store Connect API set up:
Using Google Play Console
To add subscription products, on Google Play Console, head over to Your App ▸ Monetize ▸ Products ▸ Subscriptions:

You can also grab your base plan id and any offer ids if you're going to use them.
To add in-app products, no base plan id is required. For period, select None(Lifetime/Consumable):
Google Play Offers
Google play allows you to create multiple base plans and multiple offers for each base plan. When using Superwall, you can either specify a specific offer or let Superwall choose the best offer for the user.
Automatically Choosing Offers
Once Google has returned offers that are applicable for that user, Superwall will use the following logic to choose the best offer for the user:
- Find the longest free trial the customer is eligible for
- If there is no free trial, find the cheapest introductory period the customer is eligible for
- If there is none, fall back to the base plan
- If you have an offer on one of your products that you never want to automatically be selected by this logic (for example, because it is a discount only used for a specific customer group), add the tag
sw-ignore-offerto that offer in Google Play Console.
To add the sw-ignore-offer tag in Google Play Console:
- Open the subscription offer you want to exclude and choose Advanced settings.
- In Tags, add
sw-ignore-offer(all lowercase) and click Save.
Superwall will ignore any offer that includes this tag when selecting the best offer for the user.
That means that if your eligibility criteria is set so that someone can use an offer only once, we'll respect that and choose from the best remaining offers.
Specifying Offers
Let's say you have a base plan with two or more offers which differ in trial duration. You may want to A/B test these offers to see which one performs best. To achieve this, you can specify the offer id in the Superwall dashboard.
When we specify an offer id, we'll ignore the logic above and always use the offer if the user is eligible. If the user is not eligible for the offer, we'll fall back to the base plan. The eligiblity criteria is set in the Google Play Console, and is based on the user's purchase history.

Using products in paywalls
After you've added products to an app, you're ready to start using them in paywalls. Check out our docs for a step-by-step guide on how to do that.
Understanding how consumable and non-consumable products work
Superwall uses entitlements to determine ongoing access. Consumables and non-consumables are both one-time purchases, but they should be configured differently:
- Consumable products (e.g., credits, tokens, energy boosts) should usually have Period set to None (Lifetime / Consumable) and no entitlements selected. Your app grants the benefit after the purchase event.
- Non-consumable products (e.g., a lifetime unlock) should use Period set to None (Lifetime / Consumable) and should be linked to the entitlement they unlock.
If a product has no entitlements, purchasing it will not make the user's subscription status active. This is expected for consumables.
Finish setup in the SDK guide for your platform:
- iOS consumable products
- Android consumable products
- Flutter consumable products
- Expo consumable products
On iOS, consumables also require SKIncludeConsumableInAppPurchaseHistory in your Info.plist as a Boolean set to YES. On pre-iOS 18 devices, StoreKit 1 will be used when this key is present. See the iOS consumables guide for the exact setup.
Understanding paid offer types
Any paid up front or pay as you go product offer types will also be referenced using the trial variables. In Superwall, these are represented as "paid trials". For example, to reference the product's trial price of $3.99 in the image below, you'd use products.selected.trialPeriodPrice:
For more on setting customized text using Liquid Templating, visit this doc.
A note on StoreKit configuration files
If you're using a StoreKit Configuration file, pricing information will come from there during local testing. Therefore, it's important to keep your StoreKit Configuration file, Superwall, and the App Store products all in sync. Follow our Setting up StoreKit testing guide for more information.
Having an issue on device with products not appearing? Run through this checklist to make sure everything is configured correctly.
How is this guide?
Rules
Rules allow you to decide _which users_ see a paywall.
Surveys
Adding a paywall exit or post-purchase survey is a great way to boost conversion and get feedback on why users declined or purchased from your paywall. Once you've configured a survey, it can be attached to multiple paywalls. A user will only ever see a specific survey once unless you reset its responses.