Paywall Localization
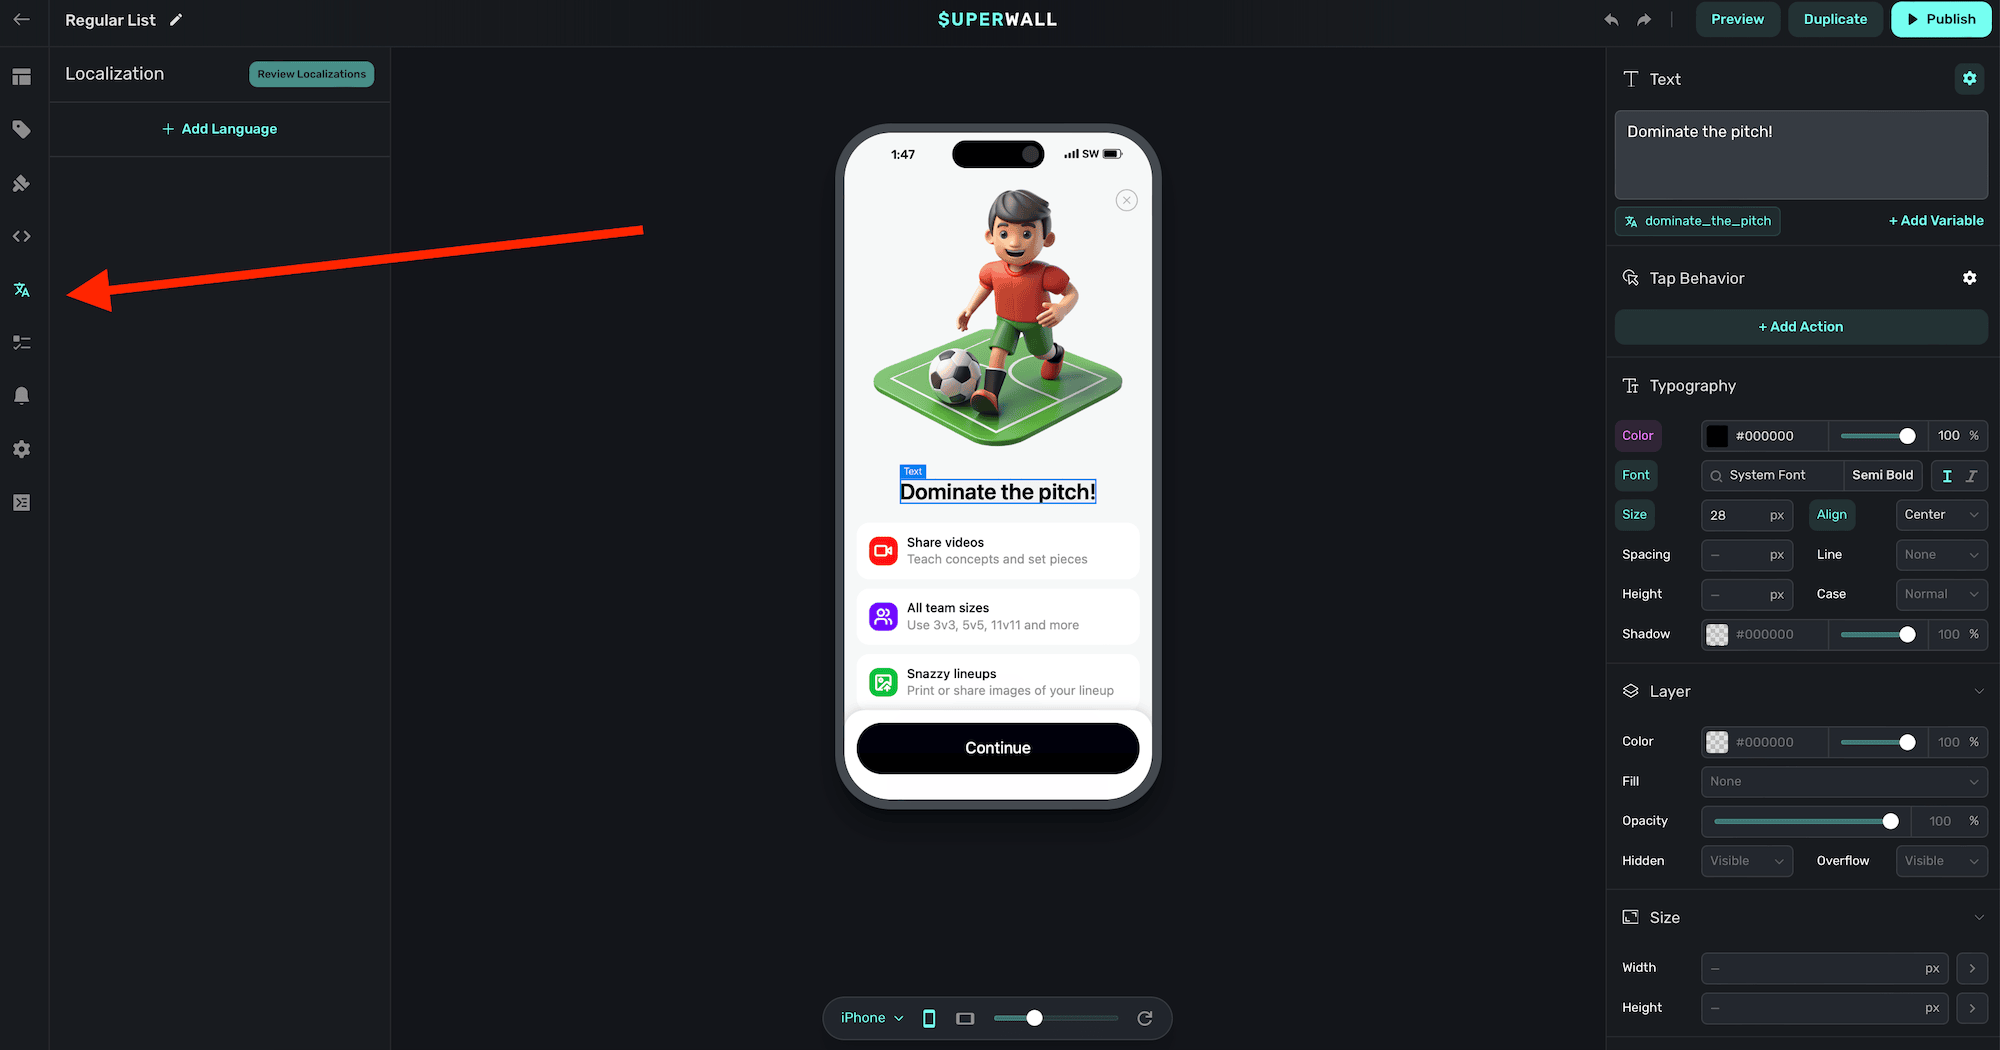
To localize your paywall, click on the Localization button from the sidebar:
There are two ways to localize your paywall:
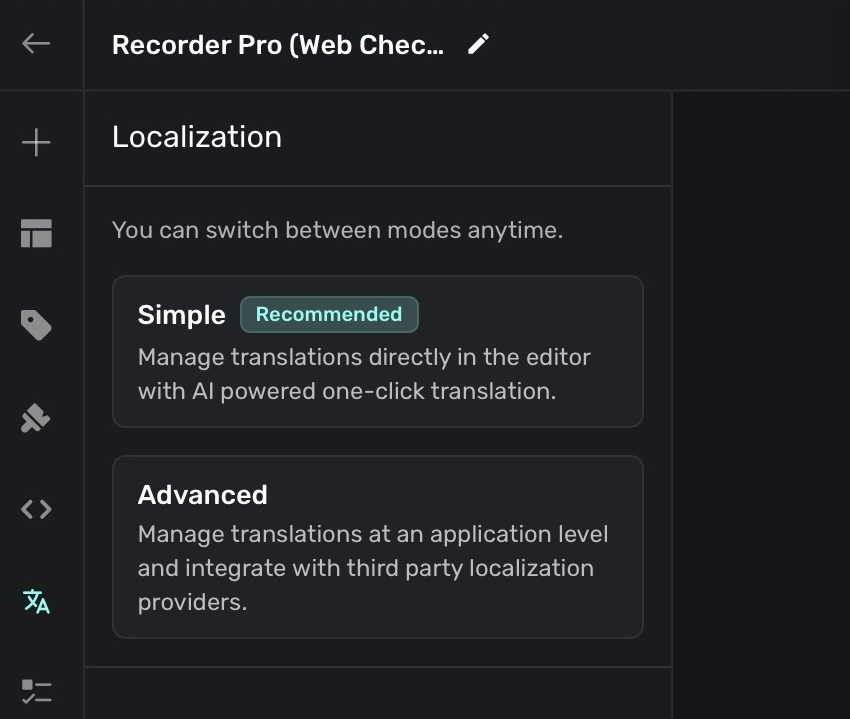
- Simple: Here, you can use AI to localize your paywall into any language. You can manually refine each value at any point. Quick and accurate.
- Advanced: User external .strings files to localize your paywall. This is ideal when you are using external localization services.
Simple localization
Once enabled, a new side panel will present to help you localize you paywall:
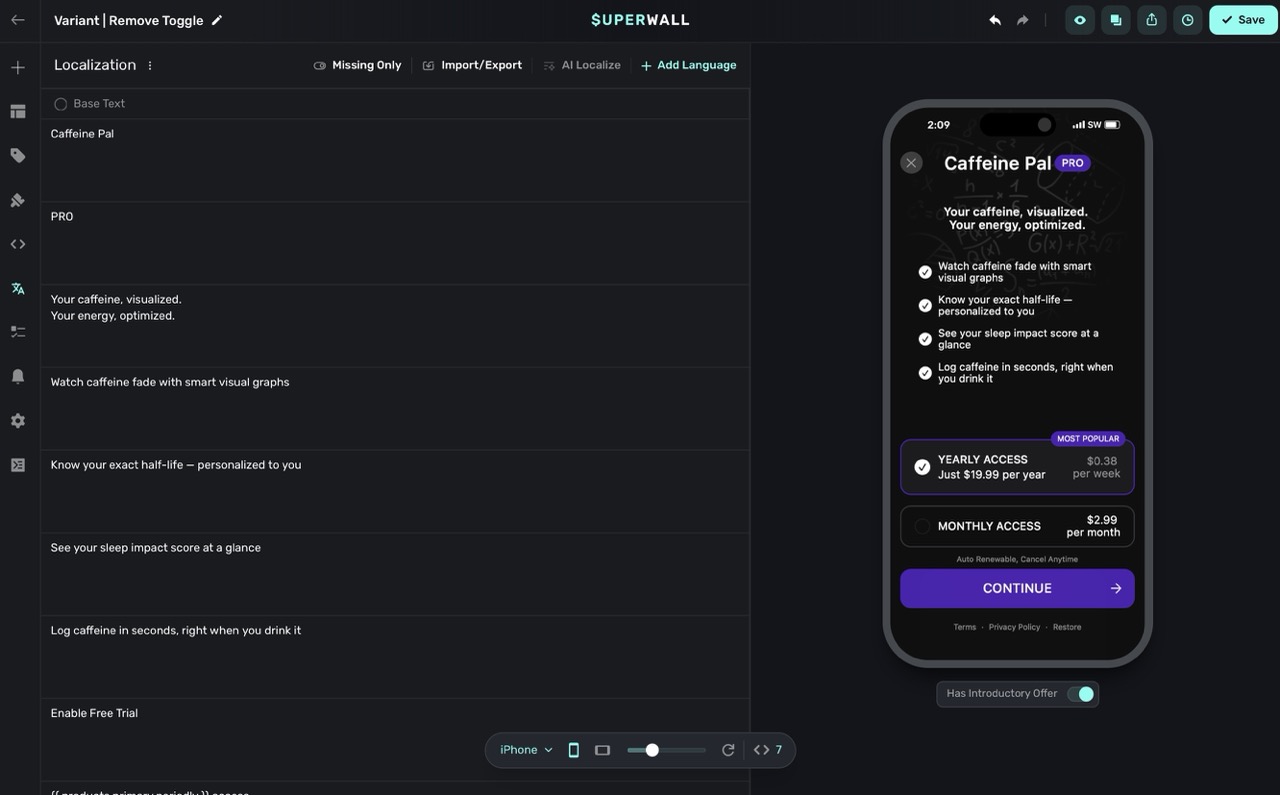
You can control localization with the options at the top:

Here's what each options does, left-to-right:
| Name | Description |
|---|---|
| Localization | Opens a menu with options to access AI localize settings, switch to advanced localizations, or clear all localizations. |
| Missing Only | Filters the list to show only keys that have no localized value. |
| Import/Export | Allows importing or exporting localization data as a .csv file. |
| AI Localize | Starts the AI-powered localization process for selected keys. |
| Add Language | Lets you specify a new language to add for localization. |
To start the AI localization process, click on the Add Language button. Then, choose AI Localize. Superwall will being to localize each value, while respecting the AI Localize settings in place:
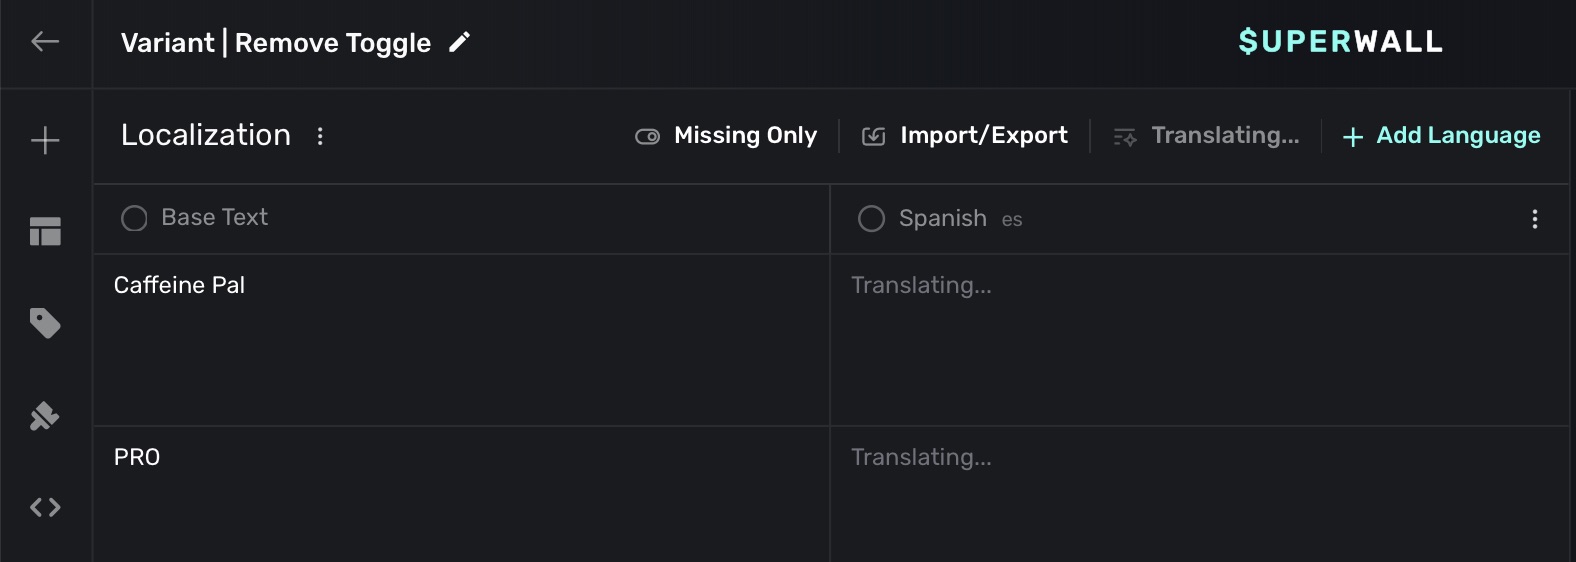
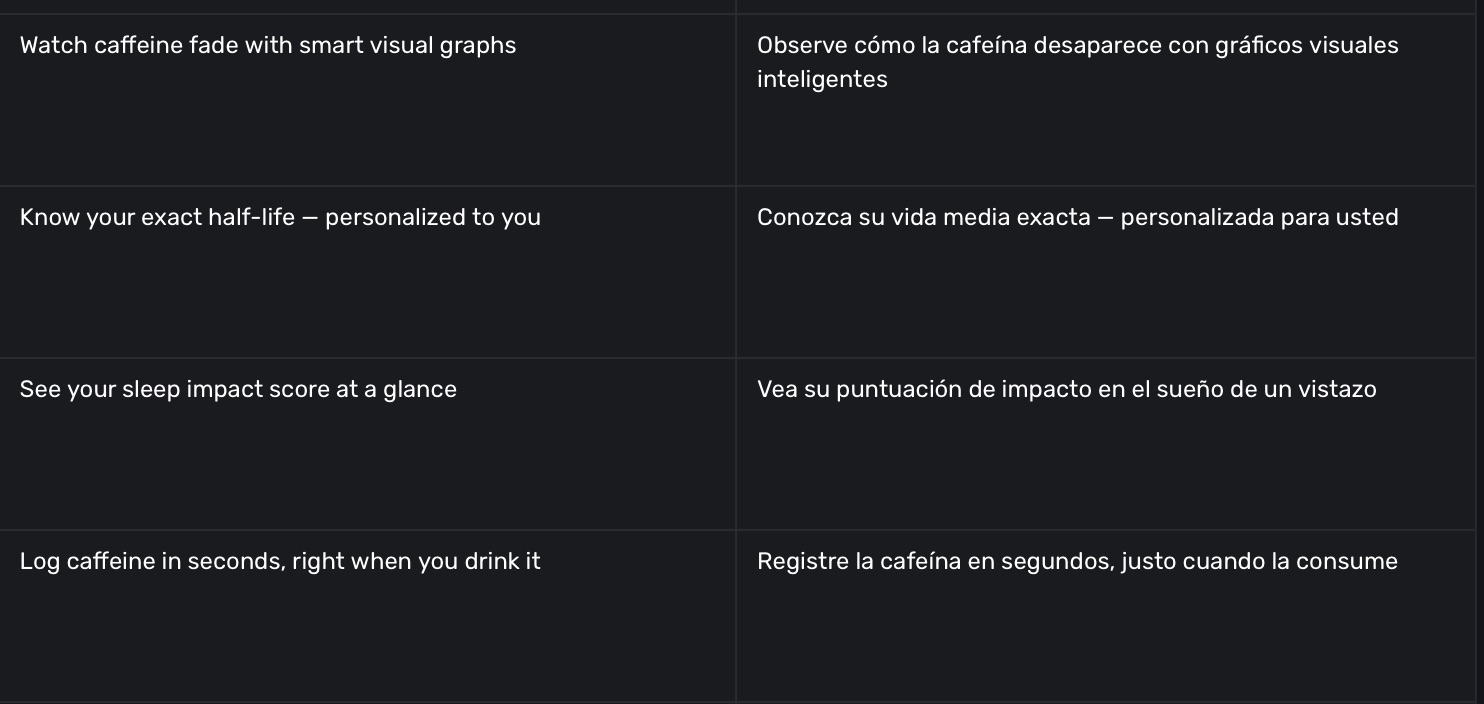
Once finished, you'll see all localized values:
AI localization settings
You can customize how AI localization behaves by changing the settings in the AI Localize Settings menu:
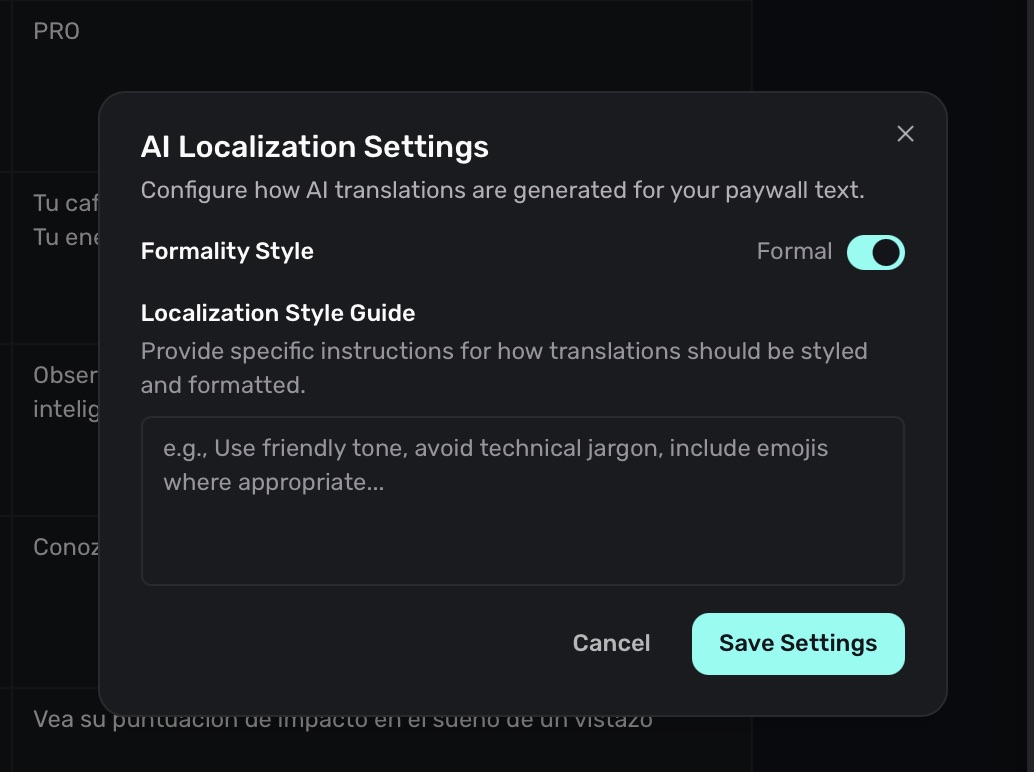
The Formality Style lets you toggle between formal and informal language. Use the Localization Style Guide to provide specific instructions to your brand's voice accurately.
Managing languages
To remove or reset a language, click on the three dotts button next to the language:

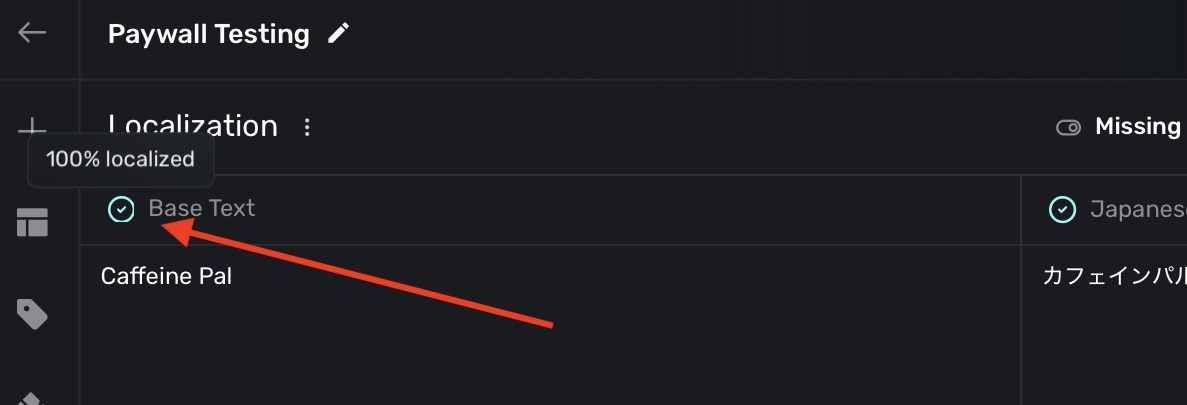
To switch back and forth between languages, simply click the language at the top:
Advanced localization
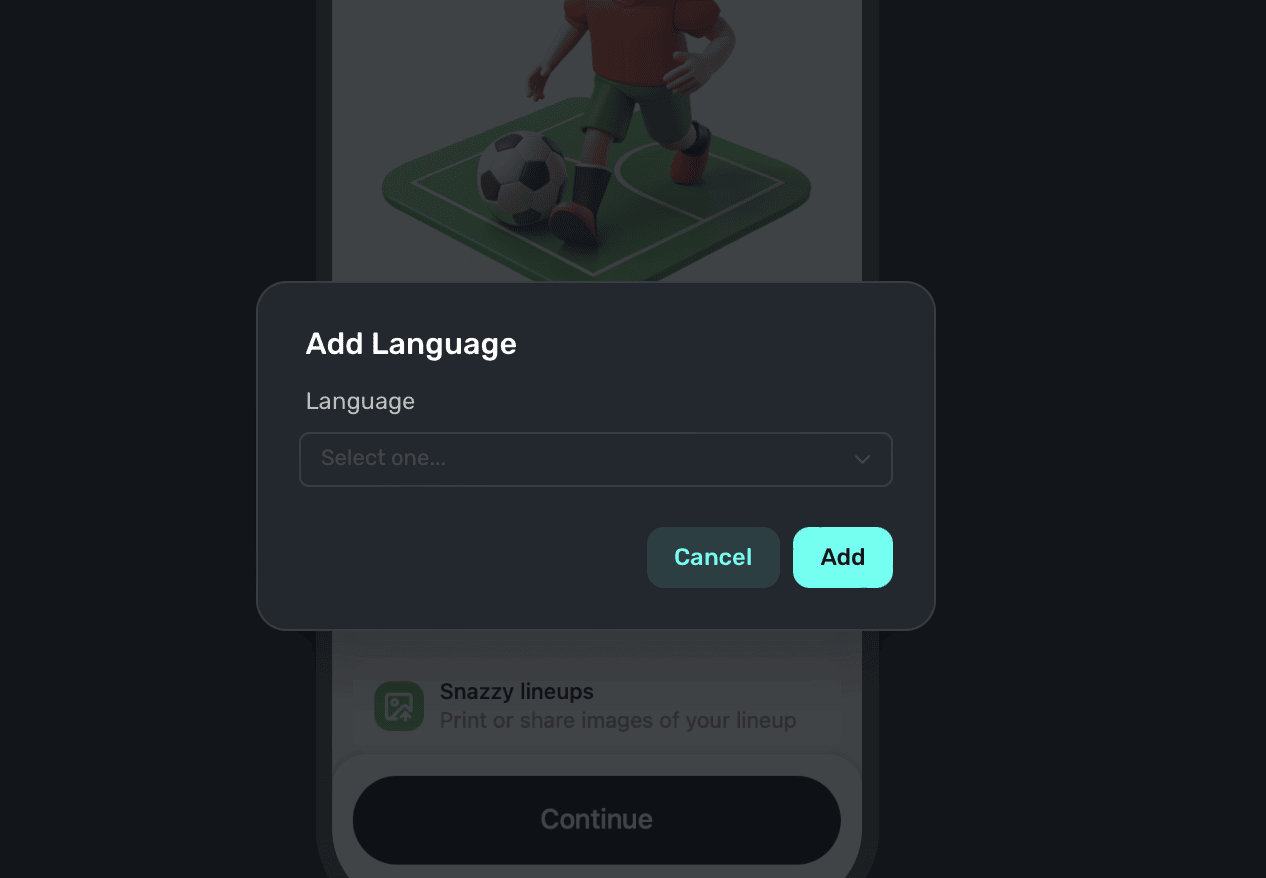
After opening the localization panel referenced above, click on the Add Language button. Choose the language identifier of the locale you're localizing for, and click on Add:
If there are any existing text components on your paywall, all of them with currently unlocalized strings will populate in the sidebar (in this example, we're localizing our text for Spanish speakers):
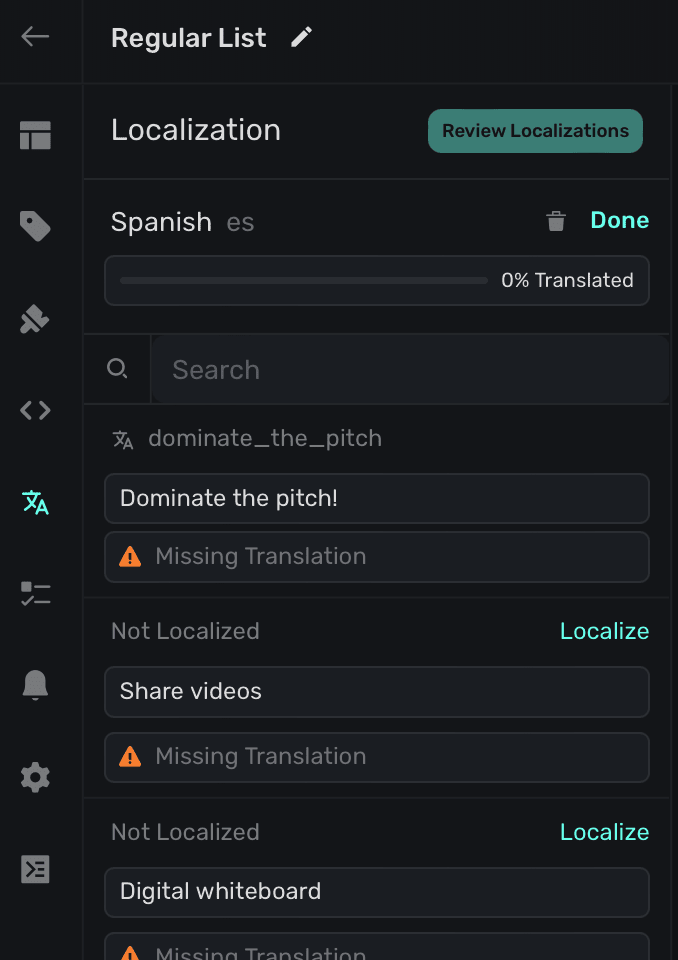
Click on the Localize button on any of them to enter in localized values. When you're done, click Save:
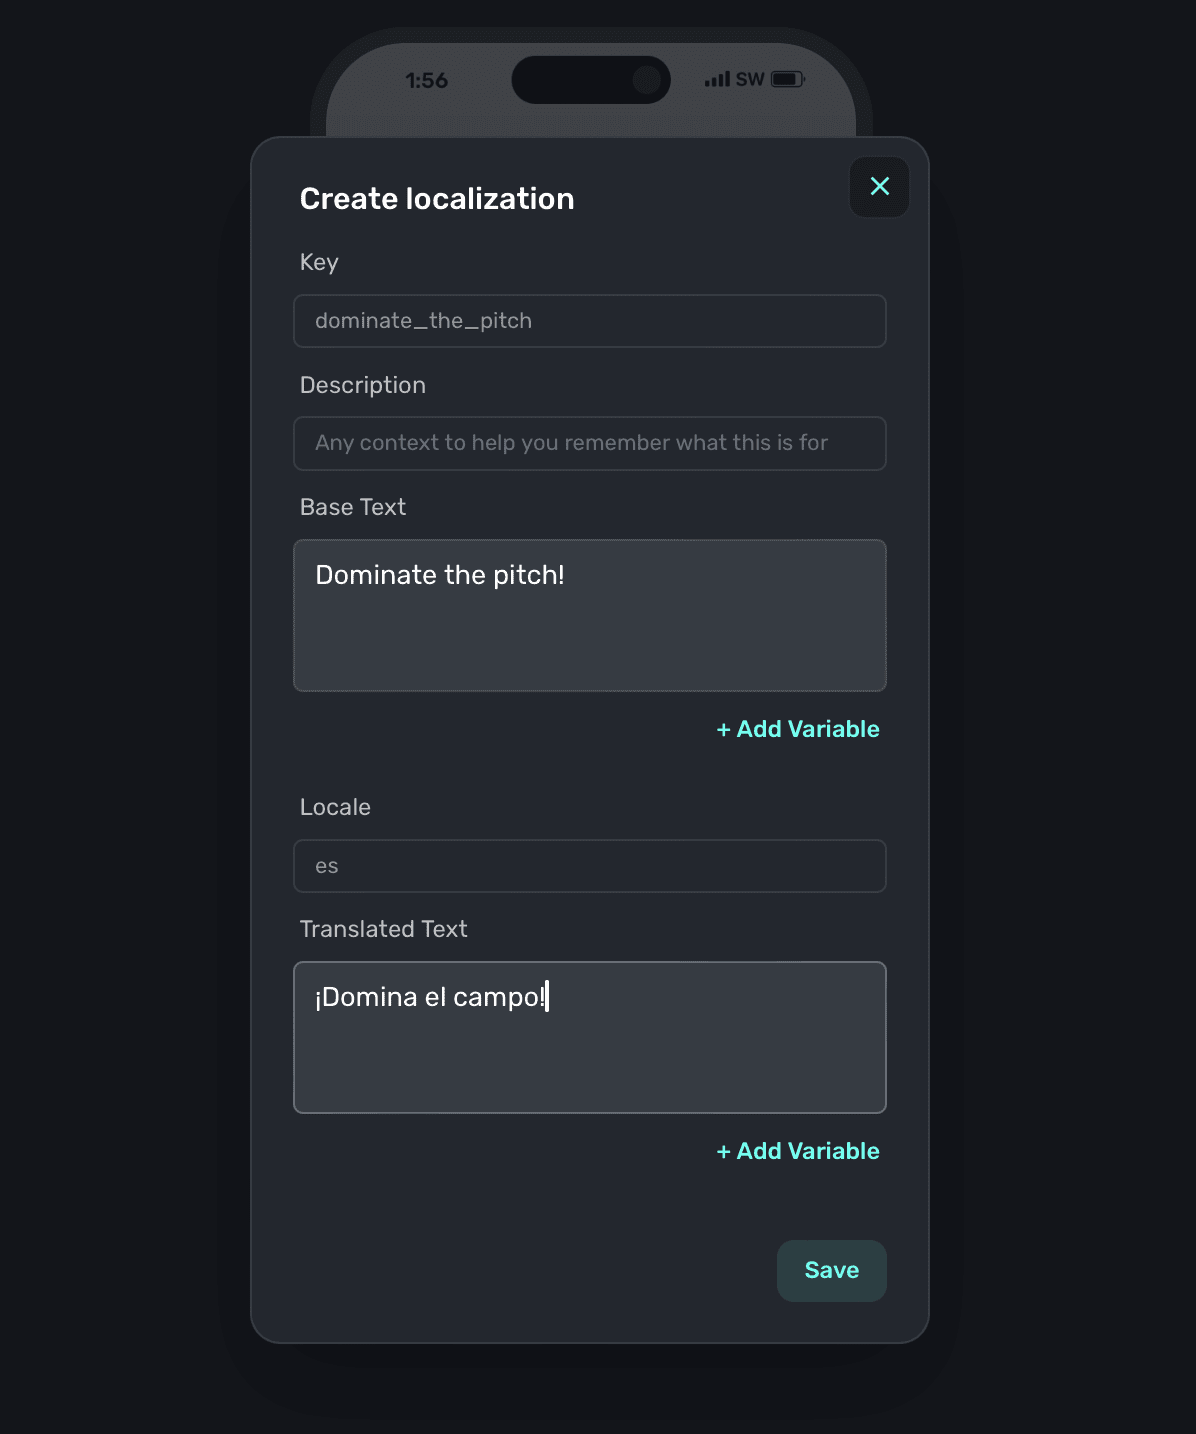
From there, go through and localize all of the values. Keep an eye on the progress bar at the top to see how far along you are. Remember to click on the Publish button at the top right of the editor to commit any localization edits.
When you are localizing strings, the editor will reflect the locale you're editing against so you can see a live preview of how the text will appear.
Associating localized strings to new or existing text components
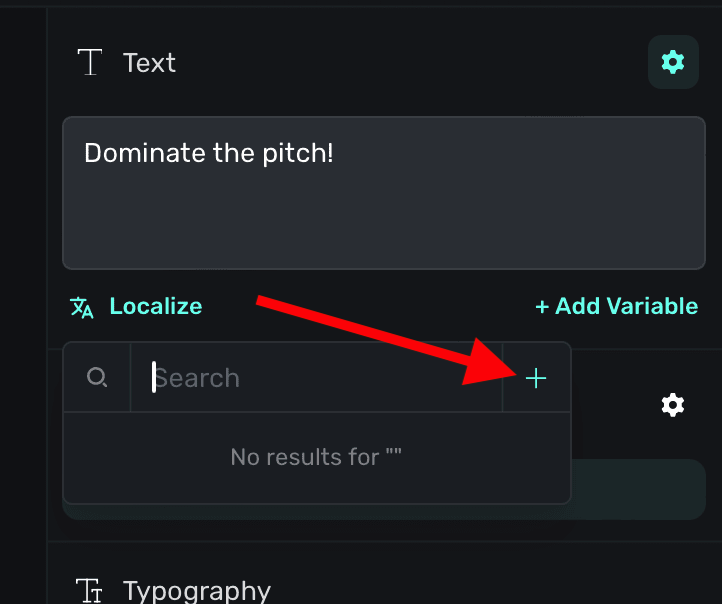
When you add new text components, or need to associate a different localization to an existing one — click the Localize button when the text component is selected. You can either use an existing localized string, or add a new one by clicking the plus button:
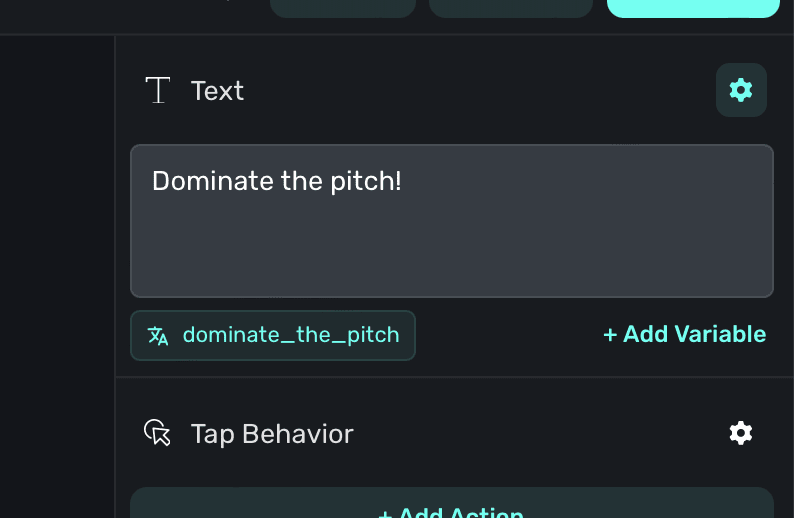
When a text component has a localized string attached to it, you'll see the localized string's key in place of the localize button:
You can use variables with localized strings, too. Simply use liquid syntax within your localized string values to access any variable. Currently, variables themselves are not able to be localized. Learn more about using variables here.
Using .strings files
You can download and import .strings files to speed up your translations. This is ideal when you are using external localization services or have a large number of strings to localize.
Exporting .strings files
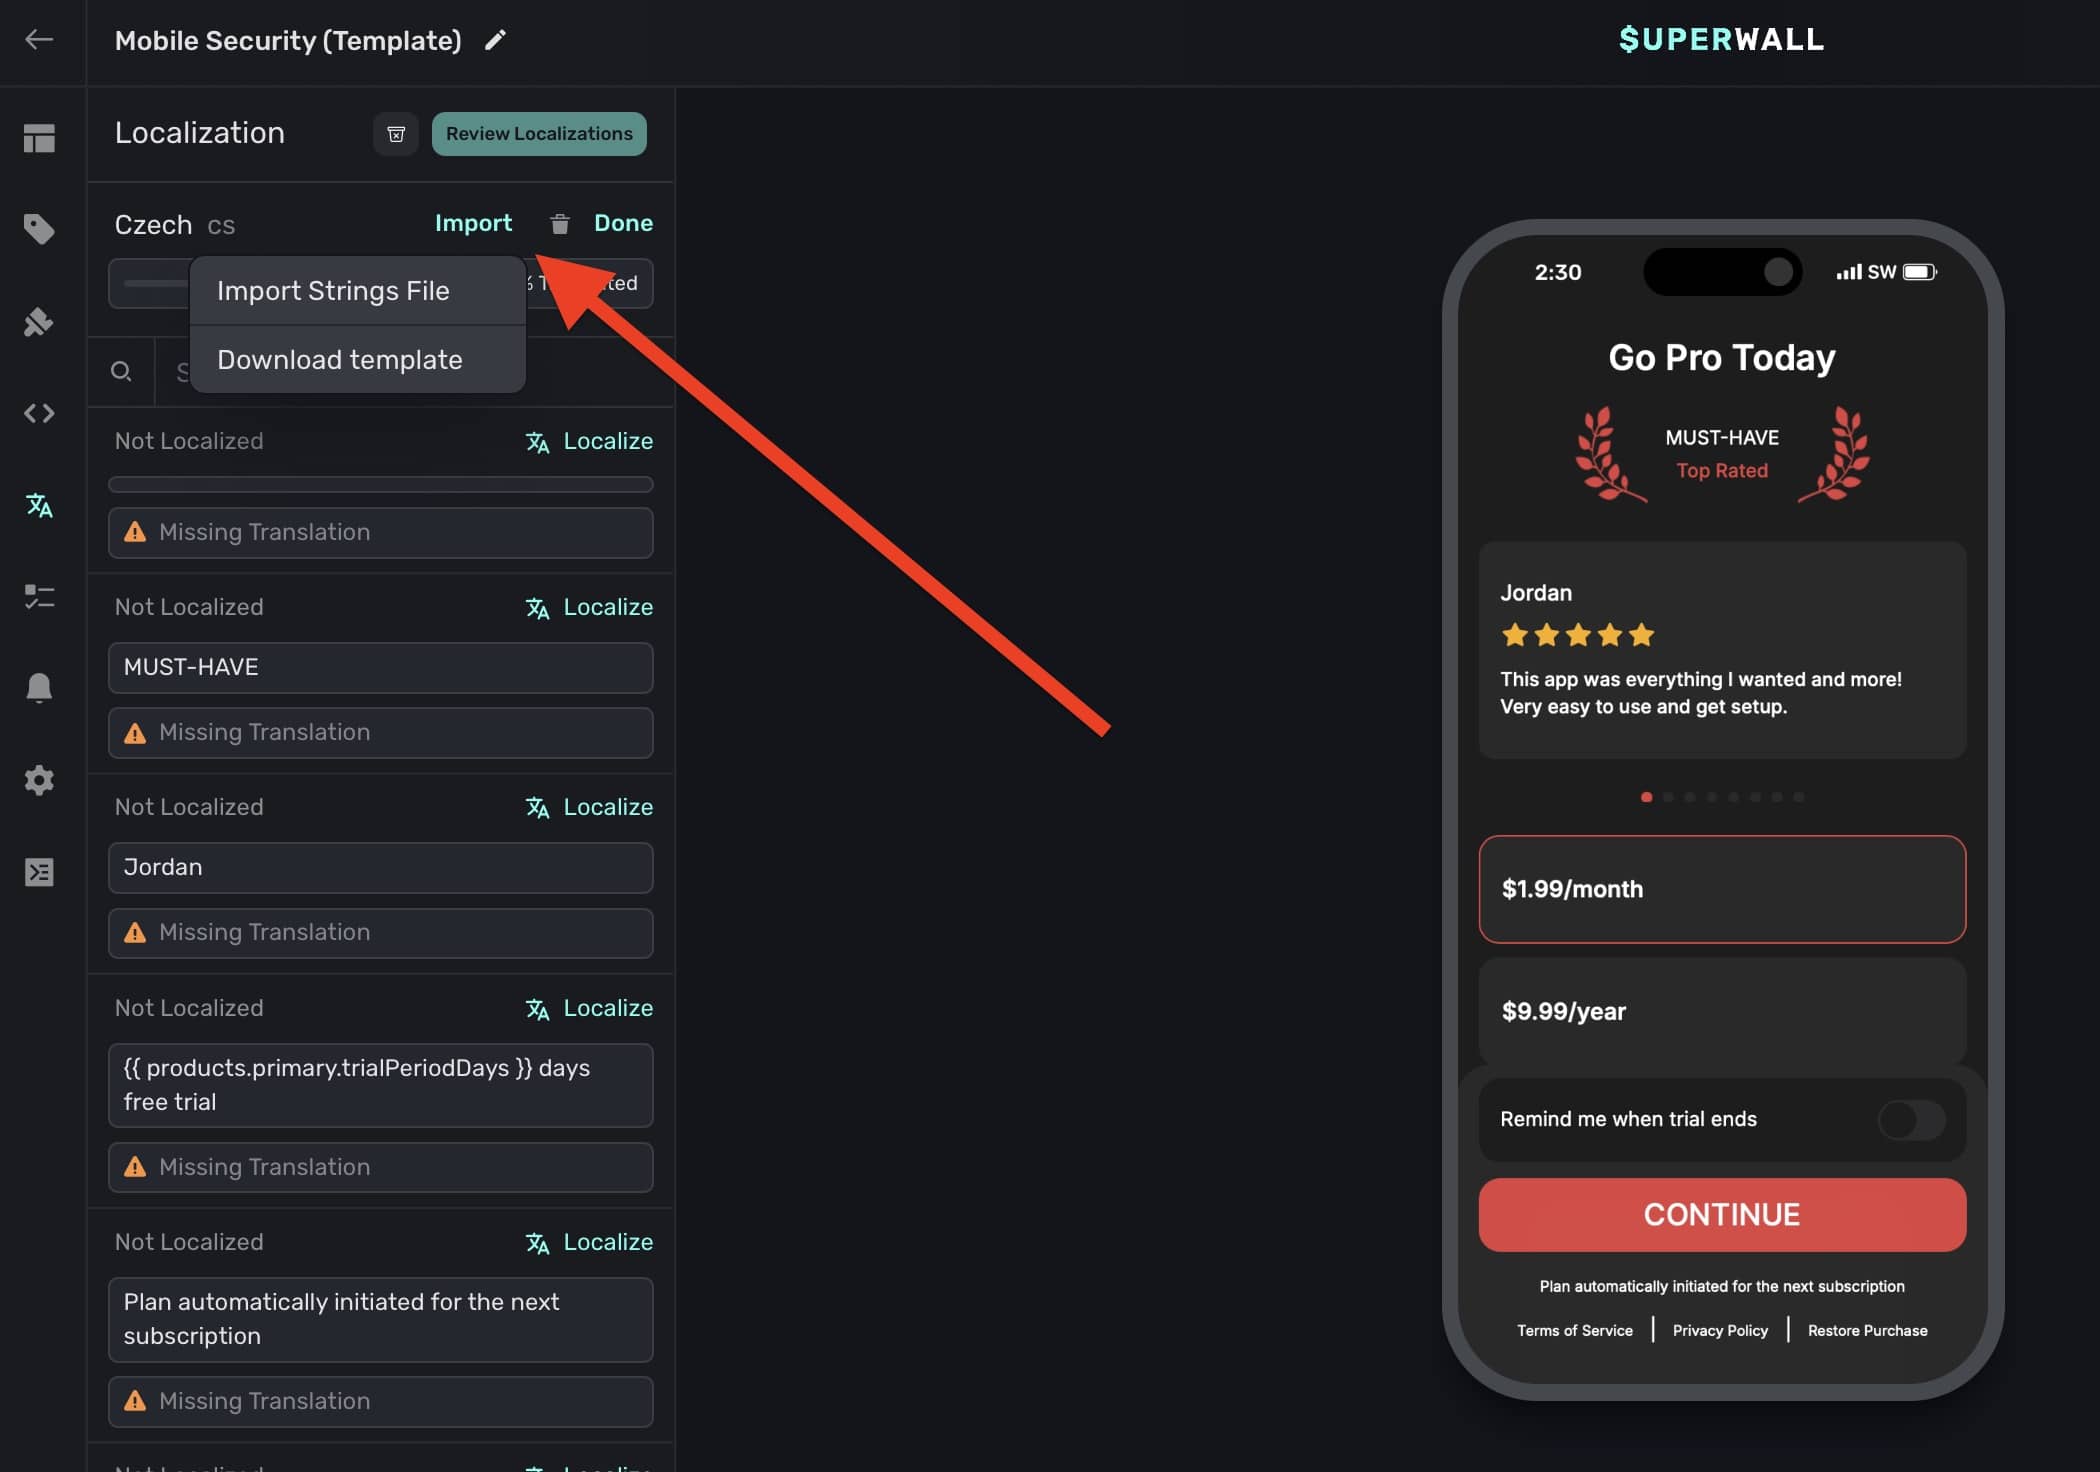
Select Localization from the left sidebar, click on the Import button. Choose "Download template" and the .strings file will be downloaded with all of your currently localized strings:
Importing .strings files
Select Localization from the left sidebar, click on the Import button. Choose "Import Strings File" and select your local .strings file to upload. Then, all of the updated values will be reflected in the editor.
Localizing period lengths
Superwall will automatically localize period lengths for products. Simply use any of the period-based variables in your text:

For example:
Analyze the math of caffeine this {{ products.primary.period | locale: "en" }}

// English, French, and any or any other localized regions you support...
Analyze the math of caffeine this year
Analysez les chiffres de la caféine ce année
You can override and remove auto-localization on specific items by setting a locale filter:
Analyze the math of caffeine this {{ products.primary.period | locale: “en” }}

// Now, it'll show in English in every language
Analysez les chiffres de la caféine ce year
Testing localized strings
You can preview how localized strings will appear on device. To set this up:
- Make sure you've got in-app previews configured.
- Open the paywall editor and click "Preview":

- When it opens, tap the menu located at the top left and choose "Localization":

- Then, select the language to display and the preview will reload with it:

How is this guide?
Edit on GitHub